What is Double Exposure? Techniques in Photography and Film
Mục Lục
What Does Double Exposure Mean
The double exposure effect
Using double exposure allows you to tell your story in new and exciting ways. And it can be done whether you’re using an old school film camera, or a digital camera. Before we jump into the what this effect brings to imagery and how you can do it yourself, let’s start with a quick definition.
Double Exposure Definition
What is Double Exposure?
Double exposure is a technique that combines two different exposures or images that are layered on top of each other. The image overlaid is less than full opacity so a bit of both images can be seen producing an almost ghost-like image.
For digital photography, multiple or double exposure can be created in-camera or with editing programs like Photoshop. If you’re using actual film, the photographer would have to expose the same part of the film twice, where the second image is being superimposed on the first one.
Why use the Double Exposure effect?
- In the early days, it was used to achieve special effects
- These days, double exposure photography is more of an aesthetic choice
History of the Double Exposure Technique
Where did double exposure start?
Towards the end of the 19th century, well before multiple exposure settings on DSLRs, or CGI in Post-production, photographers and filmmakers had to create realistic worlds with what they had.
And when they discovered how they could double expose a shot, they arguably discovered the very first special effect.
Let’s look at the 1898 film Four Heads are Better Than One by Georges Méliès. He was just as much of a magician as he was a filmmaker and it was his curiosity and innovation that helped create what we now think of as chroma key compositing.
“Special effects” in 1898
Méliès blacked out or matted out parts of the frame using black paint and a piece of glass. He would black out one part so no light would reach the film and then rewind the film and matte out everything else. The resulting multiple exposure combined the shots into one frame.
Mattes or masks are used to combine multiple elements of a scene into one final image by masking certain areas of the shot. More commonly, you may be familiar with the term matte paintings — the background painting of a landscape that blends with the foreground of the shot in a movie.
Here’s how they did it on the original Star Wars trilogy.
Double Exposure & Matte Paintings in Star Wars
Prior to CGI, this was the best way to capture large expanses or fantastic worlds. They would blend it all together to create one incredible shot.
But by masking certain sections of the shot with mattes, two or more images can be combined into a single shot. This requires masking certain areas of the film to control which parts of the image are exposed and when.
For a complete breakdown of exposure in photography and film, grab our FREE ebook: The Ultimate Guide to Exposure.
Free downloadable bonus
FREE Download
Ultimate Guide to Exposure
The Exposure Triangle is something every photographer and cinematographer needs to master. Download our FREE e-book to get in-depth explanations and tutorials on topics like aperture, ISO, shutter speed, and how to balance these settings to nail perfect exposure every time.
DOUBLE EXPOSURE PHOTOGRAPHY & FILM
Double exposure examples
Double exposure is a powerful storytelling tool. It captures hidden elements in a scene that can scare, inspire, or delight your audience. It can also provide context for what’s about to come. In the opening credits of True Detective, we get just that. Watch StudioBinder’s motion graphics artist and video editor discuss how double exposure sets the tone.
Double Exposure in True Detective’s title sequence • Subscribe on YouTube
In cinema, double exposure can convey many emotions — especially films of the cerebral or even nefarious kind. Alfred Hitchcock comes to mind.
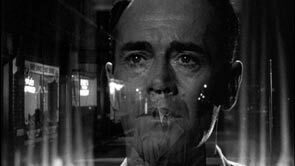
Multiple Exposure effect in Hitchcock’s The Wrong Man
And of course, where would horror be without that terrifying last shot of Norman in Psycho. All thanks to double exposure.
Last shot of Norman in Psycho
In more recent cinema with more advanced technology, filmmakers often rely on CGI to do some of this same work.
But for Blade Runner 2049, director Denis Villeneuve knew that could compromise the intimacy of the scenes. More specifically, the “merge” scene or holographic sex scene.
Merge scene in Bladerunner 2049
Using multi-camera footage, 3D models of the actresses were created for some of the more intricate visual effects.
But the set was rigged with four extra cameras, no green screen or motion capture. The director was staunch in his decision that this scene be “a merge between real photography and CGI.”
In order to get the range of emotions from the actors, the only CGI that was used was how the actresses’ images were layered atop one another.

This was never going to be a scene where we would capture performances with dots away from the main set. This allowed the actors to act without having to worry about the VFX aspect of performing separately from each other. This was the key to keeping the intimacy of the scene.
– VFX supervisor Paul Lambert
And of course, double exposure has the power to tell a story even in still images.
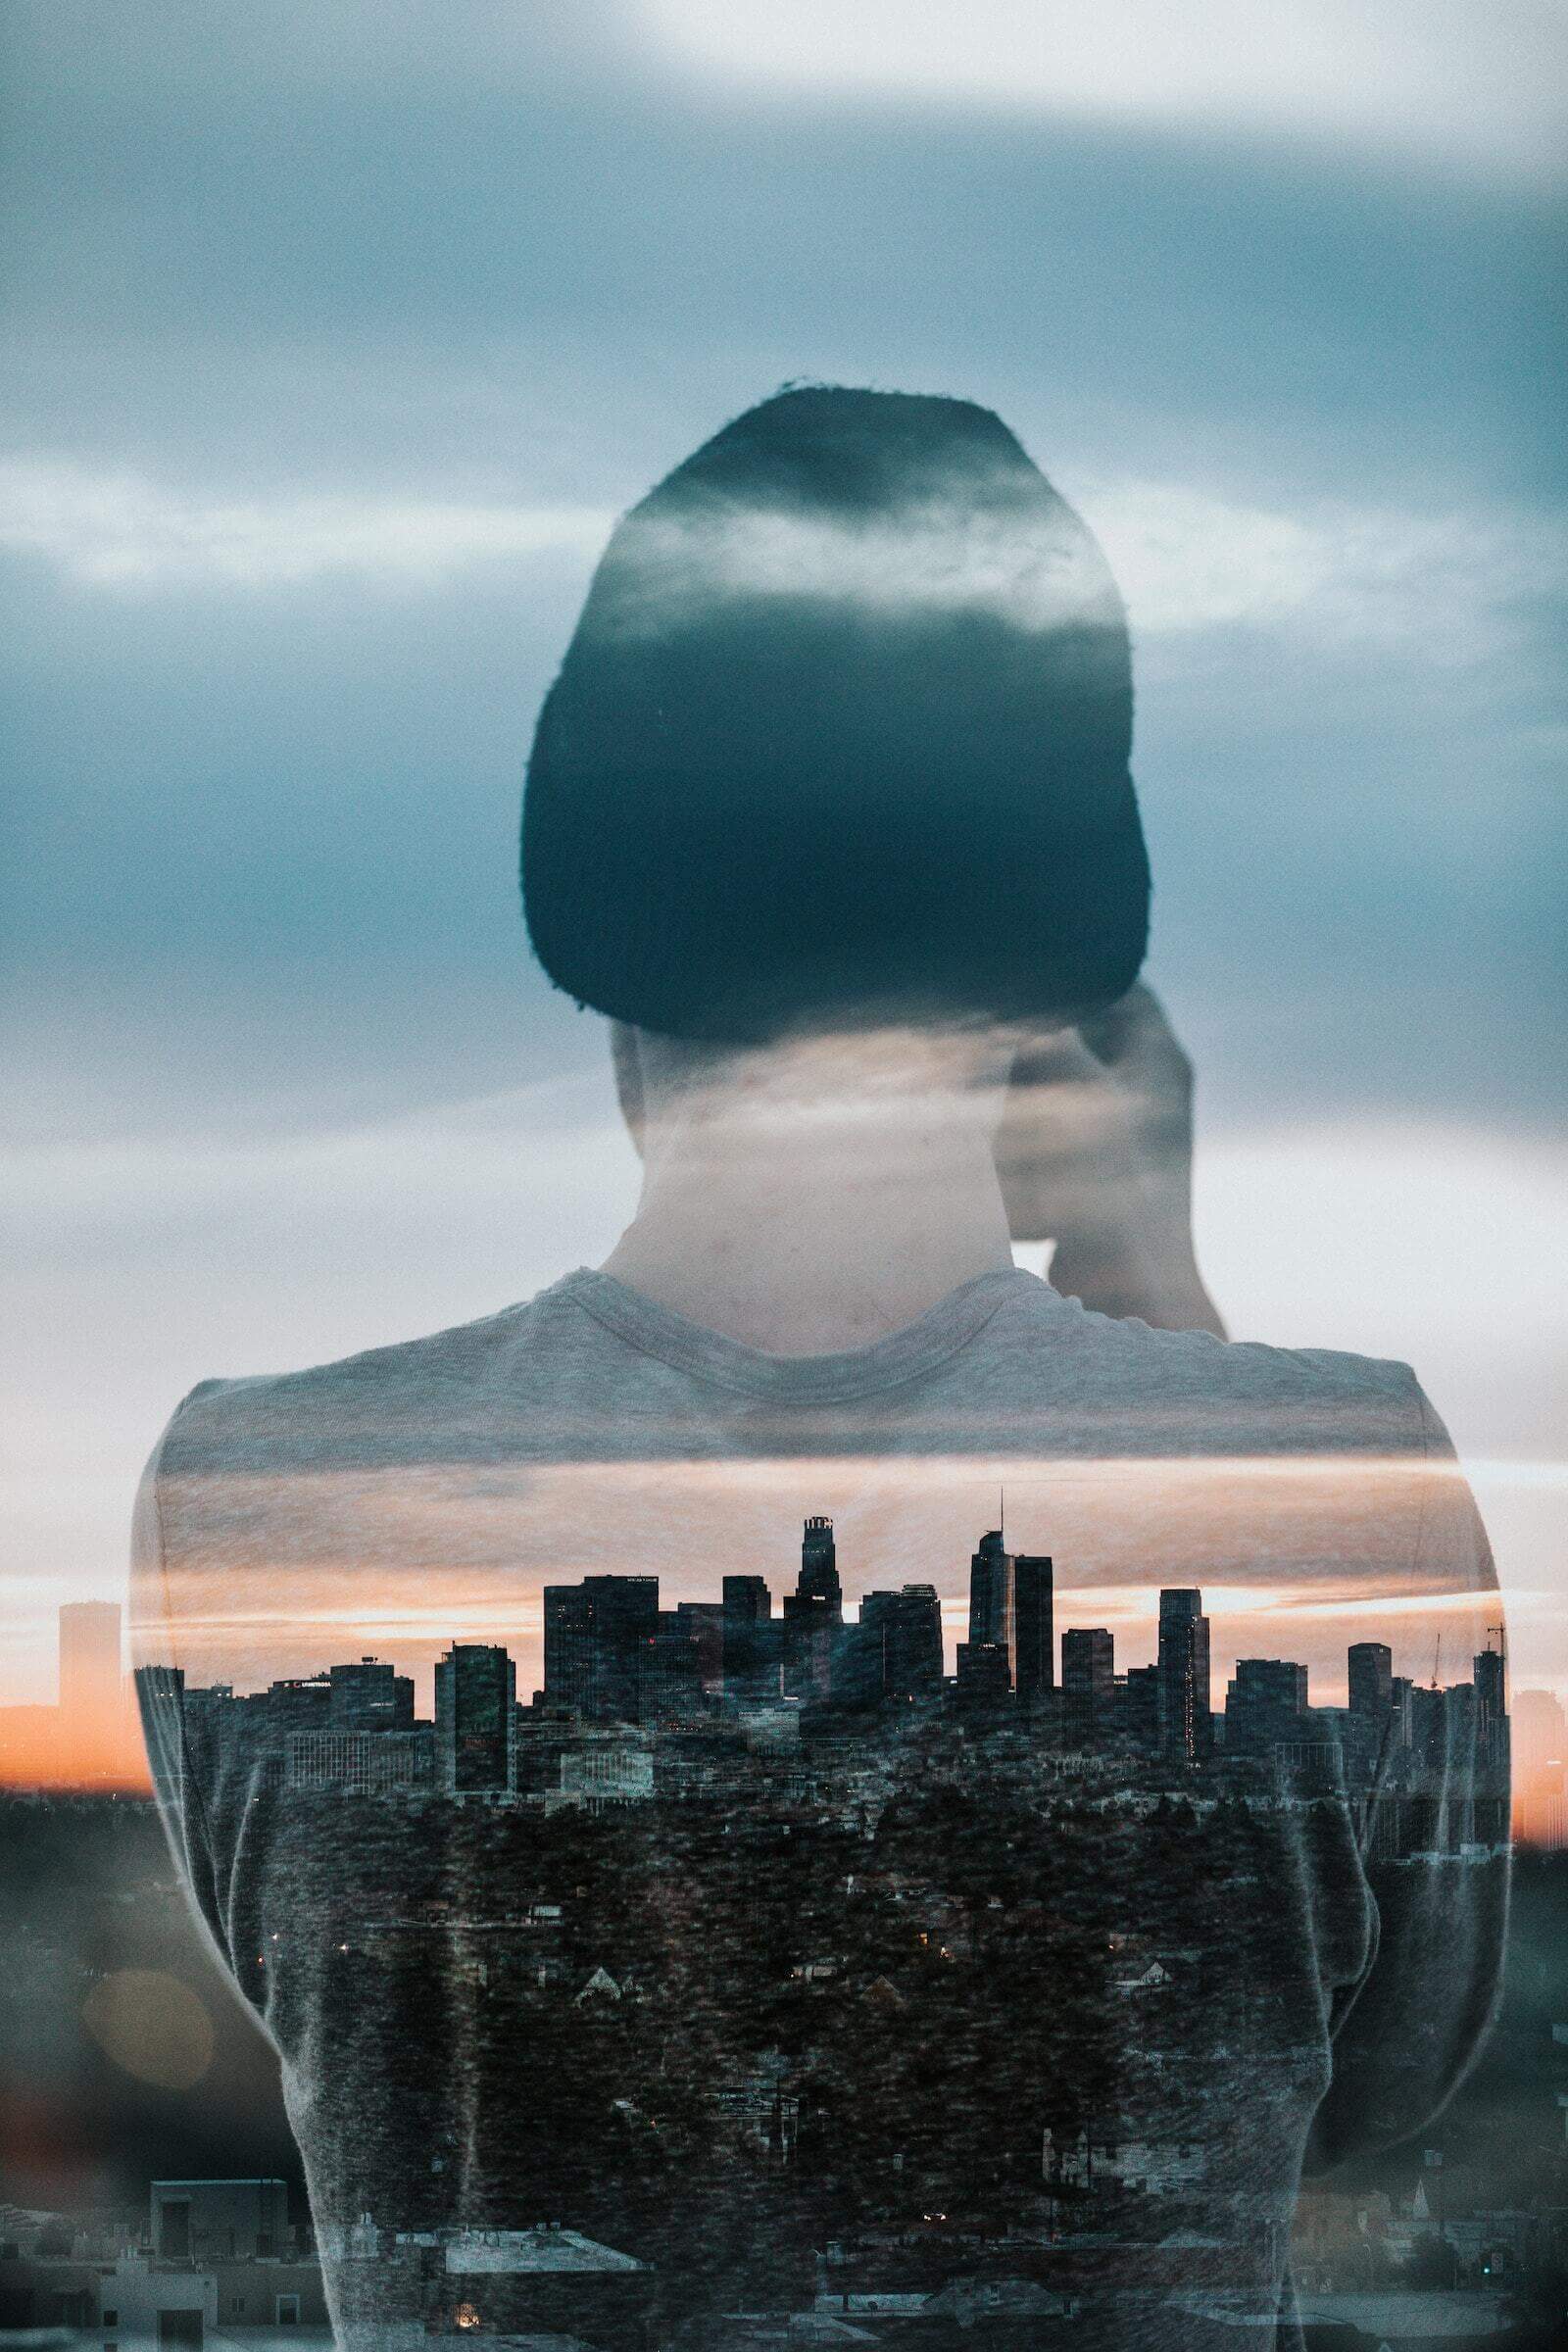
Double exposure photography
The possibilities of double exposure are limitless. Especially with digital, you can quickly learn how to create dynamic double exposure pictures.
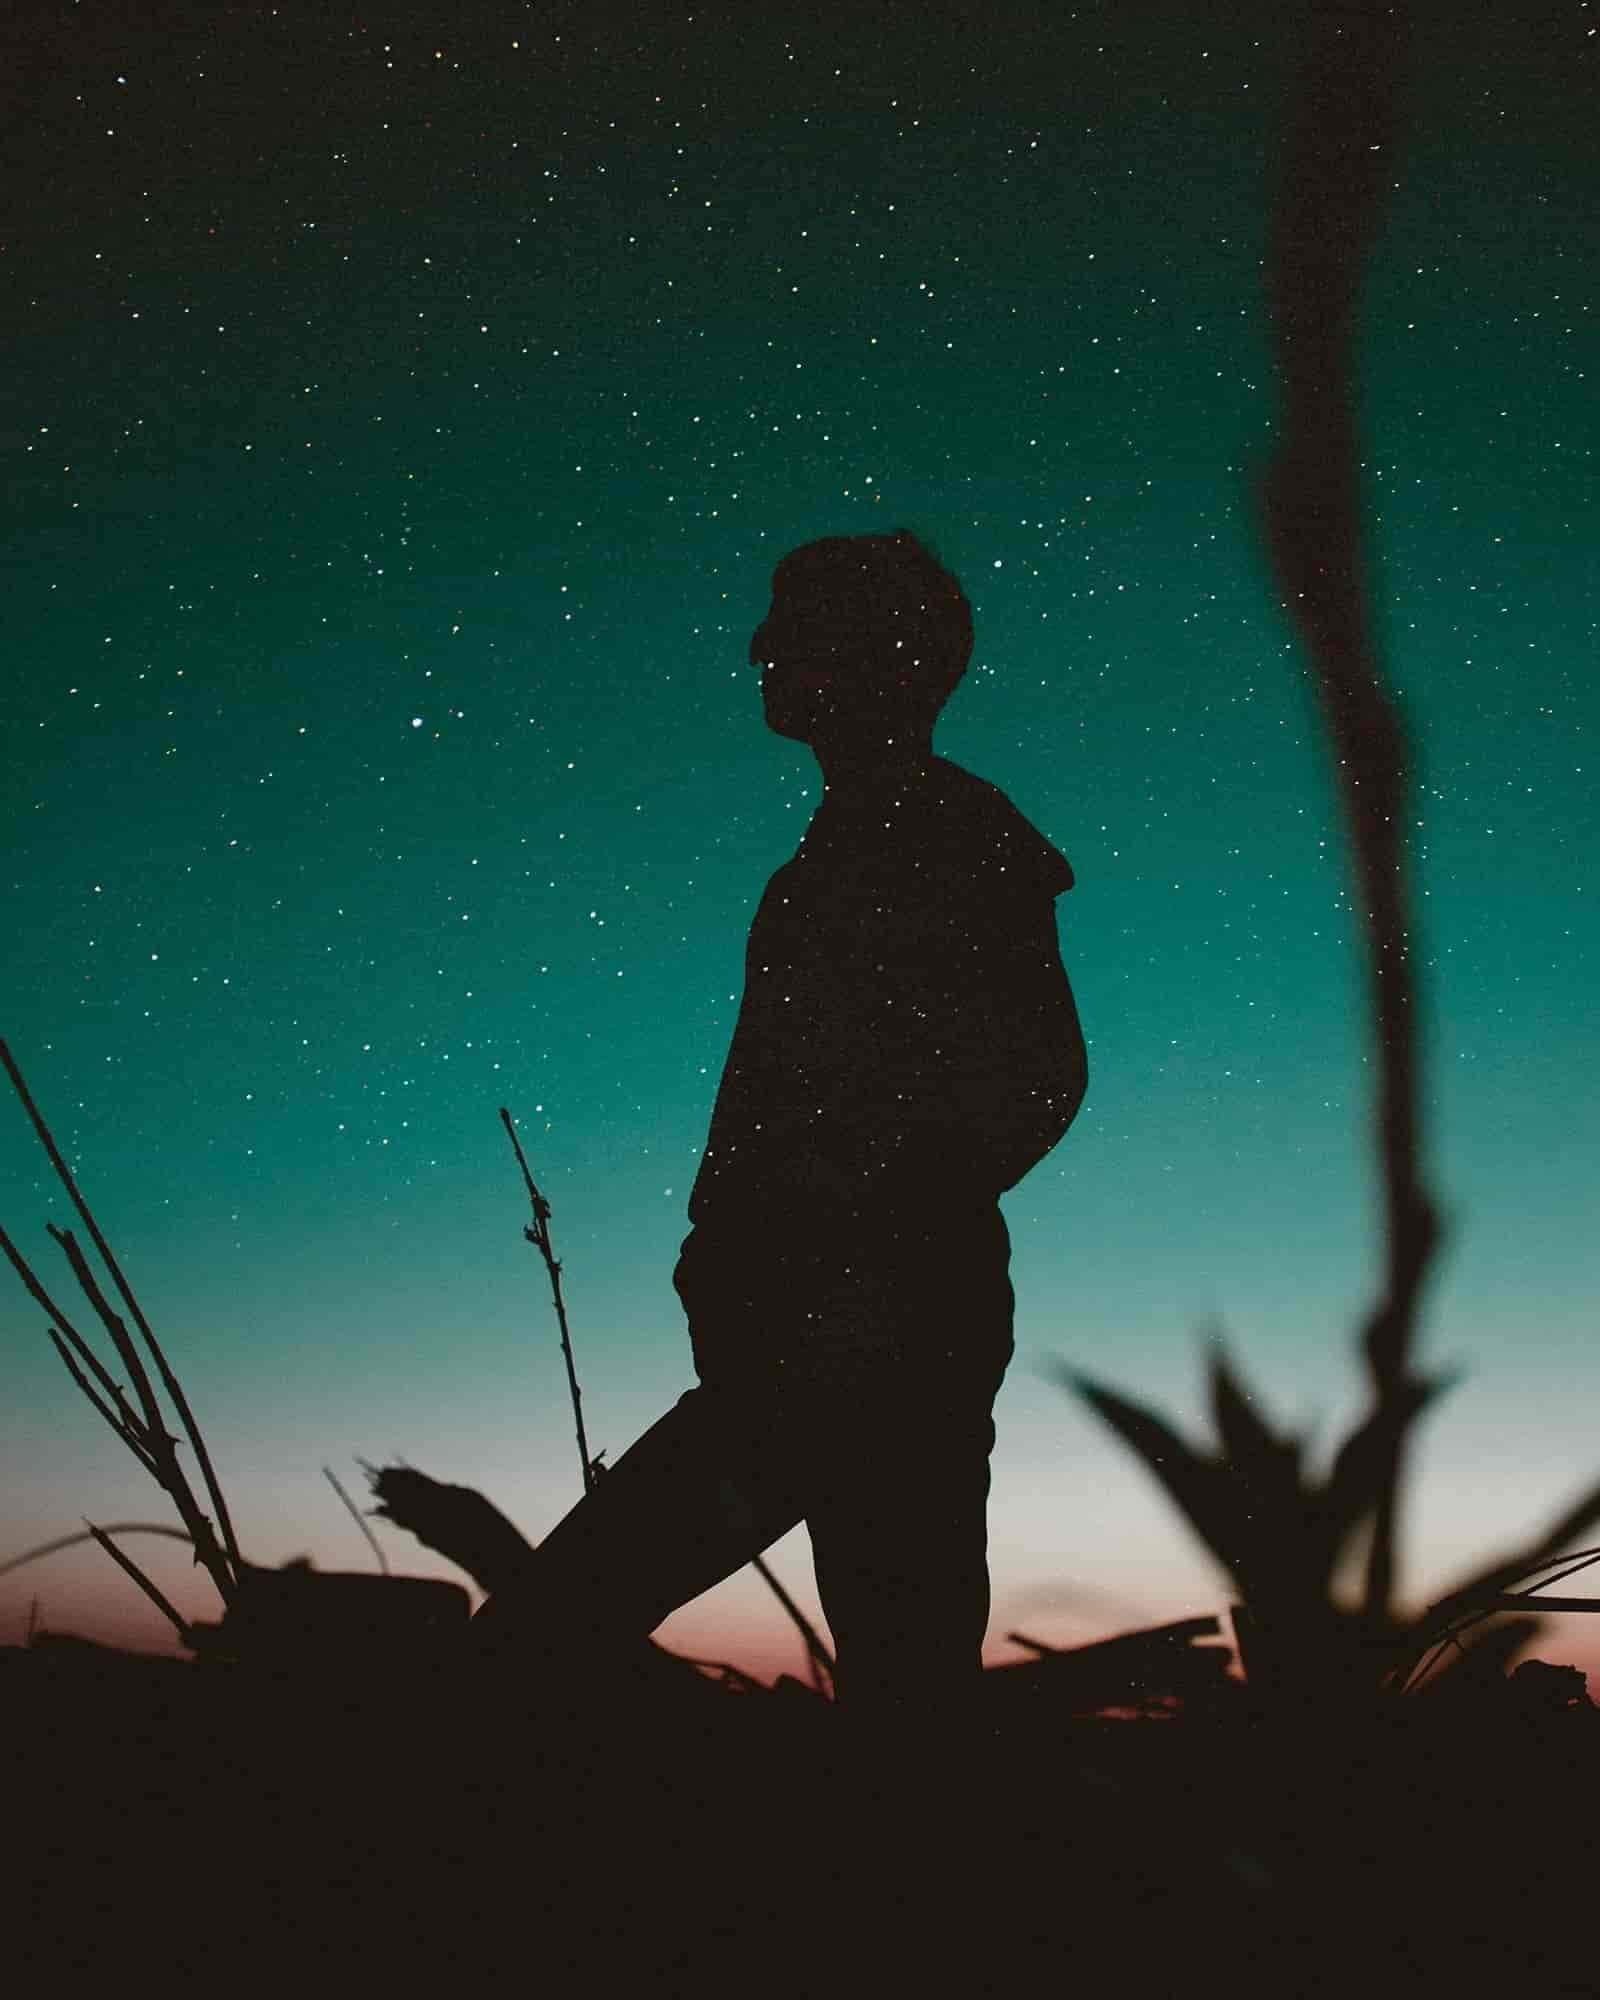
Double exposure photography: Capturing silhouettes and the stars
If you’re feeling inspired to start shooting, below are some tips to get started.
Creating Double Exposure Photos
Tips for getting double exposure images
Many digital cameras have options for creating multiple exposure images where you can get super creative. Most have at least a feature for shooting double exposure in-camera, but there are some cameras that are better than others. Photographer Eric Floberg goes deeper as he takes you step by step for layering your images with a DSLR.
The beauty’s in the basics of multiple exposures
What about double exposure for video? It’s not much different than photography.
You’ll need two things. A subject in front of a white background and then a still image or video that will be overlaid on the subject. Don’t have a white background, learn a quick lighting trick that demands only sunlight to get that white background.
Double exposure film
Double Exposure Photoshop Tutorial
If you’re interested in using Photoshop to create double exposure, we’ve left a brief tutorial on how to do just that.
How to do double exposure in Photoshop
Shooting with traditional film these days is a deliberate choice. But if you know how to do it, it’s a good one. The imperfections not only keep the image from looking sterile but it gives each shot arguably more character than digital. Below is a how-to for creating double exposure using traditional film.
Creating multiple exposures using traditional film
You can do a lot just from inside the camera but here are a few suggestions and tips for nailing your double exposures.
- First, not all digital cameras have multiple exposure settings. So check and see if yours has that option. There’s always Photoshop.
- A tripod for steady, consistent shots, are an obvious win.
- Start with a theme or concept. Accidents are great but it will likely be easier for you to pick your base and second layer image when you have somewhat of an idea for the theme.
- Try first using a plain white or at least neutral, background.
- Pick and capture your base photo. This can be a still object, a landscape, a body part, whatever! Darker subjects are best to shoot first. Lighter scenes are often shot second, because lighter images as a base can create a blown out image, which leads to my next point.
- Underexpose your subject so you can avoid overexposing the entire shot later.
- The second layer can be harder to shoot than the base. While you may want to choose a lighter image, understanding contrast that complements will be key to producing visuals with the best results.
- The images themselves aren’t the only unique aspect. Merge the two photos in inventive ways. Rather than layer a photo on top of the entire area of the other, try layering it over just one area.
Keep in mind, these aren’t rules. When it comes to the double exposure technique, you can use a dark base or light base, a tripod or no tripod — it all depends on what look you’re trying to go for.
Take photos from different angles, try black and white, or capture all of the colors of your city. Get out there and experiment!
UP NEXT
The Exposure Triangle
Next up, take exposure to another level. We’ll discuss the exposure triangle and how integral it is to mastering your shots. Learn how to expose for any circumstance — light and dark interiors and exteriors, and even for action and movement.


![Toni Kroos là ai? [ sự thật về tiểu sử đầy đủ Toni Kroos ]](https://evbn.org/wp-content/uploads/New-Project-6635-1671934592.jpg)


