
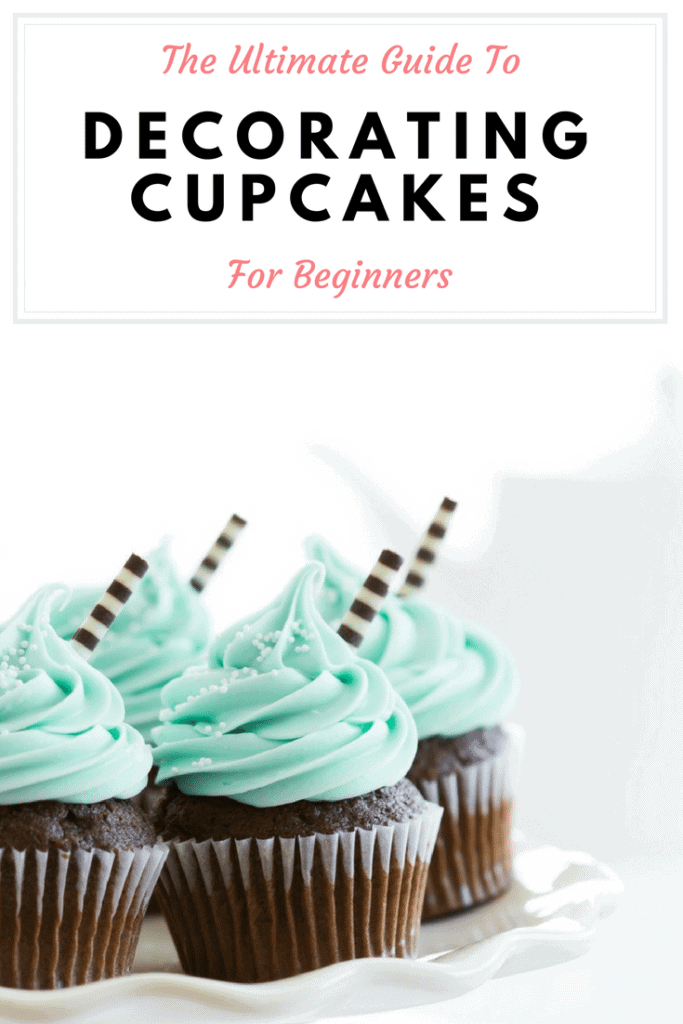
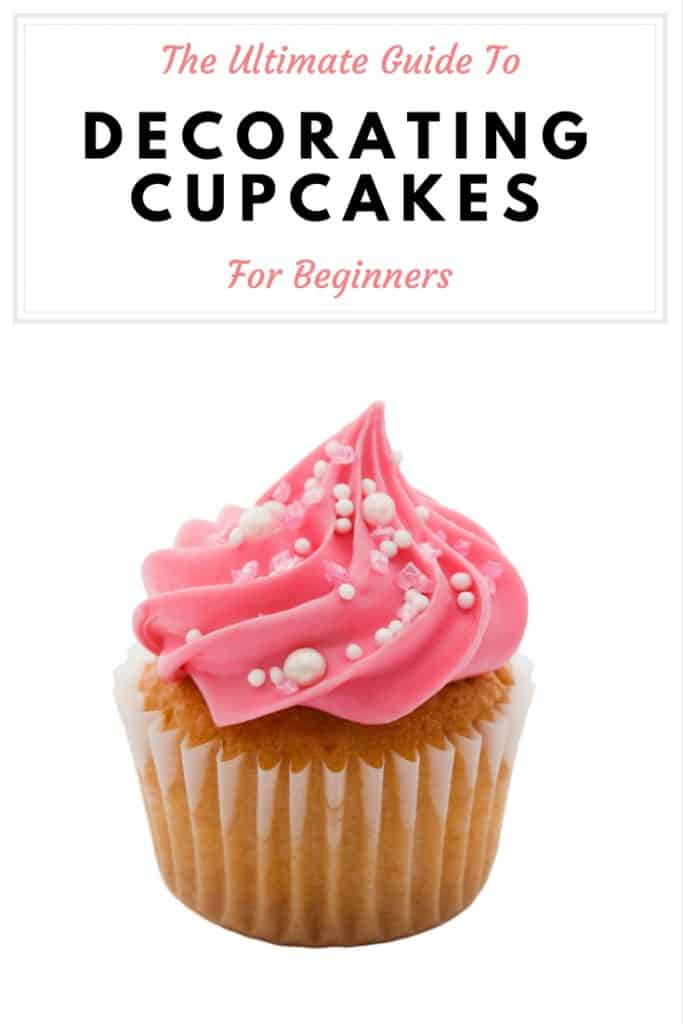
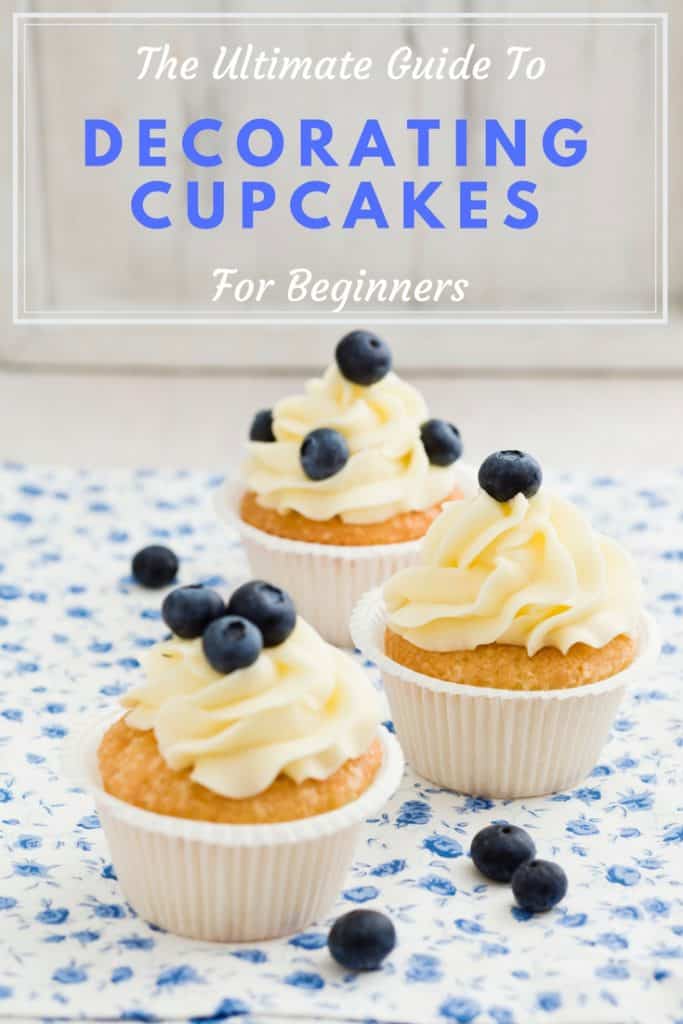
Ultimate Guide To Decorating Cupcakes For Beginners
This is the ultimate guide for decorating cupcakes for beginners that will cover the basic tips to piping a perfect cupcake, proper tools every cupcake decorator should have, and different frosting techniques, a video to help you frost the perfect cupcake + way more!
*this post contains affiliate links. I do receive a small commission if you click on a link in this post, but it costs you nothing extra.
So it is probably no surprise here that I love to make cupcakes. But when it comes to cupcakes, it really is all about the swirl. ‘Bout the swirl. Just frosting. Sorry just had to. 🙂
Whenever I make cupcakes, I always get the compliments “are these from a bakery?”. Which not going to lie, feels pretty good. Every. Dang. Time. Probably helps my cause that I put them in actual bakery style containers to bring them places because I am that much of a baking nerd. And when I worked at a bakery (#bestsummerever) a few years back, one of my favorite jobs was the piping of cupcakes. In fact the head baker made me solely have this job- she wanted nothing to do with it. So yea, I got pretty good at it. And I always thought, but it isn’t hard! Seriously, anyone can do this! So let’s kick start this tutorial shall we?
First the basics- let’s start with our “mise en place”- fancy French term for let’s get our ducks in a row before we begin decorating! Let’s talk about the proper tools.
Cupcake Decorating Tools
-
*
Piping Bags
:
These are an absolute must if you want to pipe the perfect swirl on top of your sugary creation. Two options for bags for you:
These are an absolute must if you want to pipe the perfect swirl on top of your sugary creation. Two options for bags for you:
–Disposable bags: I swear by these piping bags. I always keep on hand at all times 12 inch and 18-inch sized bags. If you get them on Amazon, they come in a 100-count roll for around $7, which is crazy cheap! Trust me, I have shopped around. For most cupcake baking I do I use an
18-inch bag. This way I do not need to re-fill my bag if just frosting 1 or 2 dozen. No refill = less mess. I love these bags because they are in a convenient roll. So whenever I need one I simple just tear one off and I’m good to go. Another great option for you, are the disposable Wilton decorating bags. For these, I highly recommend getting a coupon and buying a box of these bags at your local crafts store, such as Michael’s.
–Reusable bags: A little more friend to the environment. I also keep a few of these on hand, just in case as well. When I first started out I used these primarily. As the baking became more frequent, I switched to the disposable. The great thing about these is exactly in the name. Invest one time and you’re set! Just simply need to wash and you’re good to go. If you know you are going to making different frostings, colors, and/or fillings I would recommend more than one bag. The last thing you want to do is in the middle of decorating- stop, wash, fill, repeat. So save yourself the hassle and invest in a few. Also, because these are a more permanent solution, you can only cut the bottom of the bag once, which means you have to be committed to the size of the tip you are going to use. I have smaller bags with smaller openings for small tips for when I am going to do more detailed work. I have larger bags to fit my larger cupcake tips. It’s always good to have a range of sizes! My favorite ones are from Atecco, but I also have a few from
Wilton as well.
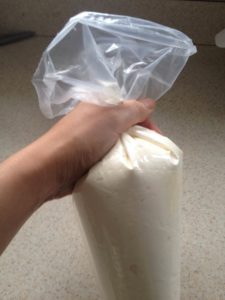
How To Fill A Piping Bag
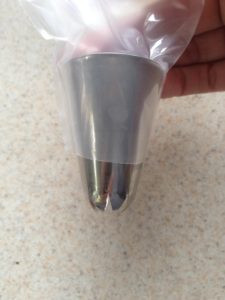
Before we get to the fun part, it’s vital we talk about filling a piping bag. Even after years of using piping bags, I took a cupcake decorating class in Boston last year and still picked up a few tricks that I thought I would pass along on to you. To show you how to do this I included a step by step photo of how to fill them that hopefully helps.
Step one
: Place your piping tip in the bottom of the bag.
Step two
: Cut off the bottom of the bag.
You want to cut off enough for the tip to come through, but not enough that it falls through obviously. And be sure to cut enough so as not to block any of the tip edges so the frosting doesn’t get blocked.
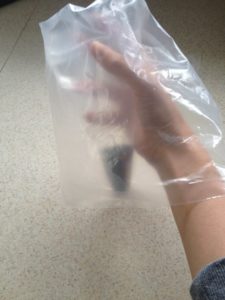
Step three
: Now fold down the top of the bag just past the piping tip.
Pro Tip: Keep your hand cupped underneath along the fold.
Mục Lục
Step four
: Add your frosting
With your other hand using a spatula, scoop a generous amount of frosting into the bag and scrape the frosting off along the sides where you have your hands cupped. Keep to do this until the bag is about 3/4 full.

Step five
: Once your frosting is in the bag, unfold the bag.
To keep air bubbles out, shake the frosting down a couple times to ensure the frosting has gotten to the bottom of the bag (this is particularly useful if you need to use re-fill the bag when air bubbles are more likely). You could also just squeeze any frosting at the top down.
Step six
: Twist the bag shut.
You can use the bag ties, or simple keep it twisted while you pipe. Now you’re good to go! Let’s pipe some cupcakes!
How To Frost The Perfect Cupcake
Now for the fun part! For this I made a quick video as well to help you become a cupcake boss!
3 Things to Remember When Piping
1- Pressure– It’s all about consistent pressure. To get it right, you need to make sure to squeeze from the TOP of the bag of frosting not the bottom, which can be difficult to master at first. If you squeeze from the bottom, you run the risk of having frosting squeeze out of the top or create bubbles. This can take a while to master, so just practice practice practice. Sometimes it helps to practice first on wax paper to get it right, that way you can save the frosting and re-use!
2- Position- To get the perfect swirl you need to make sure you are holding the bag at 90 degree angle to the cupcake (straight up and down over the cupcake) with the tip centered in the middle of the cupcake.
3- Motion- To make the perfect swirl, starting in the center of your cupcake, you want to swirl to the outside and go all the way around the cupcake, while then working your way back into the center after you have made one complete circle around your cupcake. As you come back into the center, be sure to hold the tip above the frosting as you do this so as not to smoosh all your hard work. As you complete a second trip around with your bag, continuously be working your way in and up. Then stop squeezing and pull straight up on your bag.
Pastry Tips 101
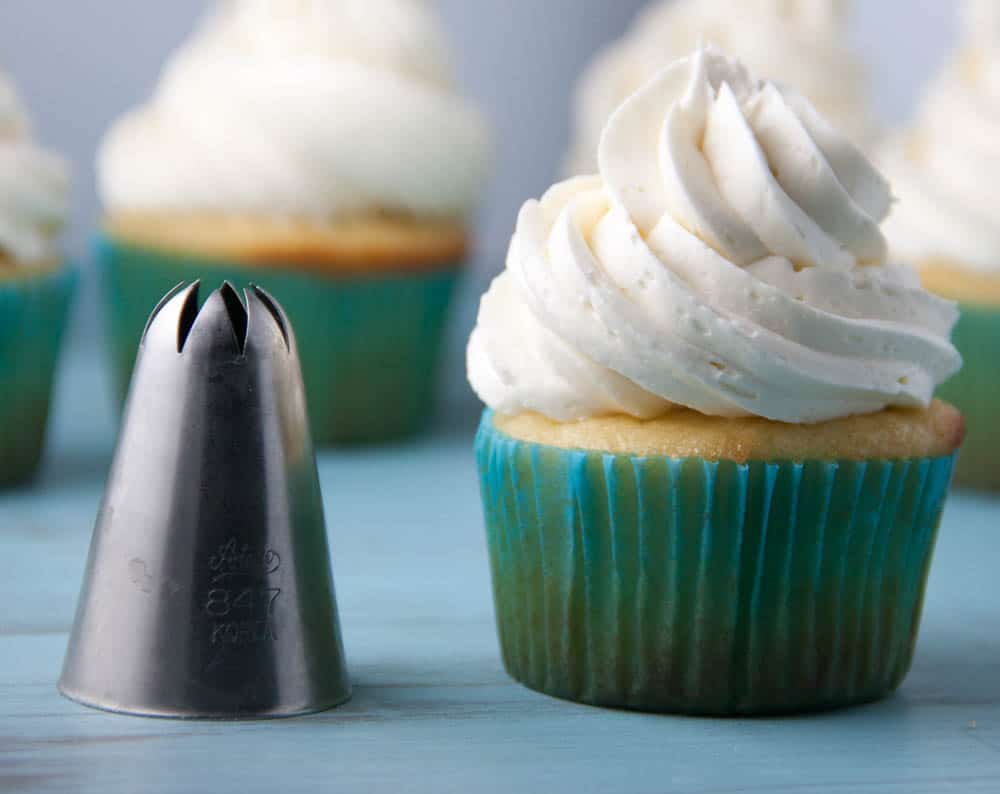
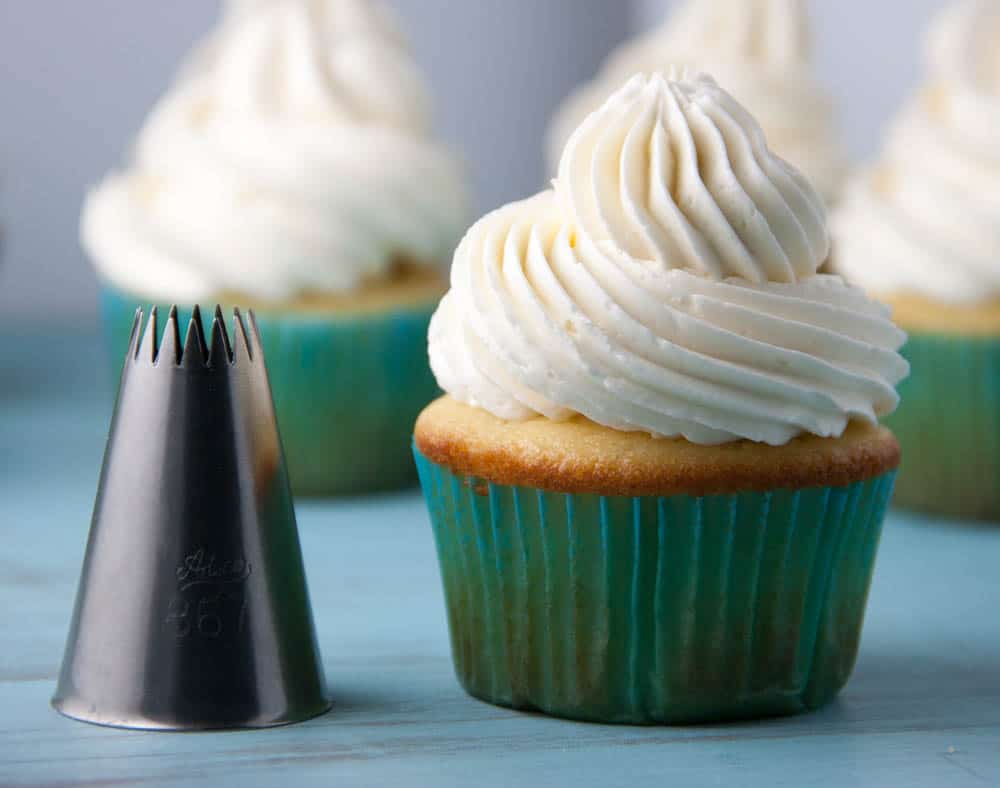
Ateco Closed Star Tip (#847)– This is by far my favorite tip to decorate cupcakes with. I love closed tight swirl it makes. I probably use this tip the most out of all the cupcake pastry tips I own. This is probably the swirl you see most on bakery style cupcakes, so if you are looking for a good tip to start with and practice then this is the one. If you have fillings in your frostings, then this is NOT the tip for you. Any fillings, like candies or sprinkles will get stuck in the tip and just look messy.
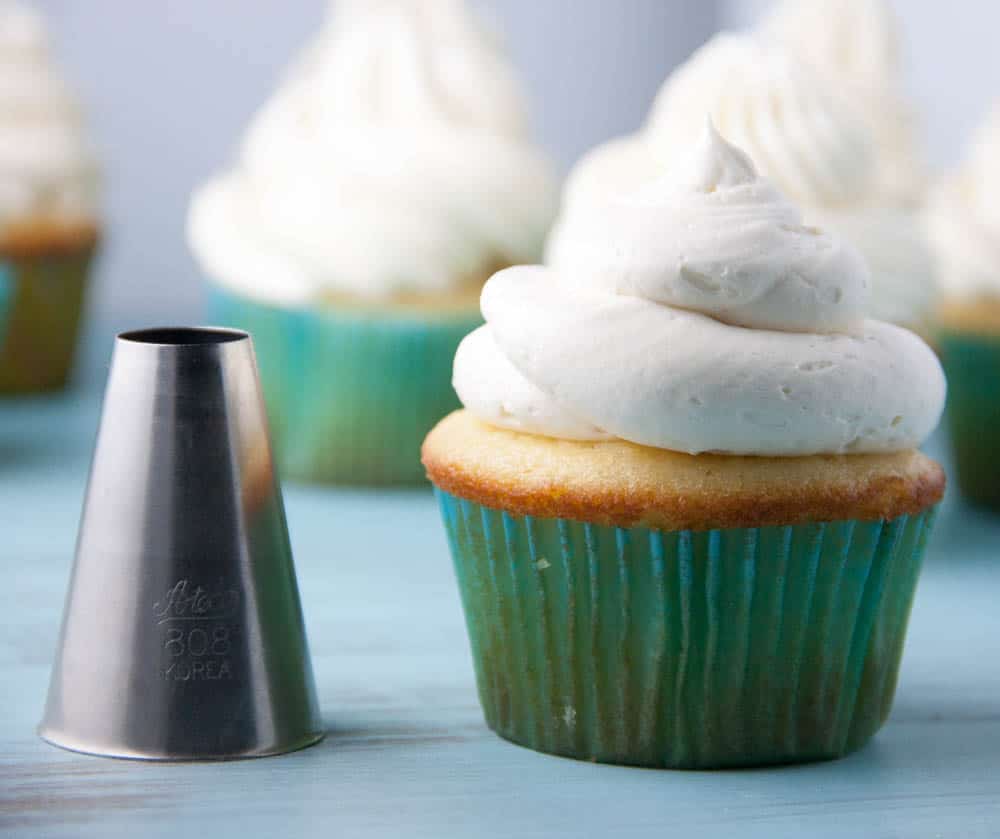
Ateco Round Pastry Tip #808– I use this tip when I want a clean look on the cupcakes, or if I plan to top the cupcakes with something like these Candy Cane Cupcakes and want the decoration to stand out. If you have fillings in your frosting, this tip works well. The plain tips are also great for filling cupcakes as well, like for these Hostess cupcakes.
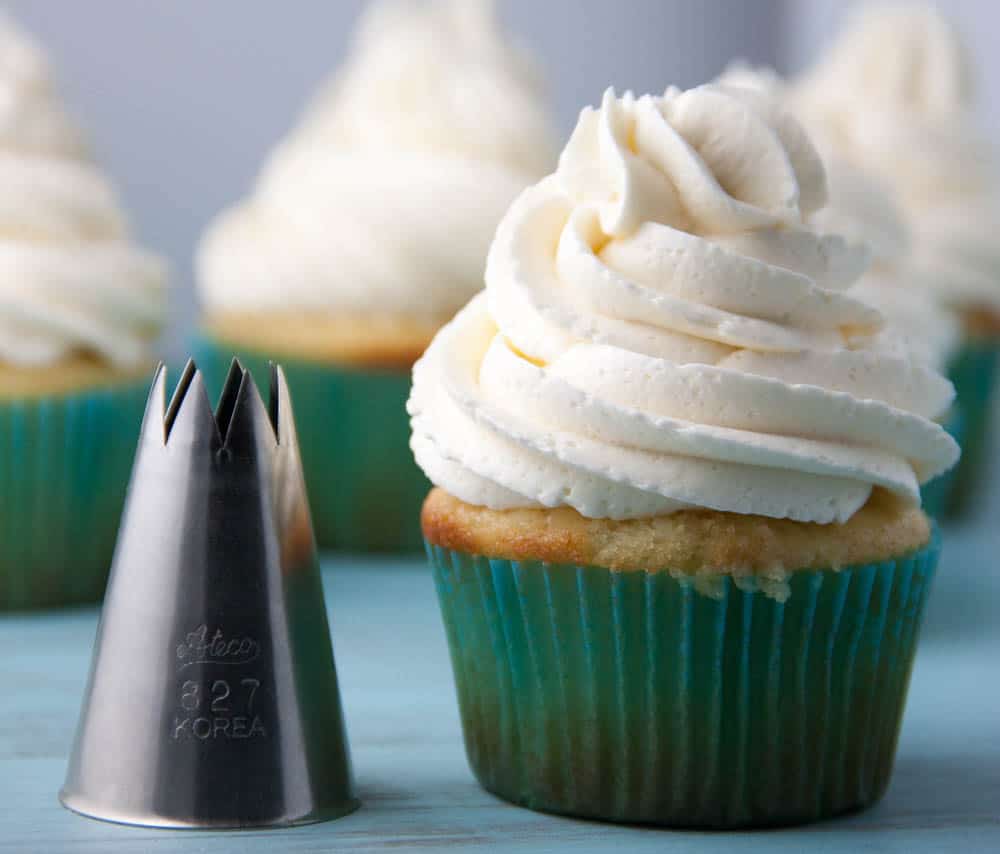
Ateco Open Star Tip #827- This tip is very similar to the closed star tip and reminds me of like a classic ice cream swirl. This one is good for achieving great heights with your cupcake frosting if that’s your thing 🙂
Ateco French Star Tip #868– This tip I probably use the least, but it does make a unique swirl like no other!
Half the decorating is in the buttercream. If you are new to buttercream, then be sure to check out my Ultimate Guide To Making The Best Buttercream Icing. It has 6 different basic buttercreams for you to master.
And if you want some flavor inspiration for your buttercream then be sure to check out my Buttercream Cheatsheet. It includes 13 different ways to flavor your frosting!
8 Ways To Decorate Your Cupcakes
There are so many fun ways to decorate your cupcakes with. Here is a list of ideas to get you started…
Or perhaps you want to simply swirl your cupcake frosting colors and add no garnish at all. Learn how to swirl your cupcake frosting (3 ways) here!
Cupcakes Recipes
Here are some recipes for you to try out your decorating skills on..
More Cupcake Tutorials
So there you go everything you need to frost cupcakes like a pro. Don’t hesitate to reach out and ask me any questions you like or just say hello! 🙂 I love hearing from you all!
And let’s stay in touch! Follow me on:
Twitter | Instagram | Pinterest | Facebook
Happy cupcake decorating everyone!


![Toni Kroos là ai? [ sự thật về tiểu sử đầy đủ Toni Kroos ]](https://evbn.org/wp-content/uploads/New-Project-6635-1671934592.jpg)


