Tips for Mixing Back Vocals: 10 Tips For Great Back Vocals!

Tips for Mixing Back Vocals
Introduction
Backing vocals are more than a few additional voices in a song. Their role in the arrangement is quite distinct and quite specific. Particularly in complex tonal compositions, backing vocals contribute to the density of the lead vocals. It is also important to note that they are complementary melodic lines within the framework of a harmonic melody.
There is no time like the present to make sure that backing vocals serve their specific purpose, whether you are in the pre-recording or mixing stage. Although we are unable to identify what type of vocal issues are present in your mixes, we offer some tips for mixing background vocals.
An important general tip to keep in mind before we begin is to take your studio space seriously. It does not matter how expensive the equipment is if the room is not properly prepared for recording and mixing. Certainly, professionals will be able to perform their duties even in a barn, but we recommend not complicating your life in any further way.
When the room is ready, you will be able to hear even the slightest shifts in the equalizer fader, any slight changes in the filter, and lastly, you will be able to perceive the low frequencies that the monitor emits.
Here are 10 Tips for Mixing Back Vocals, and you’ll see results in no time:
1. The Panning Process
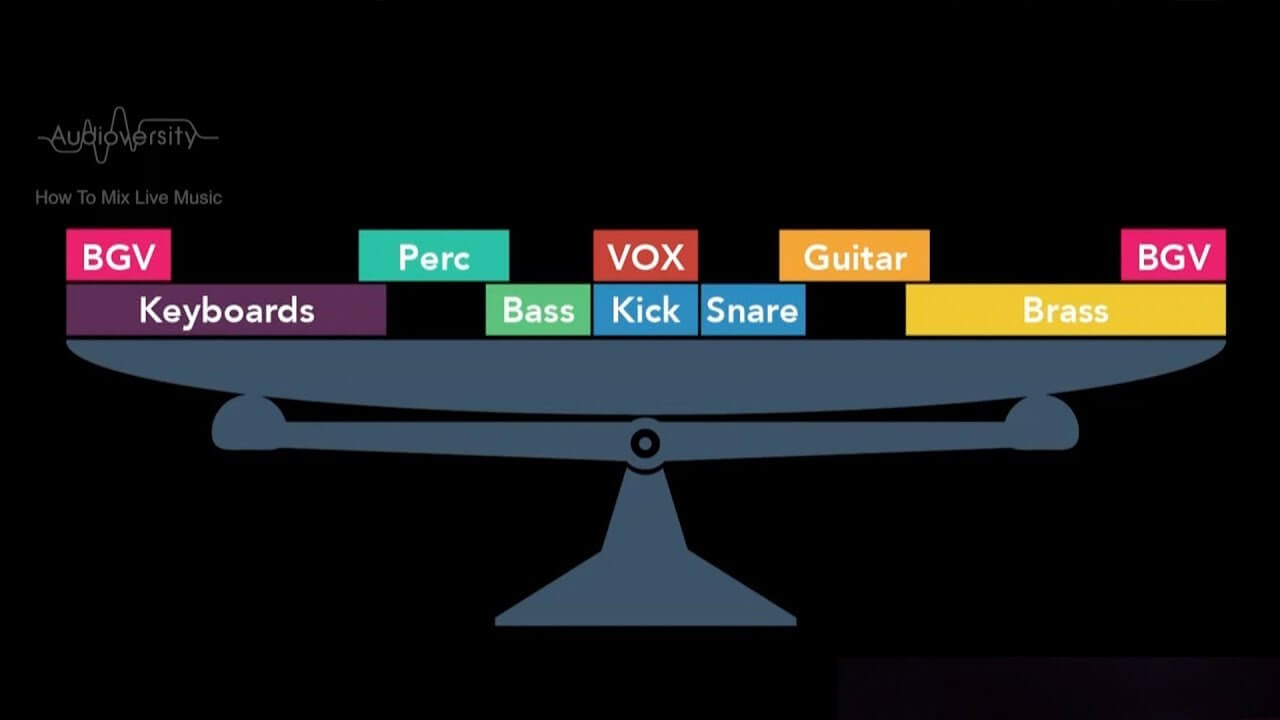
It is generally recommended that lead vocals be positioned in the center of the song. There must be a strong emphasis placed on these key elements in order to make them accessible to the listener and maintain their prominence under all playback conditions.
The situation is different, however, when it comes to other vocals. If your backing and harmony lines are spread out across the stereo field, they will often improve the spaciousness of the entire vocal effect.
You should avoid panning the lead to one side and the backing to the other if you only have one backing vocal line. Keep the lead in the center at all times if you only have one backing vocal line. It is possible to hardpan both vocal tracks if you are using double-tracked vocals, however, do so with caution.
2. Reduce the Volume Used
As obvious as it may seem, the first order of business is to find the right balance between the vocal tracks and a good blend with volume. Is it possible that your backup vocals do not blend together because they are too loud?
Once the lead vocal is in the correct position, pull down the faders on your backup vocals and gradually raise them until they sit correctly. It is possible to automate phrases that clash more than others on both tracks if they still clash too much.
The backup vocal may clash more in certain places if it is doing both oohs and words. If the vocals usually sit well together, you may be able to eliminate the occasional clash by automating the volume accordingly.
3. For Color and Depth, Use Formant Shifting
In order to thicken up a layered backup vocal part, we often formant shift some of the voices so they sound “bigger” or “smaller.” This is especially useful when the vocal arrangement is primarily composed of one singer layering overdubs.
As a matter of fact, if you are unfamiliar with formant shifting, it is a sonic artifact that naturally occurs when the pitch is shifted – originally achieved by speeding up or slowing down the playback of audio tapes.
By using digital processing, formant shifting allows us to separate the size of a sound from its actual pitch. You can try formant shifting some of the backup vocals if you have a group of layered backup vocals. For subtle thickening, one semitone or less is often sufficient, although two semitones can be effective if realism is not necessary.

4. Using Reverb to Separate the Space
You also can create contrast in a mix with the reverb. It is an excellent tool for adding three-dimensional space to a mix and making elements feel as if they are in their own pocket. Strong contrast is crucial, which is why we tend to follow the rule of opposites.
We usually contrast a back vocal that is very wet with the verb with a lead vocal that is dryer and upfront. It may also be helpful to think about the shock/awe factor you wish to achieve when the backings enter the mix.
The vocals should reverberate in a similar manner for smoother and more subtle entrances. It is, however, better to make the vocals sound opposite each other in order to shock the listener once the background music enters the chorus.
5. Tweak Your Compression
It is essential that the background vocals are consistent. It is not possible to have random notes sticking out of the mix. Listeners will be distracted from the main parts of the song by these elements. While you should automate the volume of every single note out of place, you should not spend as much time on this as you would on the main vocal.
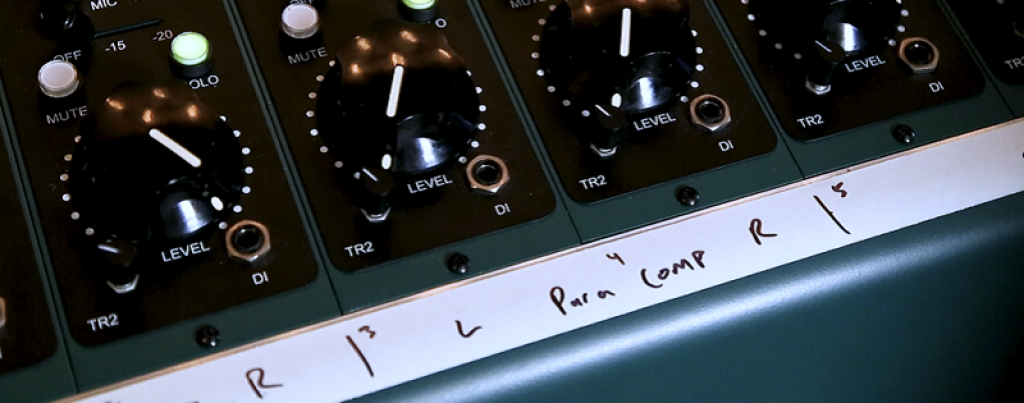
You should instead compress it very hard. Make adjustments to the makeup gain until you obtain a reduction in gain of 5-10 dB, then increase your threshold. All of your dynamic problems should be resolved by that time. Reduce the attack time as well. Background vocals benefit from faster attack times since they are usually placed further back in the mix.
6. Creating Harmonies from Scratch
You may use a plugin such as Waves Tune if you wish to harmonize a part without background vocals or if you wish to add a harmony part. Waves Tune allows you to graphically edit notes. In the tuning program, duplicate the lead vocal or one of the harmonies and adjust the notes accordingly.
In order to make your model appear even more realistic, you may want to move them a little forward or backward. In addition, the harmony tracks were electronically doubled. In some cases, all you need is parallel harmony, such as a fifth up, depending on the melody and harmonic structure of the song.
You can do this by using a pitch-shifting plugin such as Vocal Bender and setting it to shift up by seven semitones. At certain points in the harmony, you may need to adjust Vocal Bender’s pitch shift to match the new interval.
7. Filtering Out Bad Frequencies
The low end of the vocal track may be rolled off by using a high-pass filter. Besides removing frequencies below the vocals, perhaps you should even thin out the background a little to reduce lower-midrange clutter.
Conversely, if the lead vocal provides a high-mid vocal presence in the mix but lacks body, you may wish to increase the low mids in the BVs in order to enhance the overall sound of the vocal.
The presence of more high-end a track makes it appear more forward in the mix in addition to being louder. Taking some of the highs out of your background parts will allow them to sit nicely behind the lead vocal, which is likely to be the case in most, but not all cases.
8. Give the Lead Vocal Space with EQ
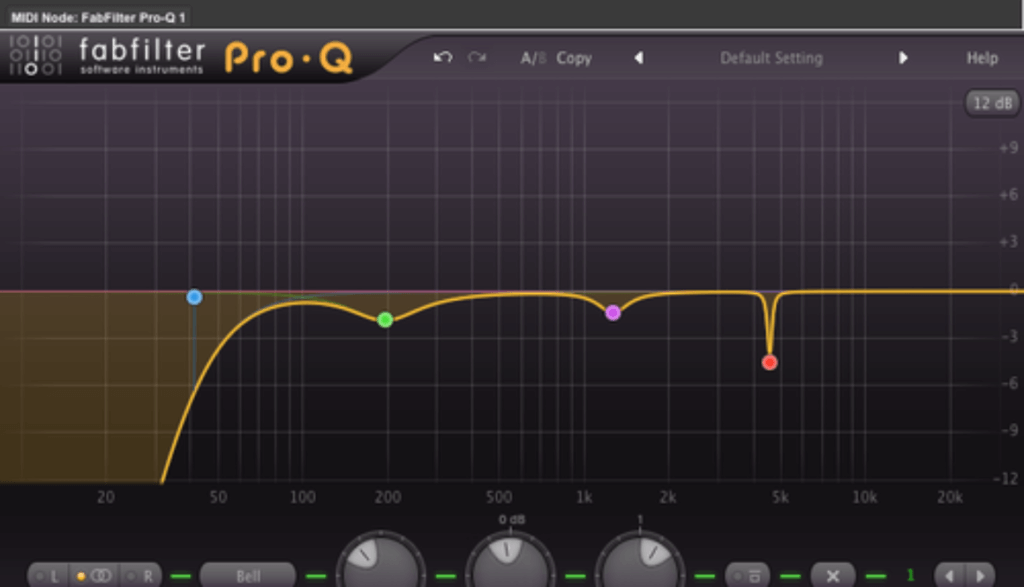
Our backup vocal submissions usually contain some gentle EQ to enhance the quality of those additional vocal layers without interfering with the lead vocals. Where the lead vocal requires breathing room, we will make cuts in the midrange.
Usually, the body of the lead vocal sits between 150 and 400 Hz, and the lead vocal has a distinct sense of articulation around 2 kHz or so. Using a mid/side EQ, we will make those midrange cuts down the center channel if the backup vocals live to the sides.
There is no need to sacrifice the fullness of the backup vocals in order to allow the lead vocal to stand out in the center. Additionally, there are two kinds of filters that can be utilized to get backup vocals to sit correctly in a mix: high-pass and low-pass filters.
9. Blend Using EQ
If you wish, you may use EQ to create pockets in the frequency spectrum where all the vocals can be comfortably heard together. A prominent presence of the lead vocal is usually found somewhere in the high midrange. It is unsurprising that the other vocals are also present there since they are all vocals.
You can usually avoid clashing in this frequency spectrum if you cut the same highs and mids in the backup vocals. By doing so, you will be able to blend all the vocal tracks more effectively. The presence of the backup vocals could be softened by a good wide cut from approximately 900 – 5 kHz, enhancing the prominence of the lead vocals.
Additionally, if you would like something to blend in, the most straightforward method is to roll off the high frequencies. It might sound odd when they are soloed, but when they are combined with the lead vocal, they may become perfectly complementary.
10. Use a Short Delay for a Bigger Sound
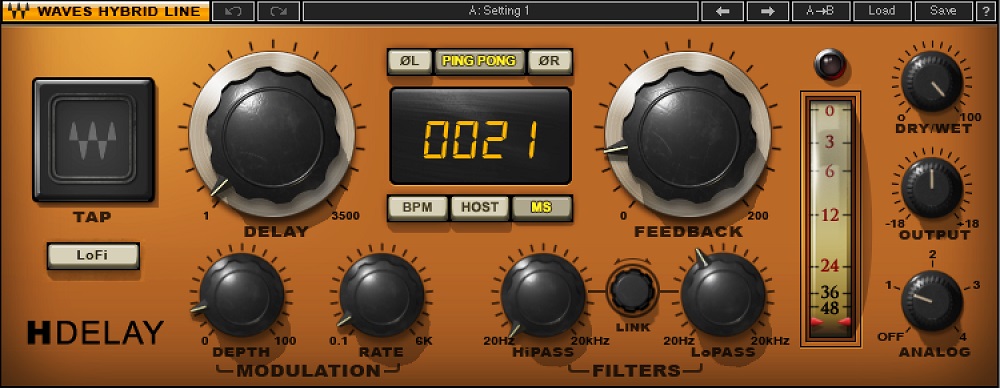
Another more conventional method of thickening the sound of a vocal group is to use a short delay. A few singers should consistently be a few milliseconds late to emulate the sound of a vocal group. It is usually recommended to use delay values in the range of 20-60 ms.
This range is just long enough so that phase problems do not arise, but short enough so that the delay does not appear rhythmic. It is important to use a light touch when mixing in this sort of processing, as too much will cause the delay to be noticeable.
Combined with the previous suggestion, this trick can make your backup vocal group sound much larger – formant shift some voices and add some short delays.
Conclusion
If this sounds overwhelming, that is because it is, but do not become discouraged. Spending a significant amount of time enhancing your lead vocals will have an amazing impact on your song, as they are the focal point of any mix.
Mixing can be complicated by background vocal arrangements, but this is not necessarily the case. The key to mixing multitrack drums or any other common stumbling block is to have a vision of the sound you desire and make the most of the material you have at your disposal.
We hope you have gained some new insight into how to approach vocal arrangements in your next mix as a result of reading this article. When it comes to backing vocals, efficiency is of the utmost importance. There is no need to spend a great deal of time on them.
It is possible to save a great deal of time by copying the plugin chain from the lead vocal. Once the vocals have been incorporated into the mix, ensure that they do not interfere with the lead part.


![Toni Kroos là ai? [ sự thật về tiểu sử đầy đủ Toni Kroos ]](https://evbn.org/wp-content/uploads/New-Project-6635-1671934592.jpg)


