Inexpensive DIY Wood Slat Ceiling
Last Updated on October 16, 2012 by Kristi Linauer
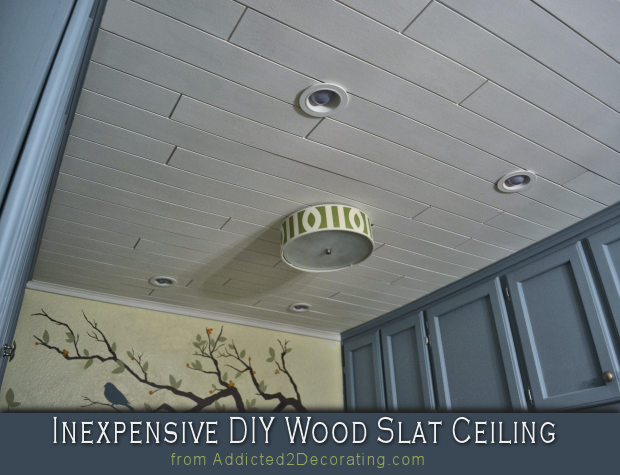
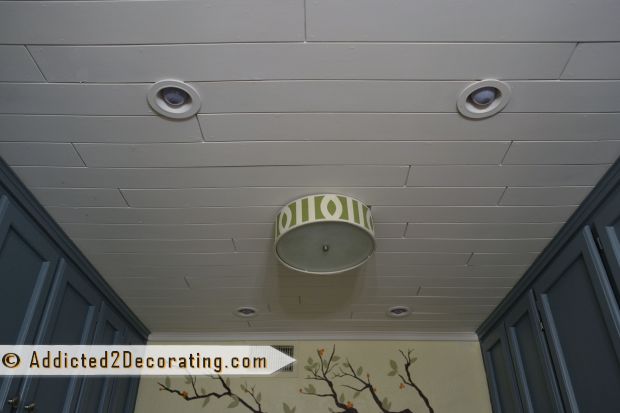
On Monday when I posted the before and after of my kitchen, I left out the info about my DIY wood slat ceiling. Many of you noticed that it was different than in the original kitchen, and wanted to know more, so today I’m spillin’ the details.
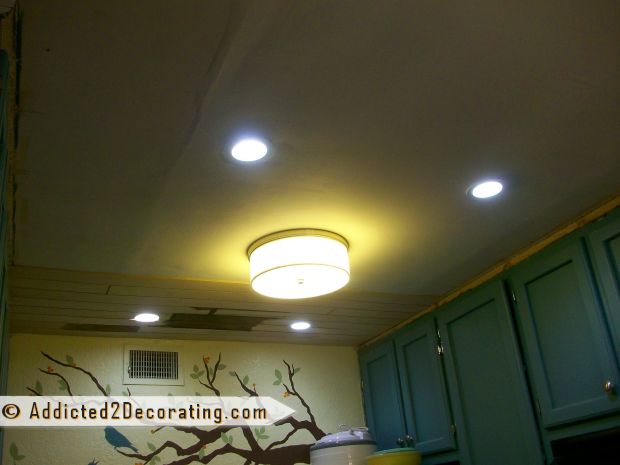
Before I added the wood slat ceiling, my ceiling was really in sad shape. It all started when we added the recessed lighting. We didn’t remove all of the drywall because…well…something to do with the way that the ceiling joists lined up.
So when we replaced the drywall that had been removed, the new drywall was slightly thinner than the old stuff. So I was left with awful ridges in my ceiling. I’m sure that someone a lot more skilled at taping and floating could have hidden those ridge much better than I did. But taping and floating isn’t my thing. At all.
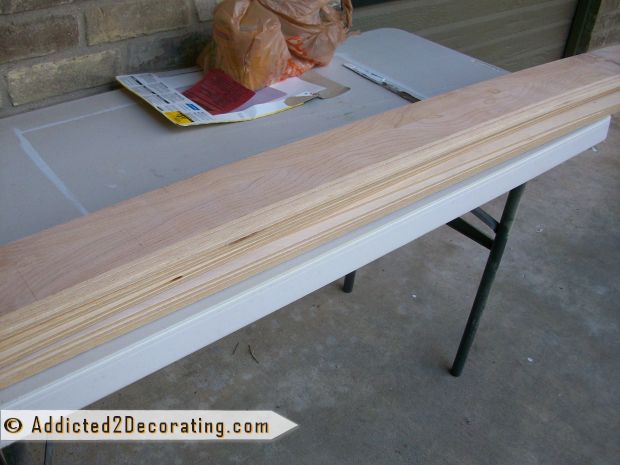
So I decided that a wood slat ceiling was the answer. I purchased four sheets of 1/4″ plywood at Home Depot, and because I don’t own a table saw, I had them cut the plywood into 4″ strips for me. Then I cut those strips into 4-foot sections with my miter saw.
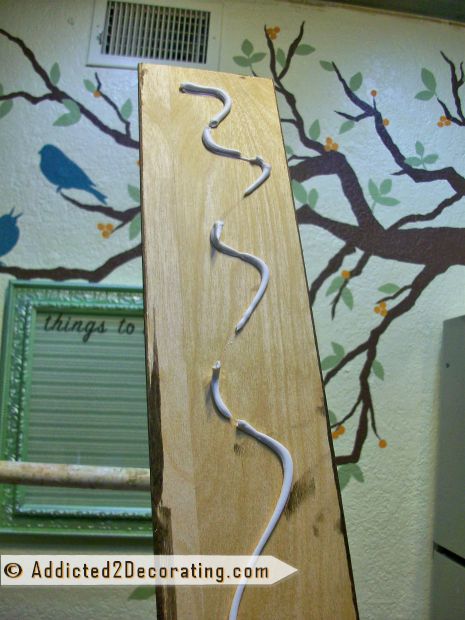
Then, because I was doing this ceiling by myself, I used construction adhesive on each strip, and then nailed it to the ceiling with my nail gun.
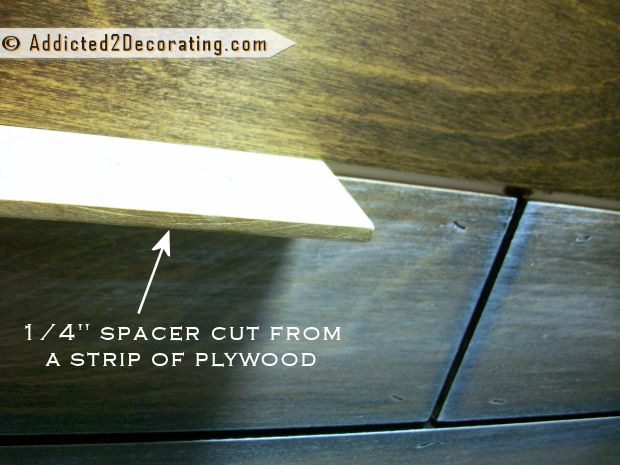
I used a scrap piece of plywood as a spacer so that all of the pieces were evenly spaced.
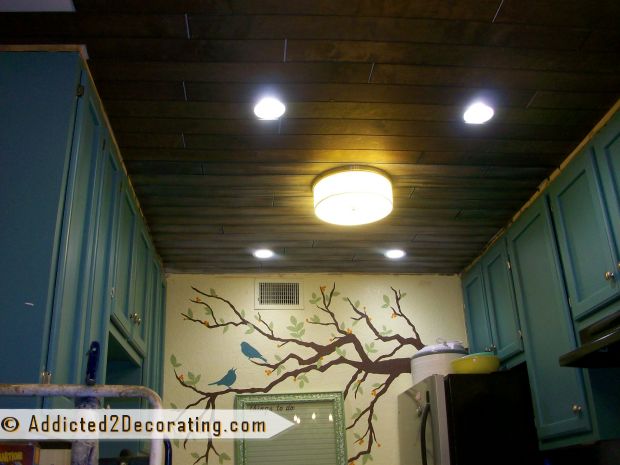
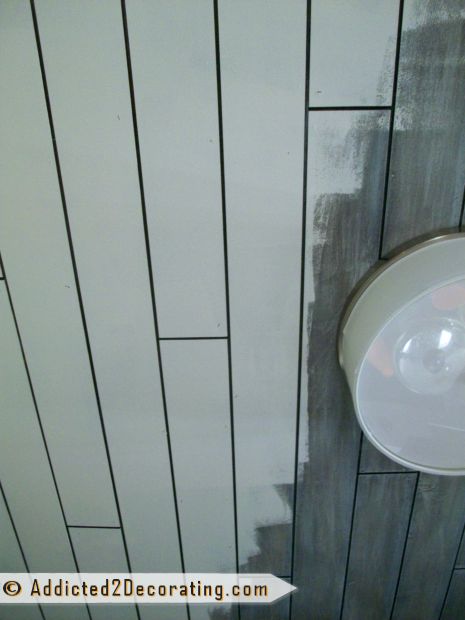
And yes, as you can see from the picture above, I originally had the idea of staining the boards before installing them. Bad idea. Not only did it waste tons of time, but my kitchen looked like a cave.
So then I tried varying degrees of drybrushing and whitewashing. Those didn’t really work out either.
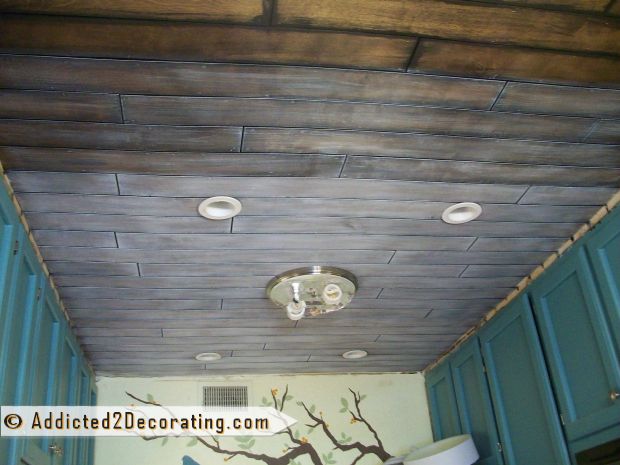
I finally decided to paint the ceiling, but since I had gone to all of the trouble painting the cracks black, I tried to keep those black. I thought it would somehow add depth. It just ended up looking really harsh and overpowering.
So in the end, I just painted the entire thing white…cracks and all. It didn’t completely disguise the fact that my ceiling was uneven, but it definitely looks better than the drywall….and a thousand times better than the original popcorn ceiling that was in the whole condo when we bought it.
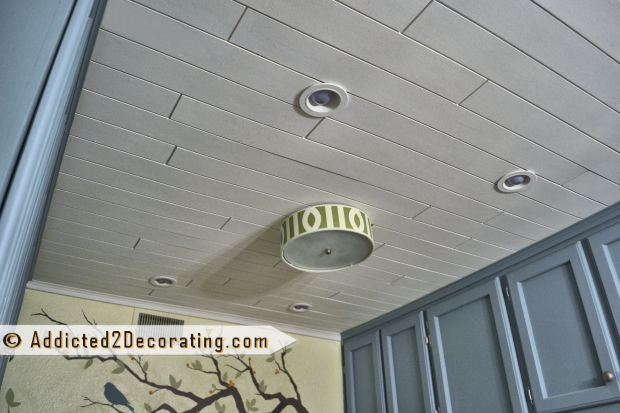
I think I ended up using about 4.5 sheets of plywood for the ceiling in my kitchen and dining area. So at about $20 each, the whole ceiling came to somewhere around $100. And overall (without the awful staining/drybrushing/whitewashing/painting the cracks black detour), the process is fairly quick and simple.

Addicted 2 Decorating is where I share my DIY and decorating journey as I remodel and decorate the 1948 fixer upper that my husband, Matt, and I bought in 2013. Matt has M.S. and is unable to do physical work, so I do the majority of the work on the house by myself. You can learn more about me here.
I hope you’ll join me on my DIY and decorating journey! If you want to follow my projects and progress, you can subscribe below and have each new post delivered to your email inbox. That way you’ll never miss a thing!


![Toni Kroos là ai? [ sự thật về tiểu sử đầy đủ Toni Kroos ]](https://evbn.org/wp-content/uploads/New-Project-6635-1671934592.jpg)


