Icing Coupler – What Is It and How to Use It
Have you heard of icing coupler before? Well, I have definitely mentioned in quite a number of pages on my site and it is a tool that is closely associated with piped cake decorating techniques. Having said that, you do not need a coupler for all piped decorations. Some can also be done without a coupler, and it all depends on the piping tip you are using. So first things first. This is what a coupler looks like:
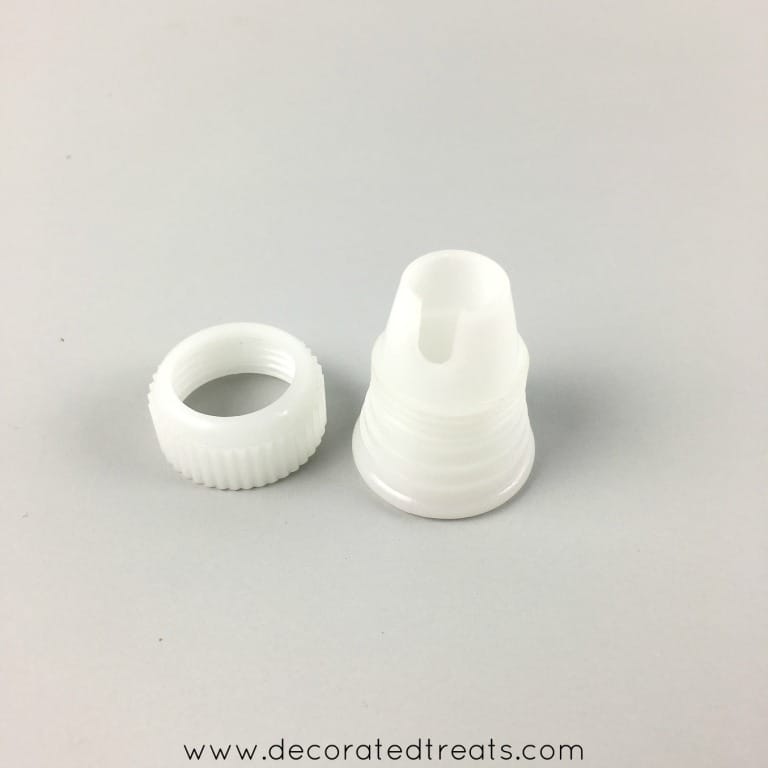
It’s made of plastic and has 2 components. One long cylinder-shaped piece and another one that looks like a nut. These are mostly made in plastic and come in many different colors. The ones I use are Wilton couplers and the size can fit all Wilton standard piping tips. By standard, I mean the normal-sized piping tips and not the larger ones like tip number 2D.
There are off course larger couplers for the larger piping tips. But I find that the larger tips don’t really need couplers. They are good to use without a coupler.
Using a coupler is so easy that it is often assumed one would know how to use it without any demo. And that was what I thought too all this while until someone asked me what a coupler is and how to use it. So I decided to do this small write up on icing couplers.
Mục Lục
What is a Coupler Used For?
Icing couplers are basically used for all kinds of piped decorations that use piping tips. They are used primarily to secure the fit of piping tips to piping bags so that the icing does not leak out when squeezed for piping. It also makes changing piping tips easy as the tip is held by the coupler outside the piping bag.
How to Use an Icing Coupler – Video
Check out my full video on how to use an icing coupler:
How to Use an Icing Coupler – A Step by Step Guide
Ok, this is the fun part – the demo. I’ll show you how to fit an icing coupler into a piping bag. Also, how to secure a piping tip with it in the best way to avoid icing leaks.
These are the supplies you would typically need:
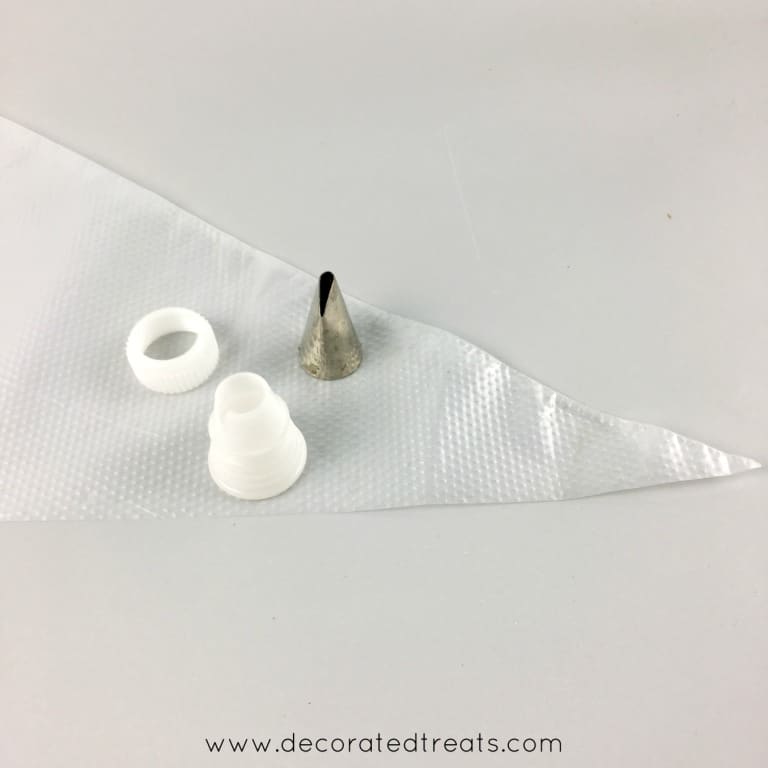
How to fit an icing coupler into a piping bag
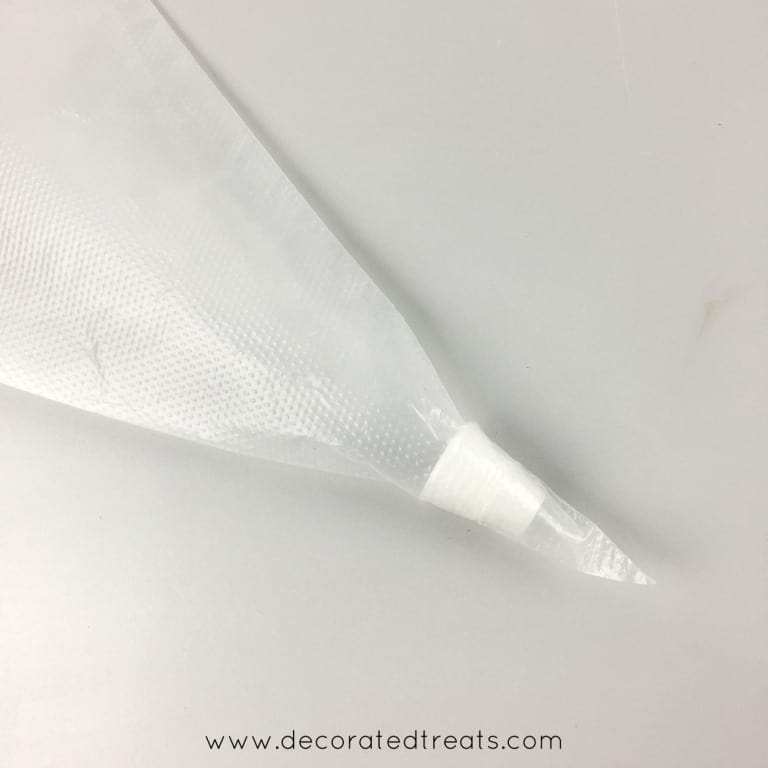
- And this is how to fit the coupler to your piping bag. Start by dropping your cylinder component into your piping bag and push it right to the tip.
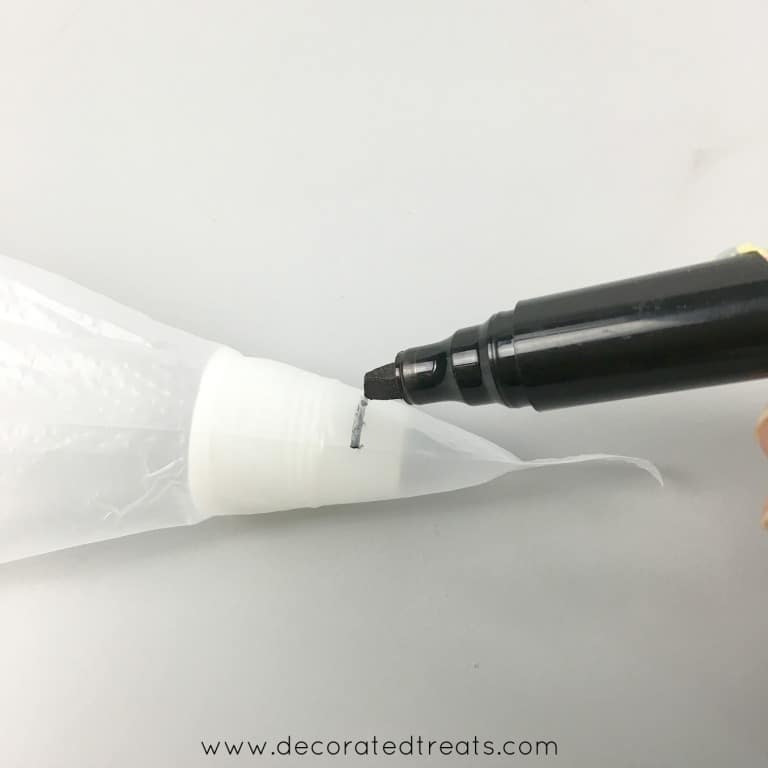
- Next, using a marker pen, draw a small line as a cutting guide. The position of the line is very important to avoid leaks in the piping bag so always make sure it is no more than the one-third mark from the bottom of the coupler. Also, make sure, the line is always below the thread lines on the coupler.
- And then, push the coupler up so that you can cut your piping bag along the line marked earlier.
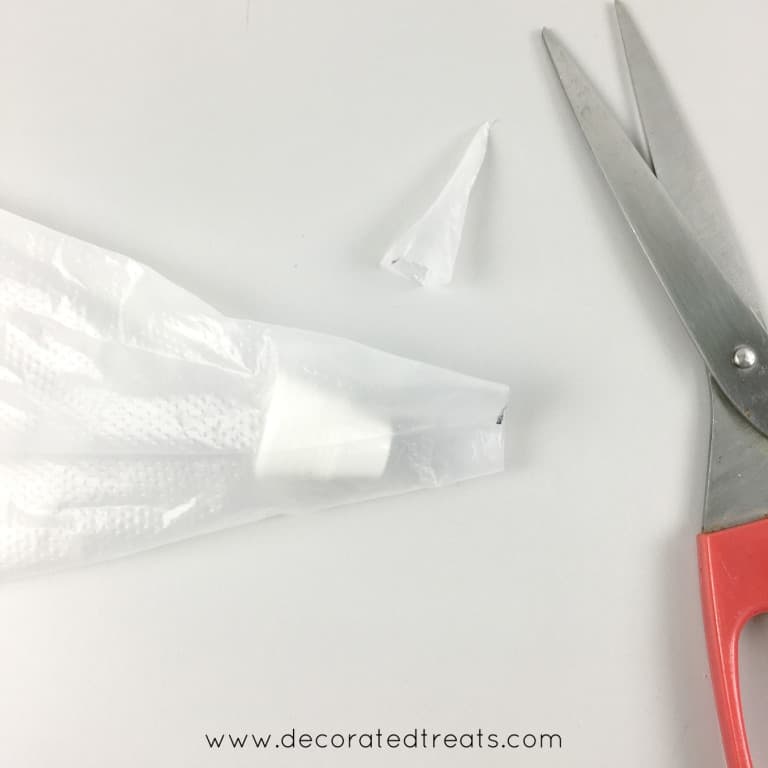
- Once cut, push the coupler back to the tip of the piping bag. This is how it would look like.
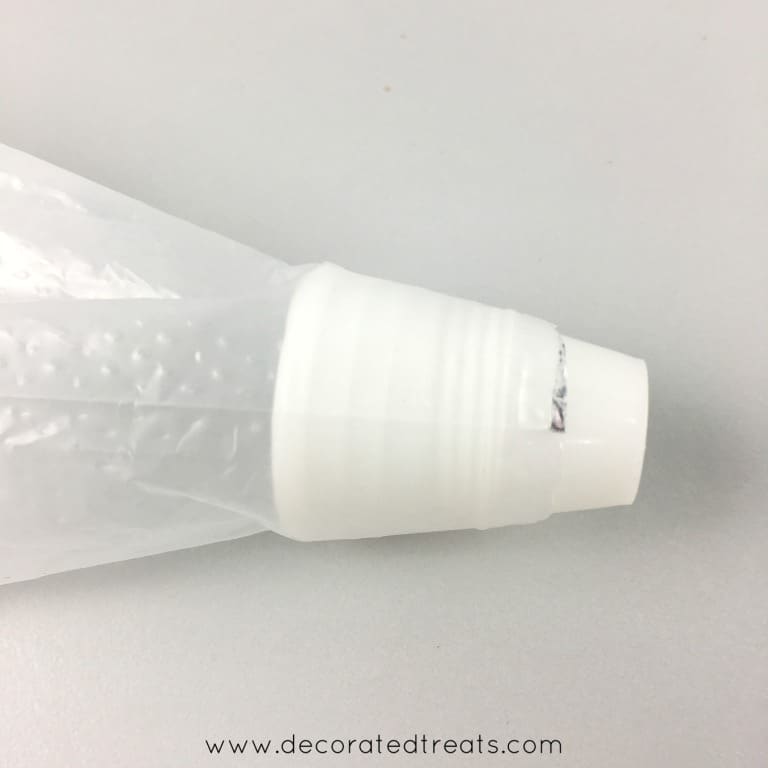
- Next step is to fit the piping tip. This will be done using the coupler nut.
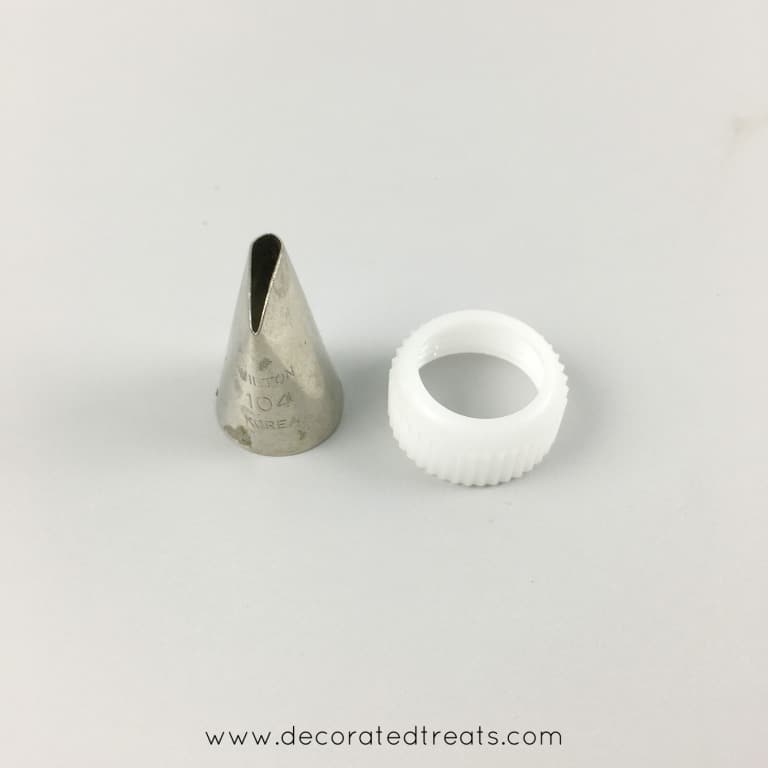
- Place the nut as shown below:
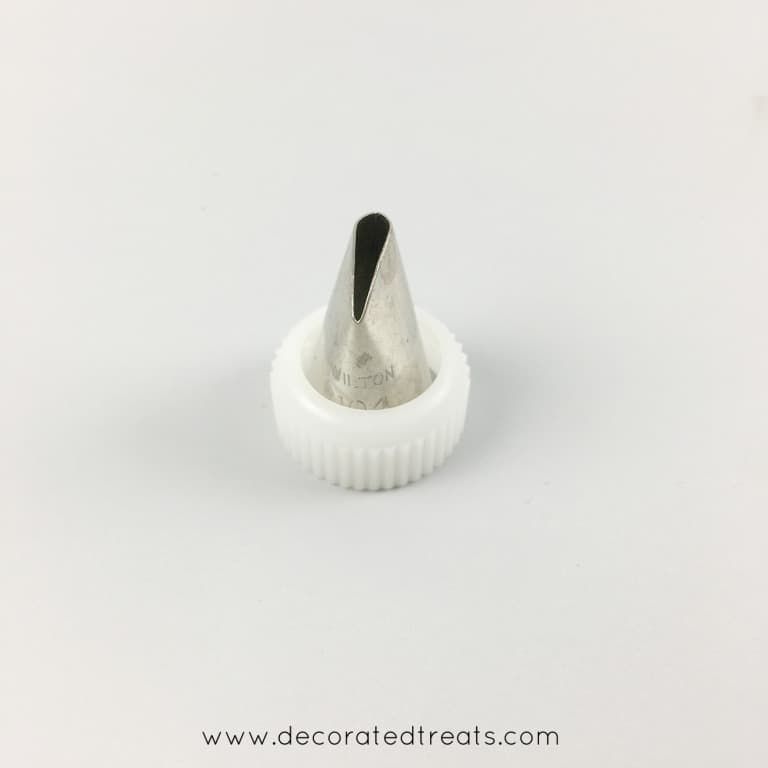
- And then, simply lift the tip with the nut on and screw it to the coupler in the piping bag like this:
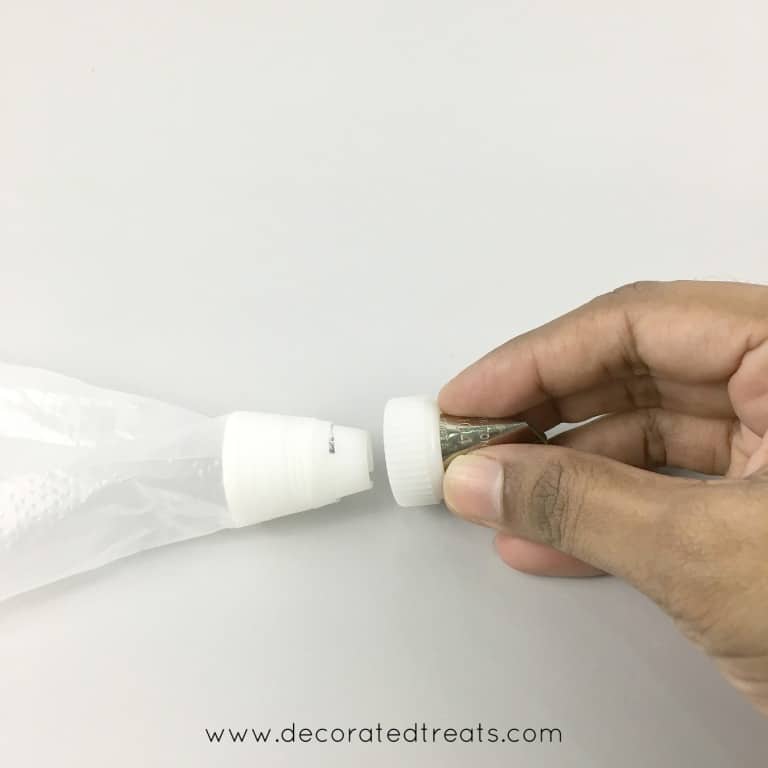
- This is how it should look like when done.
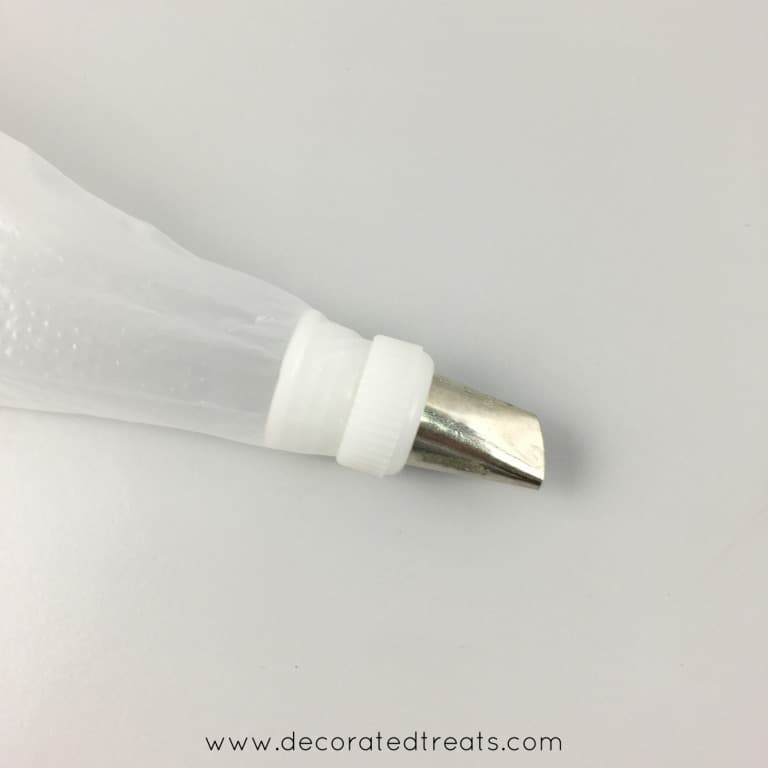
- You can then fill the bag with icing and start decorating your cake. And if you need to change the tip, simply unscrew the nut and replace the piping tip before screwing it back again.
And that is how you use a coupler for cake decorating piping.
Happy Decorating 🙂


![Toni Kroos là ai? [ sự thật về tiểu sử đầy đủ Toni Kroos ]](https://evbn.org/wp-content/uploads/New-Project-6635-1671934592.jpg)


