How to Use NOOBS on Raspberry Pi 4 | Raspberry Pi
Raspberry Pi
Want to quickly start off with your new Pi 4? The New Out Of Box Software (NOOBS) is the way to go.
After you have finished setting up your work area for your new Pi 4, you should be ready to install an operating system on it! If this is your first time working with a Raspberry Pi, or you just want a quick way to start off with the Pi 4, the New Out Of Box Software (NOOBS) is the way to go.
Though you can buy a MicroSD card with NOOBS pre-installed, it is almost as easy (and much more rewarding) to install the operating system yourself.
Mục Lục
Downloading NOOBS
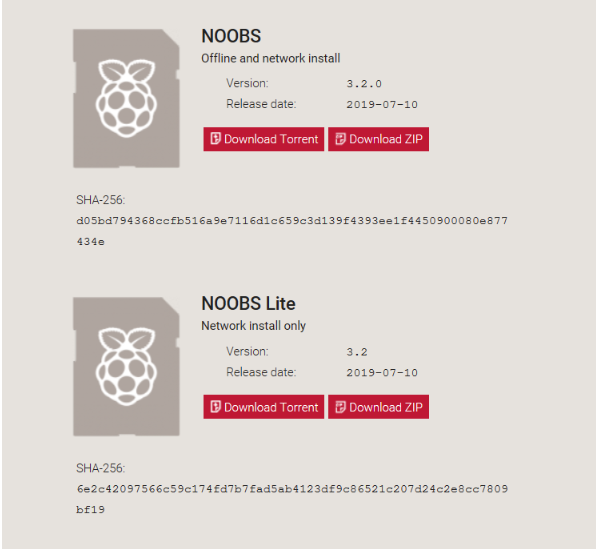
Before doing anything else, you should start downloading the NOOBS file itself. Head over to the NOOBS download page and you will be presented with two options: NOOBS or NOOBS Lite.

NOOBS
Weighing in at 2.1 GB, the offline version of NOOBS may take a while to download depending on your internet speed, but comes with Raspbian and LibreELEC (a media center OS) pre-loaded to install on your Pi. Pick this option if your Pi will not have internet access while installing.
NOOBS Lite
The NOOBS Lite version is considerably lighter, taking up less than 40 MB of space. Of course, you will need internet access during installation so that the Pi can download everything it needs.
Preparing your SD Card

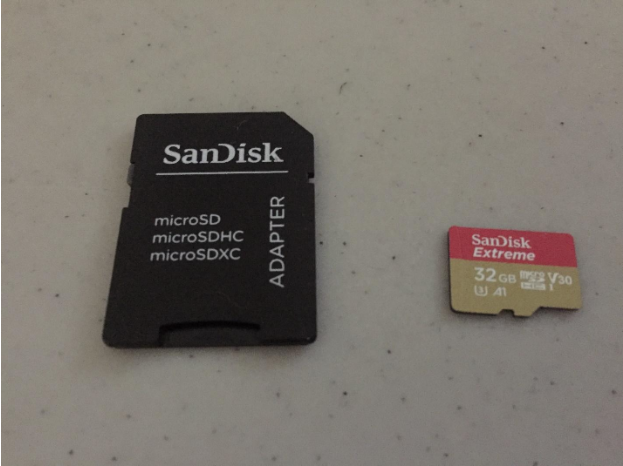
While NOOBS is downloading, we can start preparing our microSD card to host the operating system. Insert your card into its adapter, then into your work computer.
Though formatting your SD card isnât necessary if the card is brand new, it is a good skill to know in general for those working with Raspberry Pis. For Windows users, download the SD Associationâs Formatting Tool. Install, then run the program. Select your SD card, then click âFormatâ. For Mac users, install and run this version of the program, then select âOverwrite Formatâ along with your SD card. Click âFormatâ, and it will be ready. For Linux users, the Raspberry Pi Foundation suggests using GParted to format the SD card as FAT32.
Once NOOBS is downloaded, extract all of the files from the .zip file into the root directory of your card. After this, your SD cardâs directory should look like the image below.

Installing an OS on Raspberry Pi 4
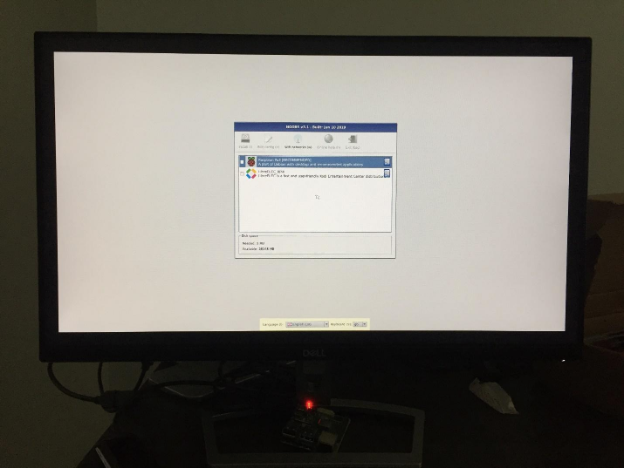
Now that your SD card is primed, safely eject it from your PC, insert it into your Pi 4, and plug in your power supply. You should see a rainbow-colored splash screen, then an OS installation screen.

If you downloaded the offline version, Raspbian or LibreELEC can be installed without a network connection. With the Lite version, you will need to connect to the internet. Select the âWi-Fi networksâ option, then enter your network details. If you need to connect to enterprise Wi-Fi with a login page at a university or apartment building, click on the âOnline helpâ button to open a web browser to log in.
Now you can pick an operating system to install on your Pi! If you are a complete beginner, go ahead and install the first option, Raspbian Full. Once you click âInstallâ, the installation process will take about fifteen minutes. When everything is done installing, you will get a message saying your OS has been successfully installed and your Pi will reboot. From there, simply follow the start-up wizard and your Pi will be ready to code!
Thanks to NOOBS, you now have an OS installed on your brand-new Pi 4, and can begin working on all of your planned projects!


![Toni Kroos là ai? [ sự thật về tiểu sử đầy đủ Toni Kroos ]](https://evbn.org/wp-content/uploads/New-Project-6635-1671934592.jpg)


