How To Do A Gesture Drawing – The 7 Step Procedure Used By Professional Artists
Pin
58
58
Shares
(Get free painting tips and techniques sent straight to your inbox or on my social media.)
Have you ever thought about what is gesture drawing and how to do a gesture drawing? The main goal of gesture drawing is to help you study of the human figure in motion. A gesture drawing helps you better understand the tensions of muscles, the effects of twisting on the torso of the body, and the range of motion in the joints. A gesture drawing will generally take just a minute or two, but could be done in just a few seconds with just one or two expressive lines.
It is also useful to help you draw strenuous or spontaneous poses that a model could not hold long enough for a more detailed drawing, and is very valuable for capturing your first impressions of the pose before you start doing a longer drawing. This procedure for how to do a gesture drawing focusses on the essence of the pose and uses lines, rather than modeling in detail the light on the form.
You can also use gesture drawing to switch your brain to the right frame of mind to prepare for a figure drawing session. It can also help you “loosen up” to avoid your drawings becoming to stiff and lifeless.
You can either draw from life or from photographs. There are many sites now where you can get suitable figures to help you practice how to do a gesture drawing.
Here is a procedure for how to do a gesture drawing of a figure based on research of the methods used by professional artists. This procedure for gesture drawing helps you create the gesture in the fastest and most efficient way. It starts by establishing the most important parts of the gesture first, and then moving on to the less important parts of the gesture.
Mục Lục
How To Do A Gesture Drawing
Here is the recommended 7 step procedure for how to do a gesture drawing. By following these 7 steps you will save time and be able to capture the gesture of a figure in as short a time as possible.
Total Time: 5 minutes
Step One: Establish placement in composition
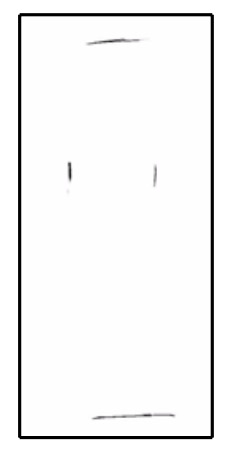
In step one you need to roughly establish the placement of the figure so it is in the right position to fit your composition. You must get this right before you start adding more detail, otherwise you will have wasted your time on the detail.
Step Two: Indicate environment
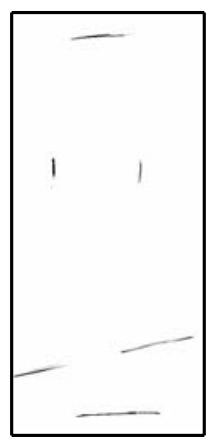
Very briefly indicate the environment in which the figure is placed.
Step Three: Represent major masses of the torso
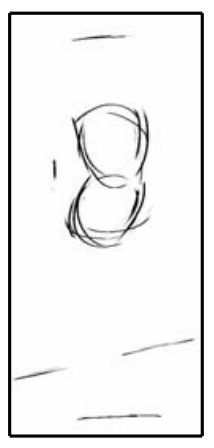
In step three you represent the two major masses of the torso.
Step Four: Create flow between major masses
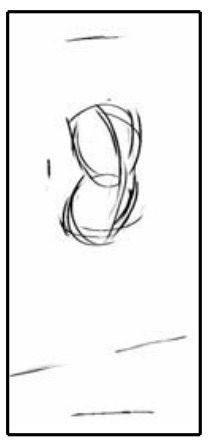
In step four you establish the relationship between the major masses. The best way to do this quickly is to show a center line connecting the two masses
Step Five: Establish action and balance
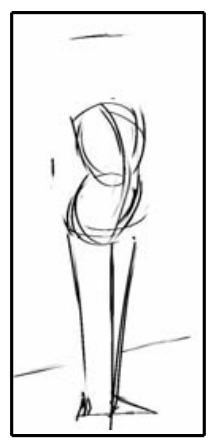
Once you have the major torso masses in place and their relationship established, you need to position the limbs that are supporting the weight. This is called the action of the figure.
Step Six: Indicate attitude of head
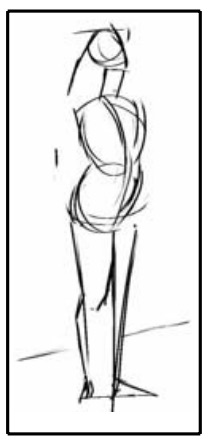
Show how the neck joins into the skull form, including any bend in the neck from the spine in the chest region.
Step Seven: Establish other limb direction line
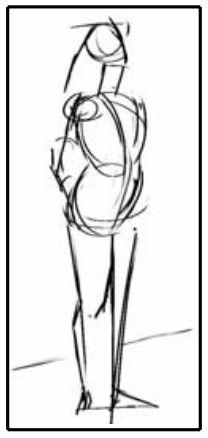
After you establish the action you need to establish the direction of the other limbs. You need to do this before drawing the limbs in detail since the general direction of the limbs contributes much more to the gesture than does their detailed shape.
Two Quick Techniques for Gesture Drawing
An important part of your life as an artist is to regularly create gesture drawings from your daily life. This way you can use them as inspiration or reference material for a painting. When you are out sketching from life, you need to capture the key aspects of an object, scene or person on paper very quickly. This applies to both objects and people. Apart from the line drawing technique shown below, which can take a long time to complete, there are two techniques you can use to quickly capture the gesture of a figure in a drawing: the scribble line gesture and the mass gesture.
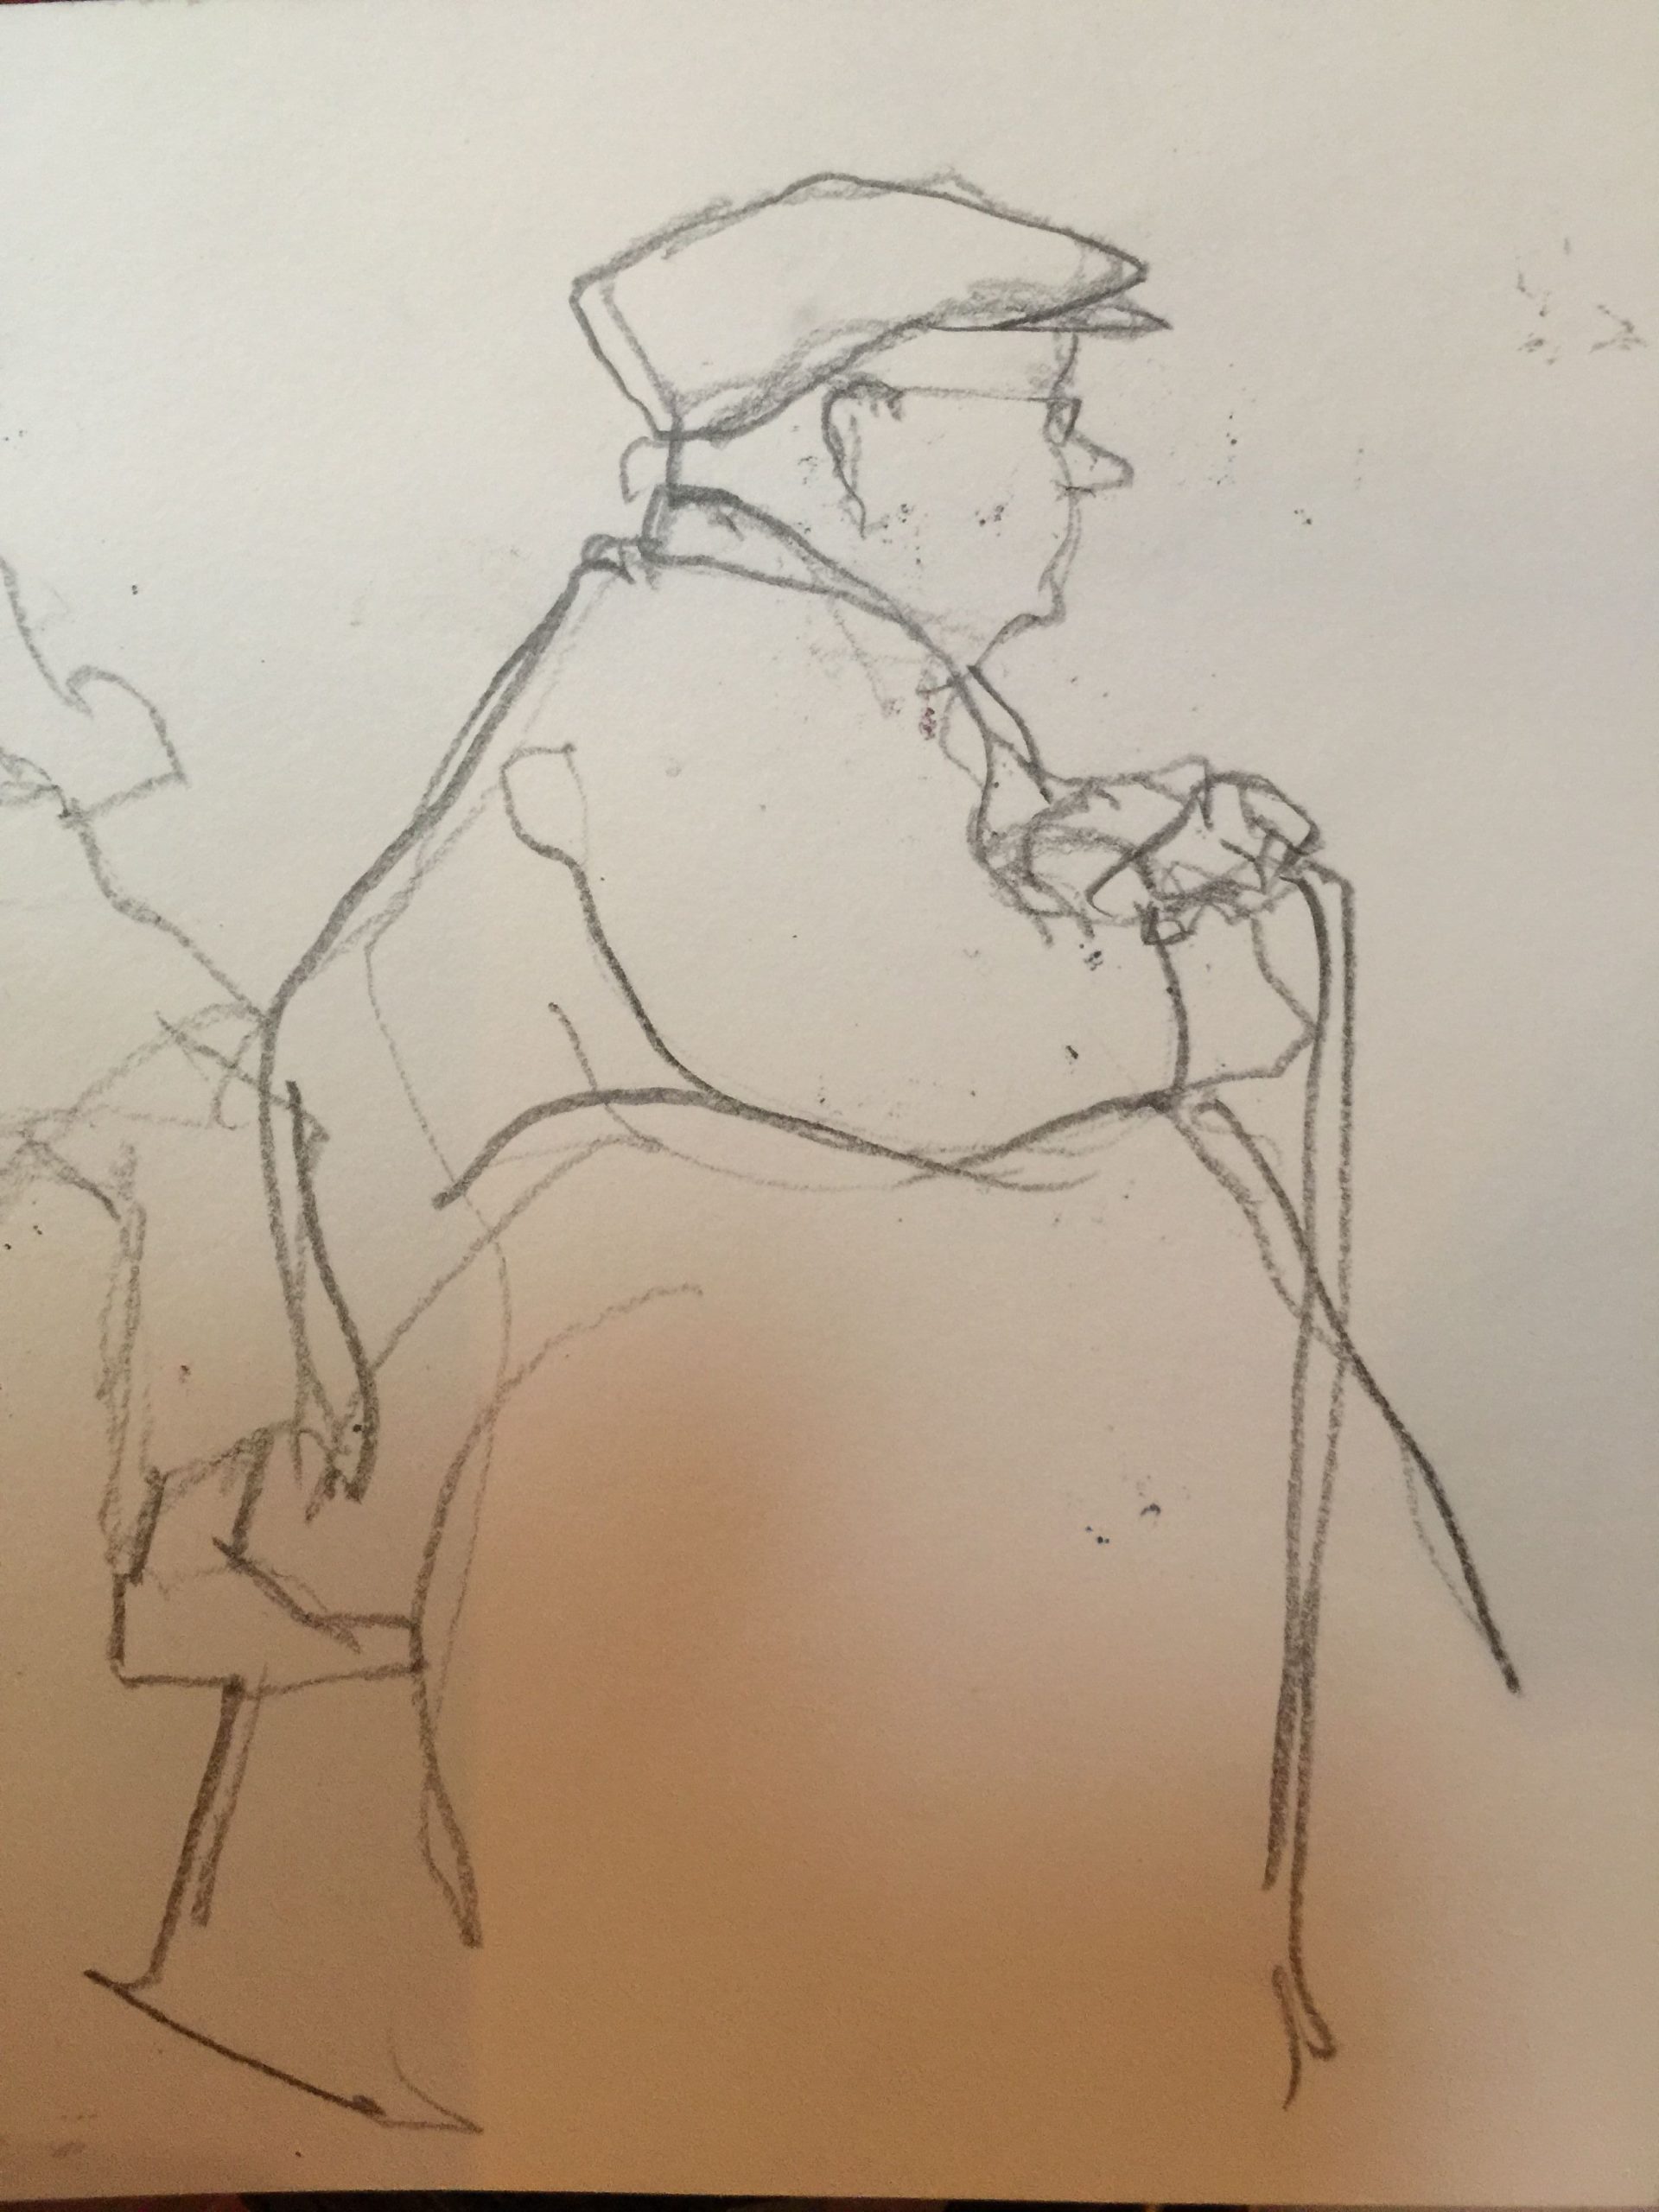
Scribble line gesture drawing
The scribble line gesture drawing is used to quickly establish the size and placement of the major shapes. You can use this technique both as a learning tool to help you see shapes better, and also as part of a longer process of creating a finished drawing.
You can use any drawing tool with a point. You can use:
- a pen
- a pencil
- a stick of charcoal
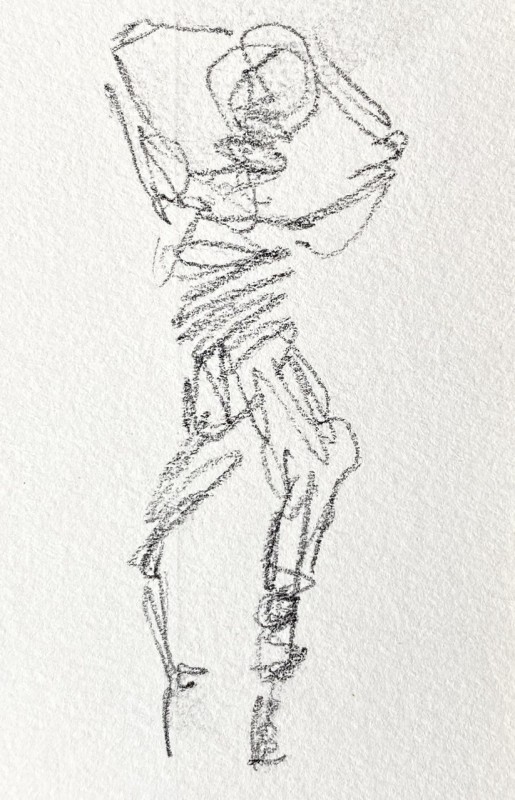
Tips
- Work from the inside of the shape outwards, avoiding the outline. Think of yourself as building the form as if you were modelling it out of clay.
- Make more scribbles in the center of the shape where you are confident of its position, and less scribbles near the outline where you are not so sure of the position.
- Use a circling motion that starts at the center of the shape and works its way outwards towards the outside contours.
- Work freely and loosely.
- Finish these sketches quickly, in 30 seconds, or one or two minutes.
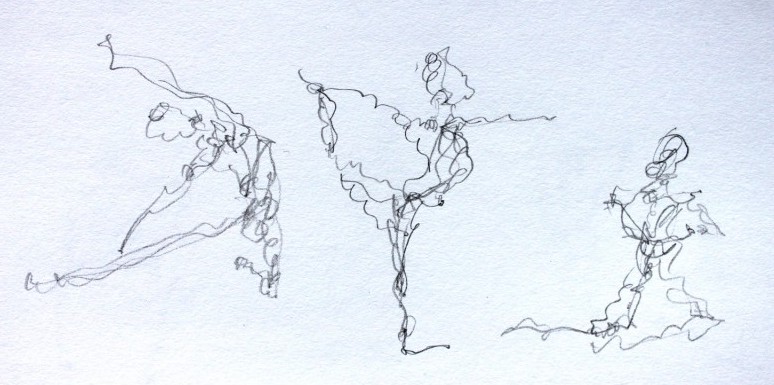
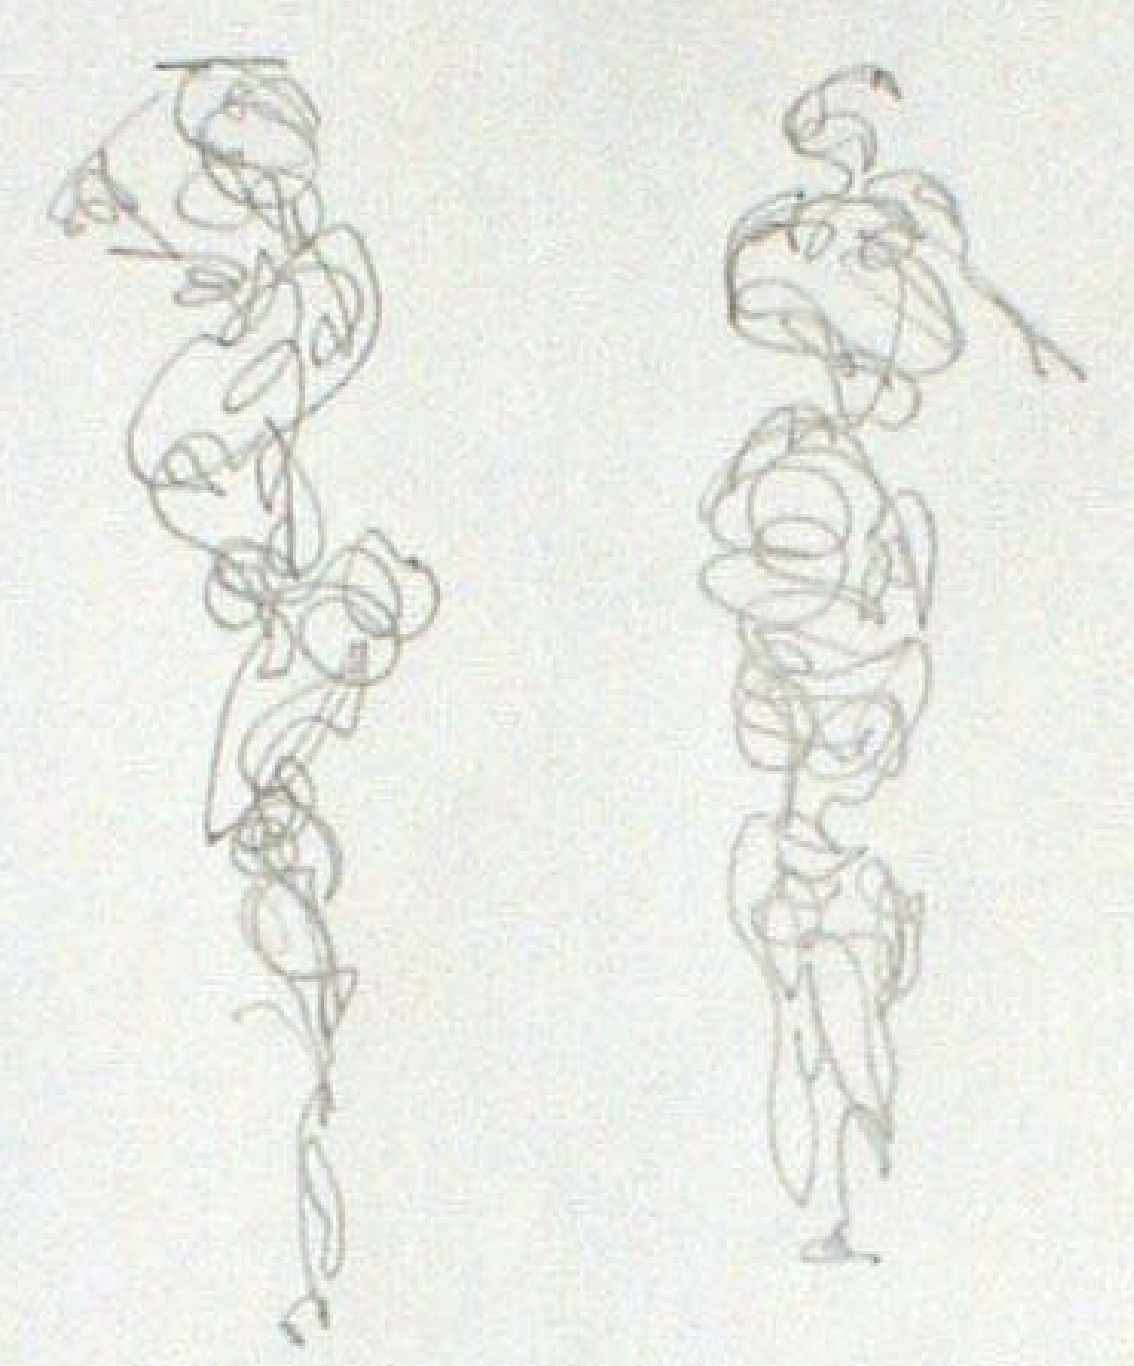
Mass gesture drawing
In a mass gesture drawing you use a drawing tool that creates a two dimensional shape directly, without the use of line. You can use the flat side of a short stick of conte crayon or charcoal, a brush and paint, or a brush and ink.
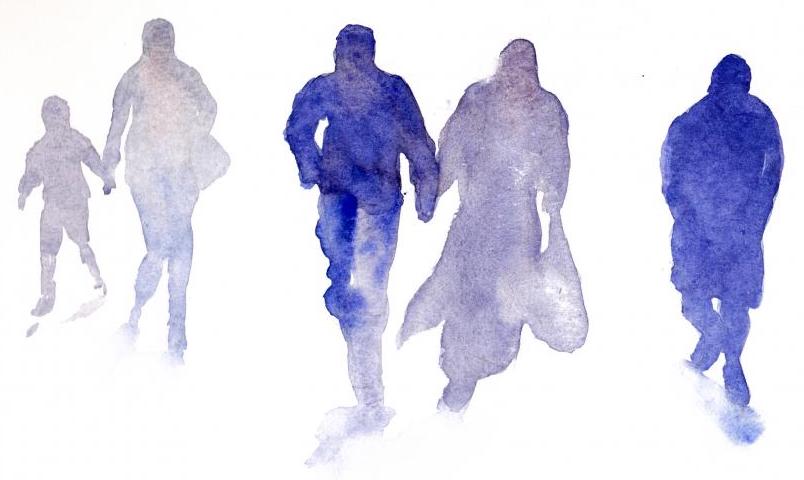
- Work from the inside of the shape outwards.
- Work from large to small.
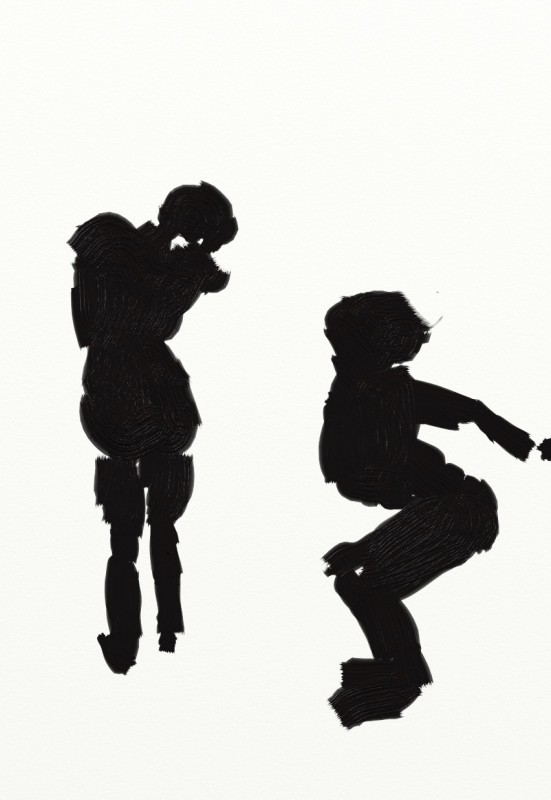
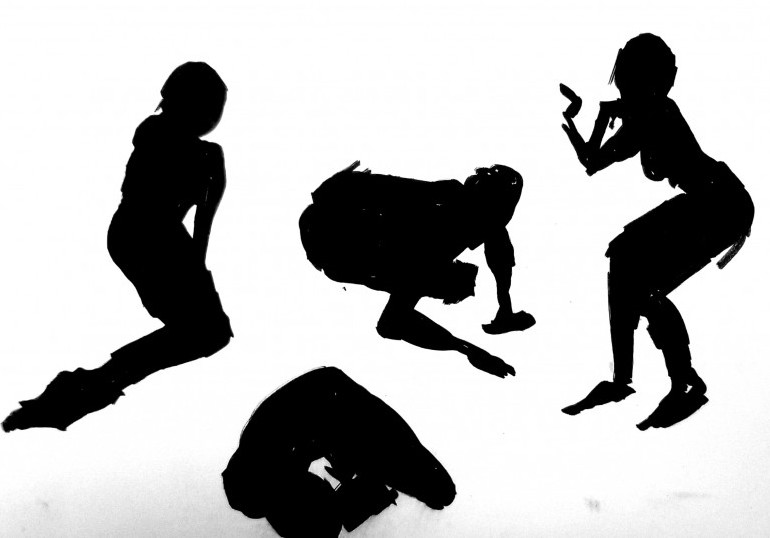
You can also combine both techniques like I did below. Here I am playing around creating an abstract design from my one minute gesture drawings superimposed on each other.
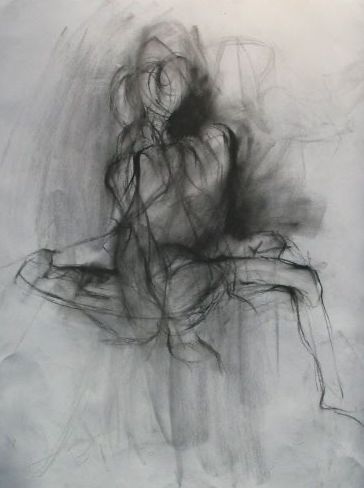
Old master examples of gesture drawing
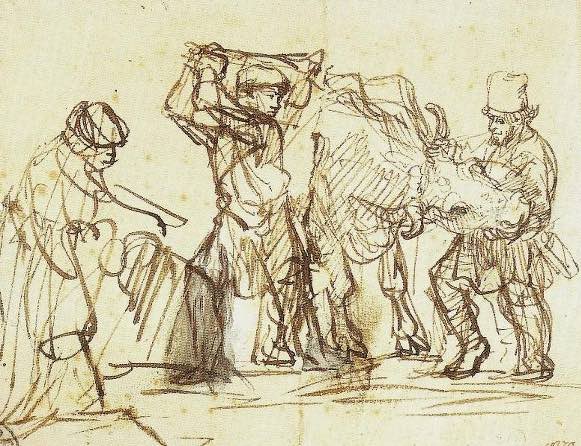
This gesture drawing Rembrandt van Rijn, using pen and brown ink achieved £205,000 at a Christie’s auction recently.
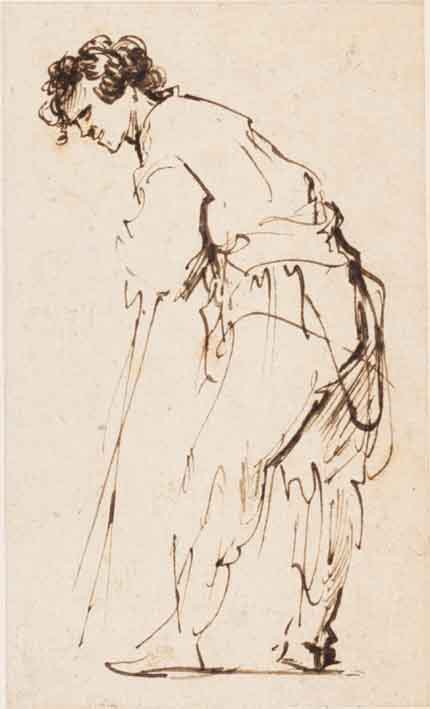 ‘A Young Man Leaning On A Stick’ by Rembrandt van Rijn
 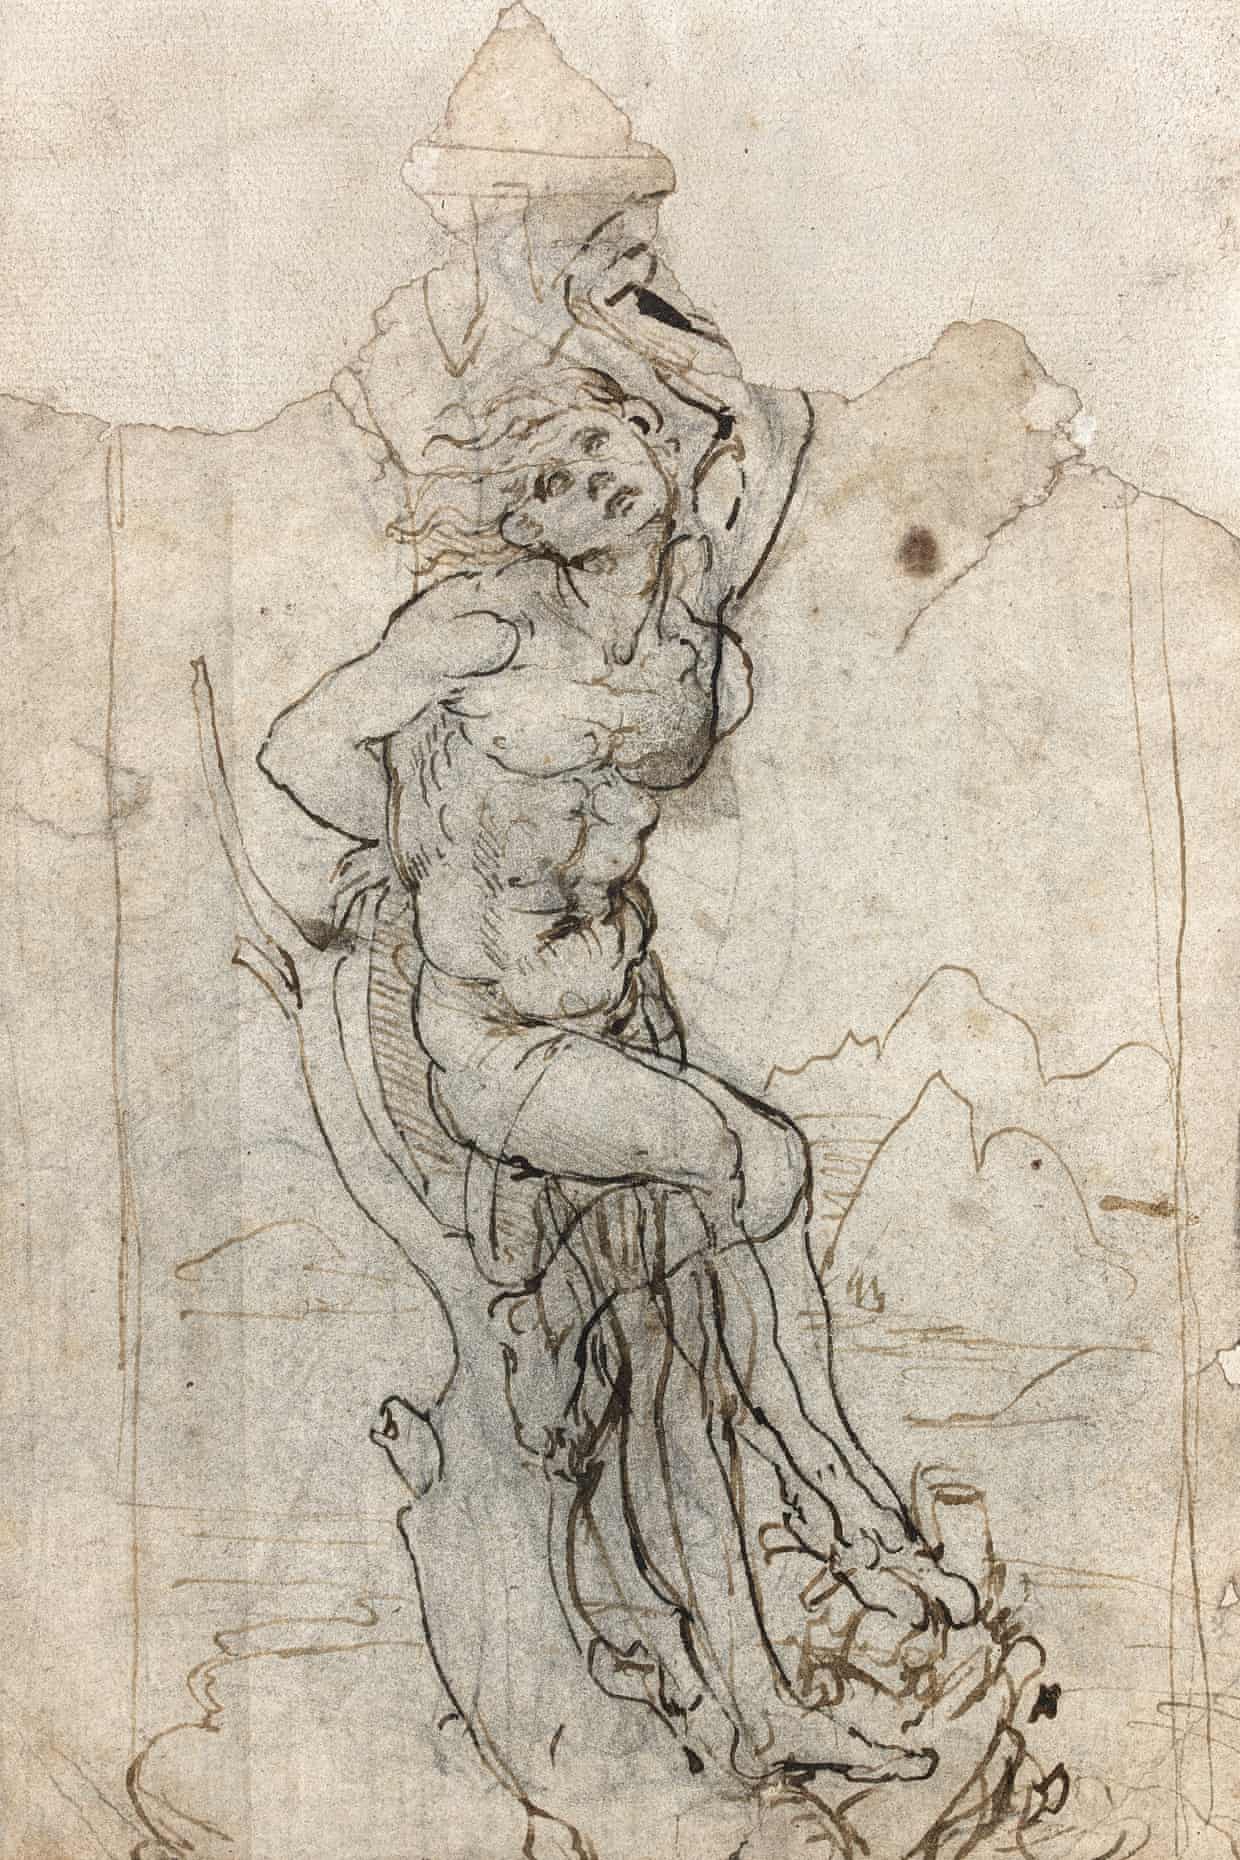 St Sebastian by Leonardo da Vinci
To learn how to do gesture drawing successfully, see my procedure: how to do a gesture drawing.
Links
Here is some more information on gesture drawing
- Examples of gesture drawing
- Gesture drawing in Wikipedia
Thank You
Thank you for taking the time to read this article. If you are interested in a structured approach for learning how to paint, and want to learn more about my Visual Music & Poetry® model, take a look at my online painting classes.
Happy painting!
Barry John Raybould
Virtual Art Academy
What The Students Are Saying
Pin
58
58
Shares


![Toni Kroos là ai? [ sự thật về tiểu sử đầy đủ Toni Kroos ]](https://evbn.org/wp-content/uploads/New-Project-6635-1671934592.jpg)


