How to DIY a Wood Plank Ceiling
As one of Lowe’s Creative Bloggers on the Lowe’s Creative Ideas site, I was given the challenge to update my kitchen. The challenge was issued back at the beginning of the year. It just so happened that we were smack dab in the middle of a kitchen re-do. Perfect timing right? So I decided to fulfill my dream of having a wood plank ceiling. In this post I will share with you How to DIY a Wood Plank Ceiling.
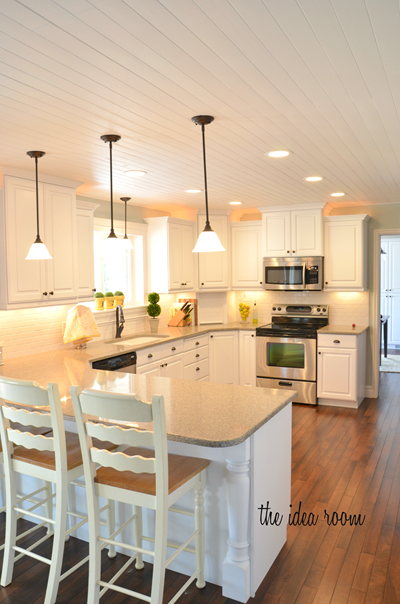
{After}
I shared with my readers a few sneak peak photos as we moved along in the extremely SLOW process of DIY home remodeling. And I am so excited to be able to share with you how our kitchen FINALLY turned out. We are not completely finished. We still have a few finishing touches, along with the wall décor to complete, but I am really happy with what we have done so far.
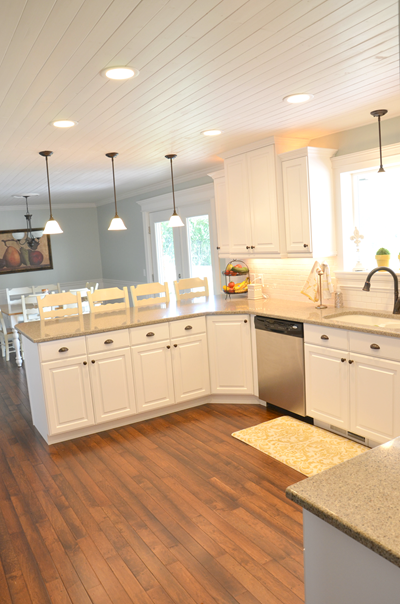
{After}
When school ended in June we stopped working on the house remodel completely so that we could have a “normal” summer when the kids were home and underfoot. And now that start of school is less than a week away, we plan to FINALLY finish up all the loose ends.
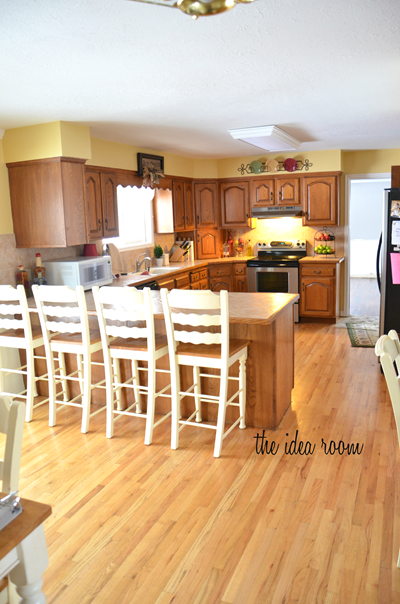
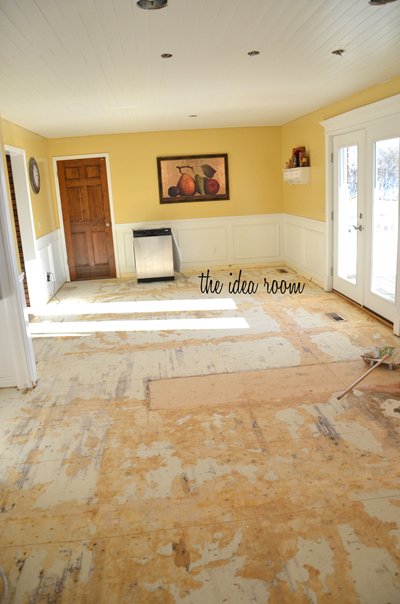
{Before}
(I can’t believe how YELLOW my kitchen was…I am so happy with the new look! Funny to think that I LOVED that color not too long ago! But then again I am a person who likes to change things up…if you haven’t noticed :).
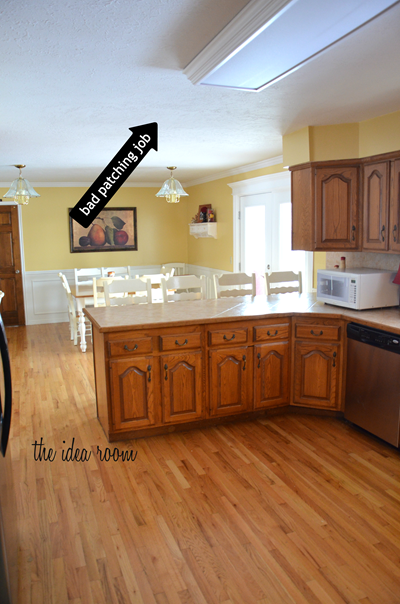
{Before}
So for the #LowesCreator Kitchen Project, we decided to install a Wood Plank Ceiling. I have always loved the look of them but wanted to make it a bit “fancier” and paint it white. Part of our motivation for the wood paneling was to cover up a horribly ugly patch job on the ceiling to cover where some wrap around cabinets had been removed by the previous owners. It was pretty bad. We also combined the two lights over the table and centered a new single light over our dining area. Then we had some canned lighting to the space. So needless to say we had a huge ceiling repair on our hands. Planking the ceiling was a great option and actually saved us a lot of repair work.
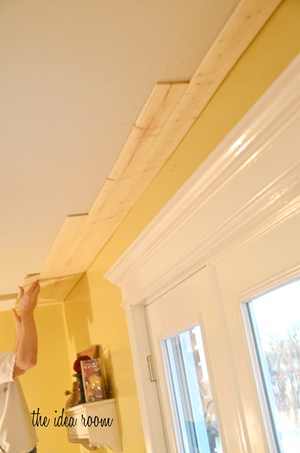
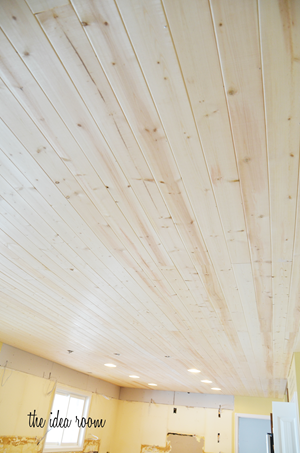
We ended up using these V groove, Pine Wood Planks from Lowe’s. They were pretty inexpensive for a pack of six, 8 foot long pine planks. We put them up in a staggered pattern so that all the ends would not be lined up for a smoother look and finish. We added a thin line of painters caulk to the back side of each plank and then stuck it onto the ceiling. Then added some nails every couple of feet to secure it to the ceiling.
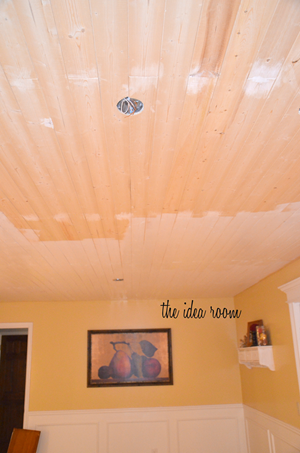
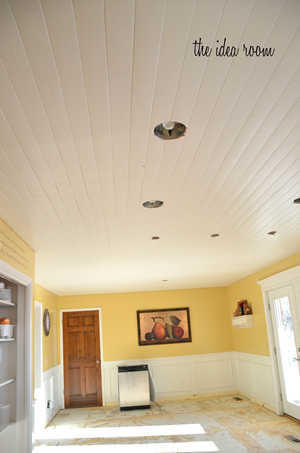
While my husband and son put the planks on the ceiling, I followed behind them with the painter’s caulk and filled some of the bigger cracks and knot holes in the wood to give it a smoother, less rustic look. The process was pretty tedious but so worth it for the finished product!
After allowing the caulk to fully cure, we primed and then painted the wood planks white. We some crown molding in the dining area to cover up the uneven edges where the ceiling meets the walls. Then in the main kitchen area, we added just a small flat trim molding to cover up the edges as the city scape cupboards had crown molding and it would have been difficult to match up the crown molding on the walls and cabinets.
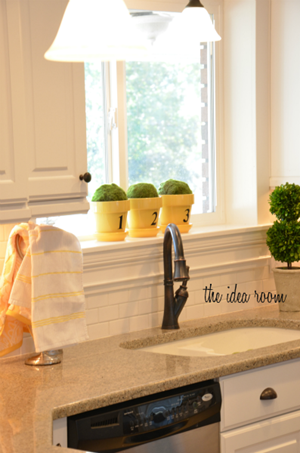
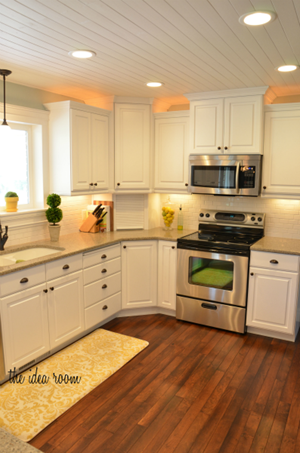
I can’t believe we are so close to getting things completely finished up and will for sure share with you the final touches when we get them. We did the entire kitchen tear out by ourselves (with some help from our family and our kids). We were originally thinking of just painting our existing cabinets white like we have done with some bathroom cabinets, but considering our home is 30+ years old we decided to replace them. I am so glad we did because as we started to tear them out we could see just how water damaged and rotten several of them had become especially around the sink area. A couple of them just literally fell apart.
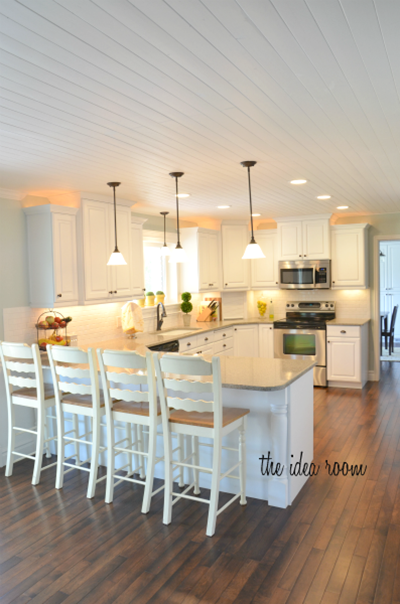
We had the cabinets built and installed along with the dark wood flooring. All the rest of the work was done by us. I am planning on sharing several tutorials in some future posts if you are interested in exactly what we did. I am not going to lie, it was really A LOT of work, but I am SO glad that we did it the way that we did! So now you know why I might have been a bit of a crazy person these past several months.

Did you know you can sign up to receive the Lowe’s Creative Ideas magazine on your i-pad or i-phone? There are a lot of great ideas being shared from month to month.
**Disclaimer: I was given a gift card from Lowe’s for this project.
However all opinions and text are mine.
JOIN OUR NEWSLETTER
Would you like more Recipes, DIY, Printables and Organization Ideas?
Subscribing to the newsletter will enable us to periodically send you creative content exclusively for Idea Room subscribers.
*View our Privacy Policy here.
Success! Now check your email to confirm your subscription. Once confirmed, the e-book link will be sent to you in a few minutes.


![Toni Kroos là ai? [ sự thật về tiểu sử đầy đủ Toni Kroos ]](https://evbn.org/wp-content/uploads/New-Project-6635-1671934592.jpg)


