How to Create an Invoice in Excel (Template Included)
9 Min. Read
Mục Lục
How to Create an Invoice in Excel (Template Included)

Small businesses can create their own invoices in Microsoft Excel to start billing clients for their services. You can either use a customizable Excel invoice template or create your own professional invoice from scratch.
Learn how to create an invoice in Excel with these invoicing topics:
How to Make an Invoice from an Excel Template (Windows)
How to Make an Invoice from an Excel Template (Mac)
How to Create an Invoice in Excel from Scratch
Free Microsoft Excel Invoice Templates
Conclusion
Frequently Asked Questions
How to Make an Invoice from an Excel Template (Windows)
Businesses can use customizable Excel templates to invoice their customers. To create an invoice from an Excel template on a Windows PC, follow these steps:
1. Open Microsoft Excel
To begin making an invoice from an Excel template, you’ll first need to launch Microsoft Excel on your PC.
2. Search for an Invoice Template
Once Excel is open on your computer, use the search bar that’s located at the top of the window and enter “invoice” to find invoice templates. Make sure you’re connected to the internet to perform the search.
3. Choose Your Template
Scroll through the different invoice template options to find one that works for your business. Excel offers a range of invoice templates, from sales invoices to service invoices and shipping invoices. Choose a template that fits your needs and has a design that fits with your company branding.
4. Open the Invoice Template
Once you’ve chosen an invoice template that works for you, click on the template to preview it and then hit the “Create” button to open the Excel template in a new window.
5. Customize the Invoice
Once you’ve opened a new spreadsheet using your selected template, you’ll need to edit the invoice to reflect the details of your project. Be sure to include the following information:
- Your company logo, if you have one
- Your business contact information, including your name, address, phone number, and email
- Your client’s contact details
- The invoice date
- A unique invoice number
- The payment due date
- An itemized list of your services with brief descriptions, the hours worked or quantity, and the rate
- A subtotal for each service
- The payment terms, including payment methods and late fee details
- The total amount due for the invoice, including applicable taxes
Read this invoicing guide on how to make an invoice to learn all the information businesses should include on their invoices.
6. Save the Invoice
When you’ve added all the necessary information to your existing invoice template, save the completed spreadsheet to your computer. Save it as a .xlxs format document so you can edit it later if needed. You should also save it as a PDF and send that version to your client, so it can’t be altered.
7. Send the Invoice
Send the completed invoice to your client, either by email or by mail. Include a short cover note that highlights the important details, like the invoice due date and the total amount owing.
If you’re looking for invoicing software but don’t want to commit just yet, check out the free trial FreshBooks offers.

How to Make an Invoice from an Excel Template (Mac)
To make an invoice using an Excel template on a Mac computer, follow these invoicing steps:
1. Open Microsoft Excel
First, open Microsoft Excel. Click File on the menu bar and then click New from Template. A page will launch with a selection of available invoice templates.
2. Search for an Invoice Template
To filter the template results, click on the search bar in the upper right-hand corner of the page, type “invoice” and hit enter to search.
3. Choose Your Invoice Template
There are a variety of Excel invoice templates to choose from, including business invoice templates and templates that use formulas to automatically calculate taxes. Select one that provides all the information and features you need. Also, make sure the design of your favorite invoice template will work with your business branding.
4. Download the Template
Once you’ve found an Excel template to suit your business needs, click on the template to open a preview page. Then, click the “Create” button to open it as a new spreadsheet.
5. Customize Your Invoice
Edit the invoice template to include the specific project details. Remember to include the following information:
- Your business logo, if you have one
- Your business contact details, including your name, address, phone number, and email
- Your client’s contact information
- A unique invoice number
- The invoice date
- An itemized list of the services you provided the client, including the quantity or hours worked and the rate of pay
- A subtotal for each of your services
- Your payment terms, including accepted payment methods and late fee terms
- The payment due date
- The total amount due, including any applicable taxes
6. Save the Invoice
When you’ve filled out all the project specifics on your invoice, save the spreadsheet to your computer in both .xlxs and PDF format. When sending the invoice to your client, use the PDF version so it can’t be edited after you send it.
7. Send the Invoice
Send the invoice to your client by email or mail. Include a brief note that calls out the important invoice details, such as the deadline for payment and the total amount due.

How to Create an Invoice in Excel from Scratch
Learn how to create an invoice in Excel from scratch by following these easy steps:
1. Open a Blank Excel Workbook
To begin creating a new invoice in Excel, open Microsoft Excel on your computer and then click Open a Blank Workbook. A new blank spreadsheet will open.
2. Create an Invoice Header
Add a header to your invoice. Include important billing details in the header, including:
- Your business logo
- Your business contact information
- The invoice date
- A unique invoice number
3. Add the Client’s Information
Include your client’s contact information, including the relevant contact person’s name, address, email, and phone number.
4. List the Payment Due Date
Include the payment due date on your invoice. Write out the full due date, i.e., “Payment Due December 31, 2018” instead of more vague terms, such as “Payment Due in 30 Days,” which can lead to confusion and missed payments.
5. Add an Itemized List of Services
Create an itemized list of the services you provided. Create a column for a description of each service, a column for the quantity or hours worked, and a column for your rate. Then include a final column with a subtotal for each service listed.
6. Add the Total Amount Owing
One benefit of creating invoices in Excel is that the spreadsheet can do the math for you. Use Excel’s SUM function to calculate the total due and add it to the bottom of the invoice. For example, if you need to add up the subtotals in column C from cell four through eight to calculate the total due, just enter the following formula in cell C9:
=SUM(C4:C8)
7. Include Your Payment Terms
Add your payment terms to the bottom of the invoice, including the payment methods accepted and the details of your late fee policy.
Free Microsoft Excel Invoice Templates
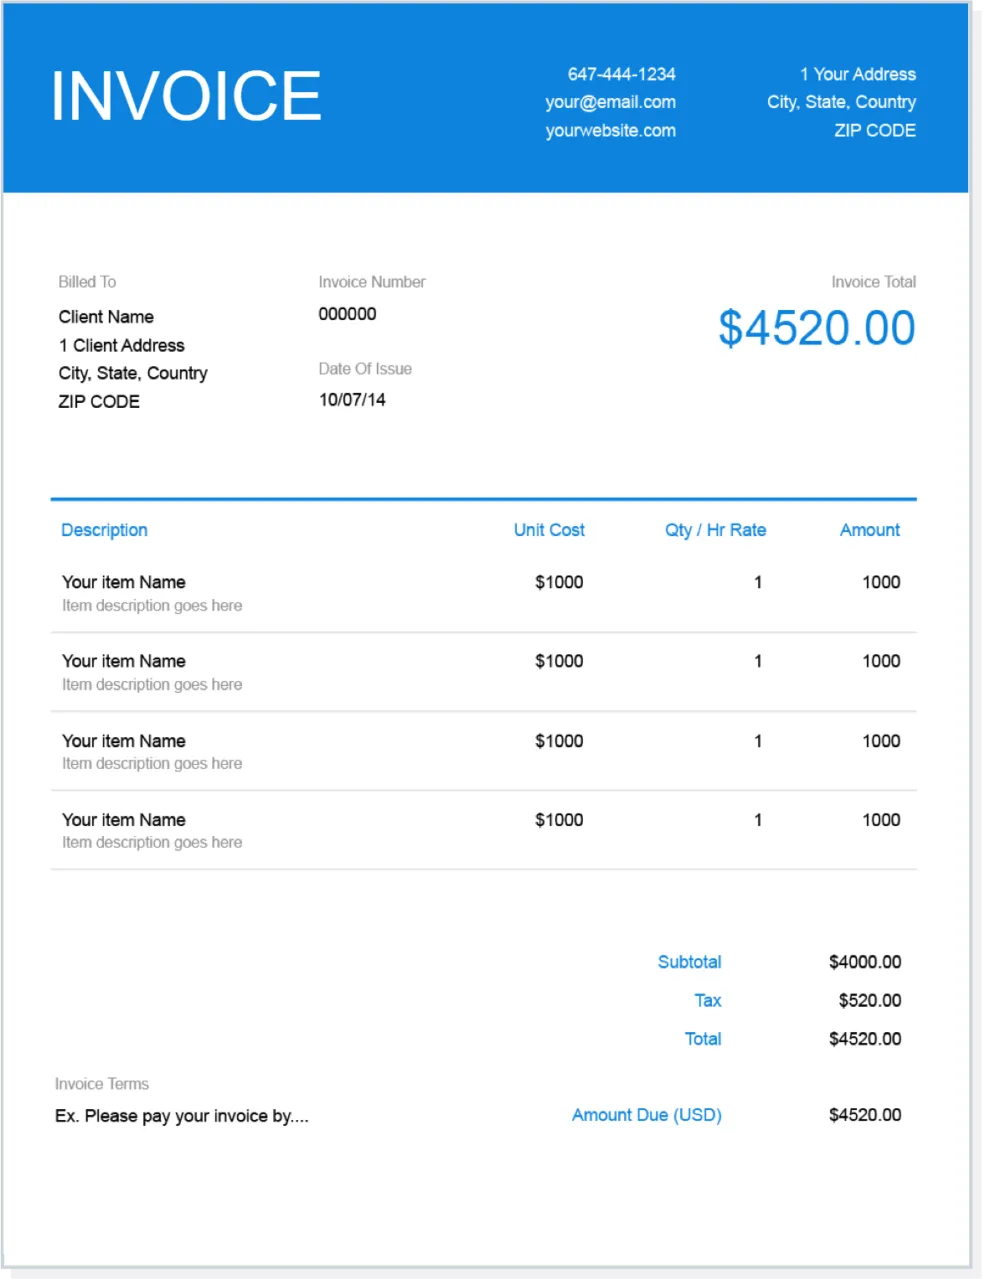
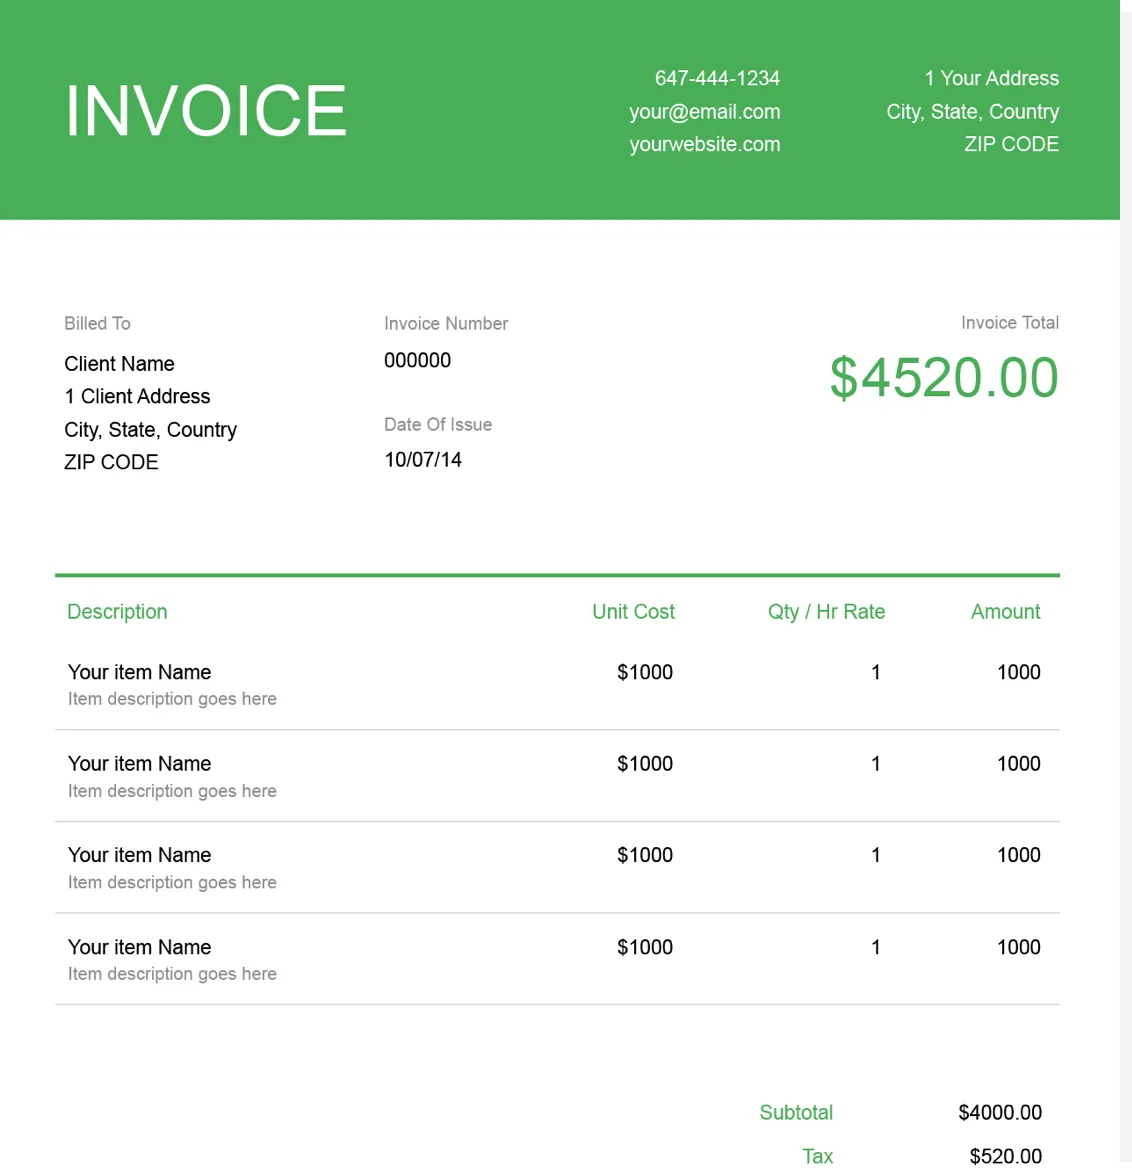
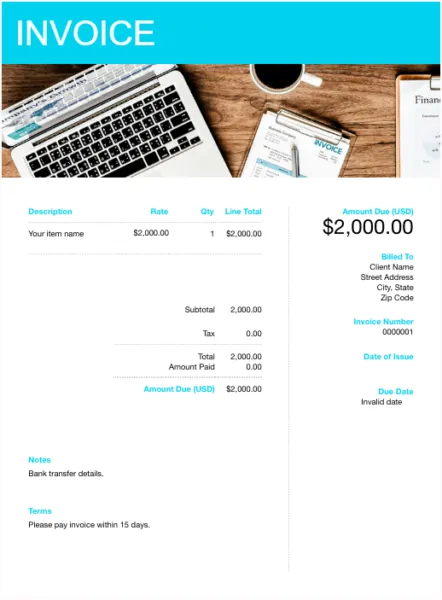
You can download a wide range of customizable Excel invoice templates online. FreshBooks offers a selection of free invoice templates available to download in Excel template, Word template, and PDF template formats. The templates are tailored to different industries and business models.

Conclusion
Microsoft Excel is a powerful tool that’s used by businesses worldwide every day. And in addition to its many other functionalities, Excel can be a great way to create invoices for your business.
Whether you work off of existing invoice templates or create your own Excel invoice template, the built-in functionality of spreadsheets can be invaluable when organizing your invoicing process.
If you’re looking for powerful invoice templates that will help you bill more effectively and get paid faster, FreshBooks is here to help. Browse our full selection of invoice templates to get started.
FAQs on How to Create an Invoice in Excel
Looking for more information on invoice templates or creating your own invoice in Excel? Here are some frequently asked questions.
Can I create my own invoice template?
Absolutely! If you don’t find what you’re looking for among the invoice templates available online, you can create your own fairly easily. Make a blank template in Excel and add in your company details. Leave space to add in all other data (client information, invoice number, date, project and pricing details, etc.), and save it as an editable .xlxs file for future use.
What is the best free invoice template?
There are countless great invoice templates available free online, including some that are included in the Microsoft Office suite. If those don’t fit your needs, however, FreshBooks offers a whole range of free invoice templates for various industries and applications. Click here for our free invoice template selection.
What is the best format for an invoice?
When saving an invoice for your own use (i.e., a template), it’s best to use an editable format like .doc/.docx (for Word) or .xlxs (for Excel). This will let you add to and adjust your invoices more easily. When it’s time to send the invoice to your client, however, you don’t want the document to be edited, so it’s best to use the .pdf file format.
Is it better to make invoices in Word or Excel?
It depends on personal preference and the specific needs of the business. Word is user-friendly and provides a simpler layout while Excel is suited for complex invoicing needs, as it provides more functionality, such as the ability to create formulas and automatically calculate totals.
What is the best program to create invoices?
The best program to create invoices is Microsoft Excel, Microsoft Word, FreshBooks, Quickbooks, and more. FreshBooks offers a range of features which includes invoice templates, invoicing and integration with accounting software.

Jason Ding, CPA
About the author
Jason Ding is a seasoned accountant with over 15 years of progressive experience in senior finance and accounting across multiple industries. Jason holds a BBA from Simon Fraser University and is a designated CPA. Jason’s firm, Notion CPA, is an accounting firm with a business-first focus. The firm specializes in preparing personal and corporate taxation while providing fractional CFO work and leading the accounting and finance function for several small-to-medium-sized businesses. In his free time, you’ll find Jason on the basketball court, travelling, and spending quality time with family.
RELATED ARTICLES


![Toni Kroos là ai? [ sự thật về tiểu sử đầy đủ Toni Kroos ]](https://evbn.org/wp-content/uploads/New-Project-6635-1671934592.jpg)


