How to Create a Blog Post in HubSpot

Do you want to create content for your blog, but are unsure where to start? Follow our step-by-step guide to create a blog post in HubSpot.
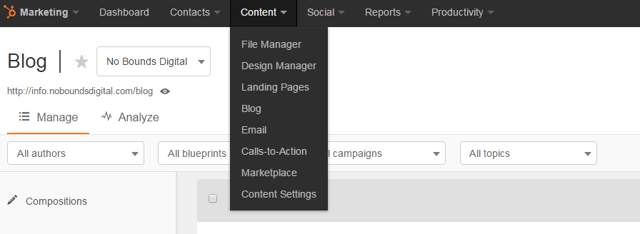
- Click the Content tab on the upper menu bar and select Blog from the dropdown menu.
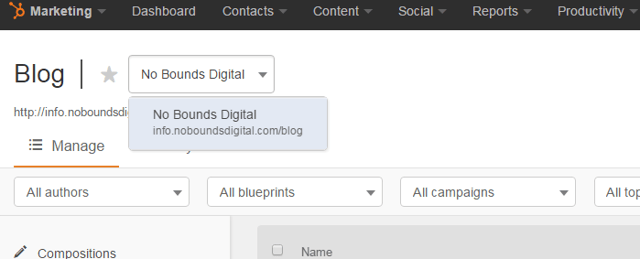
- Only follow this step if you run several blogs. Click the dropdown menu in the upper left corner, and select the blog you want to write for. If you only run one blog, it will be selected by default and you can skip this step.
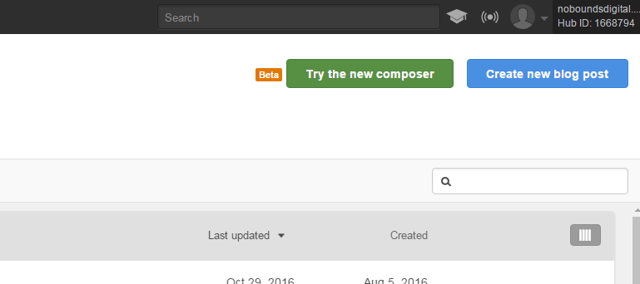
- Click the Create new blog post button in the upper right corner.
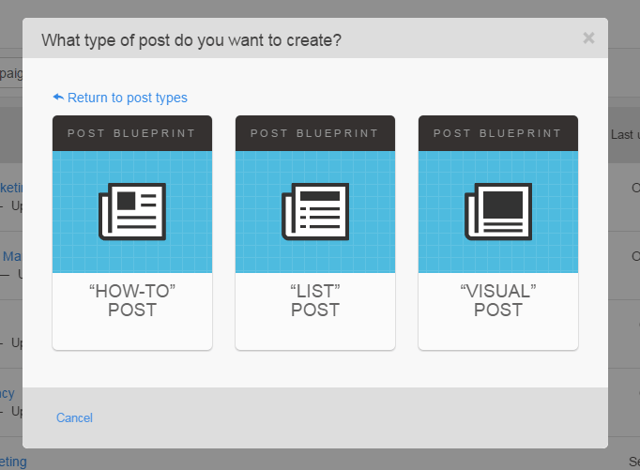
- Choose between a blank post and a post blueprint. The post blueprint option allows you to choose from a How-to, List, and Visual post templates. These templates come with default content to help you shape your new post.
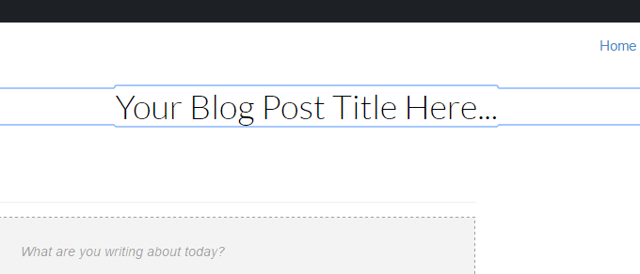
- Click the Your Blog Post Title Here text and name the post whatever you like.
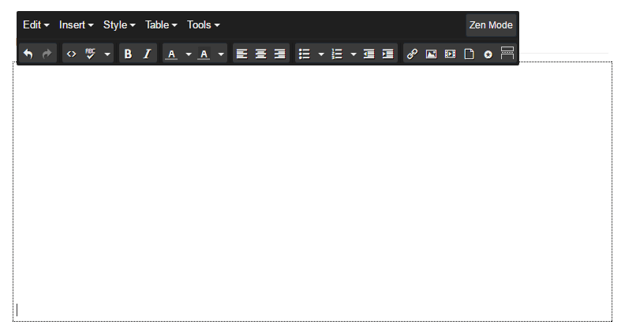
- After naming the post, you can start drafting the content. The formatting menu above the text field allows you to make changes and add content such as images, CTA buttons, and other.
- Once you have a content draft, click the Settings tab in the upper middle to configure blog settings. This will allow you to edit the post’s URL, author, topic, campaign, meta description, and featured image.

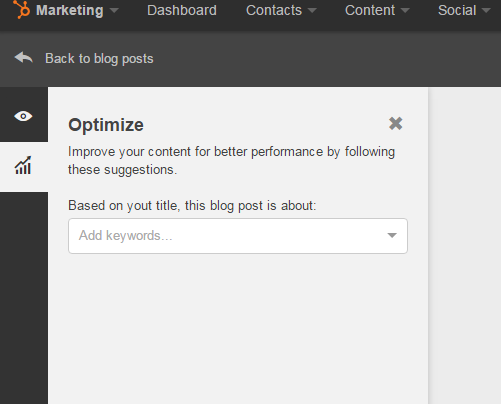
- HubSpot provides a SEO Optimization tool to improve your blog content for better performance. Click the Optimize button in the upper left (the icon with a chart and arrow) to open the optimization menu.
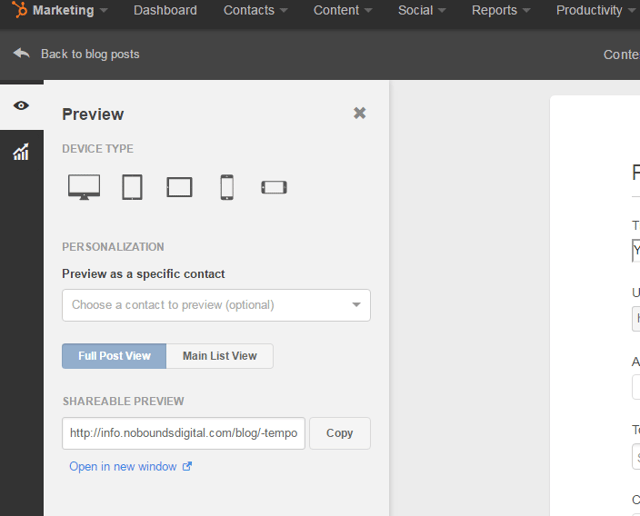
- To see how your post will look to the audience, click the Preview button in the upper left (the icon with an eye). You can see how the post will appear on various devices like tablets and mobile phones. The shareable preview button creates a temporary link to share with
Congratulations, your first blog post is ready!

Bài viết liên quan


![Toni Kroos là ai? [ sự thật về tiểu sử đầy đủ Toni Kroos ]](https://evbn.org/wp-content/uploads/New-Project-6635-1671934592.jpg)


