Do you have an Ethernet connection, but no Internet access? This is how you can fix it. – MBReviews
Despite the new WiFi 6 standard promising speeds above the 1 Gigabit limit, the Ethernet cable was and still is the best way to connect client devices that require a low latency and a stable throughput. But, as with all electronic devices, things can go wrong (hardware or software-wise) and you may end up without Internet, despite being connected via Ethernet. Fret not, because unlike the WiFi connection which, if something goes wrong, it can prove to be very difficult to troubleshoot, the wired Internet connection has some relatively simple solutions.
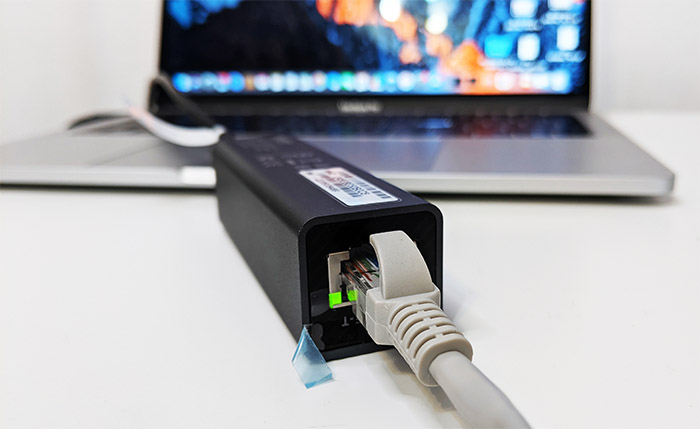
Does the WiFi connection give you Internet access?
If yes, disable it. By default, both Windows OS and MacOS will prioritize the wired connection over the WiFi, so, if the connectivity icon doesn’t change after you connect an Ethernet cable to your computer, but you still get access to the Internet, then you need to disable the WiFi. On Windows 10, it can be done by clicking on the WiFi icon from the right side of the taskbar and then on the Wi-Fi tab, while on the macOS, click on the WiFi icon from the top bar and you should have the option to disable the WiFi visible. Obviously, this doesn’t really help our situation, but it does make things a little more clear – there is a chance that the Ethernet connection may come through, but, from my experience, I wouldn’t count on it.
- The most basic thing to do is to check if the Ethernet adapter is disabled and enable it:
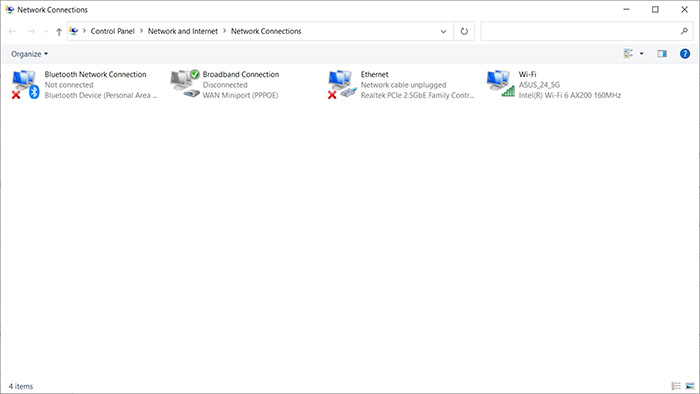
On Windows 10, this can be done by typing Network Connection in the search bar and then checking out the status of the Ethernet network – if it’s disabled, right click it and select Enable. If you’re on MacOS, you need to click on the WiFi icon and on the Open Network Preferences – this way, you can see all the available networks, wired or wireless and you can check whether the Ethernet network is disabled. So far, macOS has proven to work better than Windows OS in this regard and in all the years I have used both, the Ethernet adapter never needed to be manually disabled or enabled on a MacBook Pro.
- If the Ethernet network is enabled, but says Unidentified network, you need to disable and re-enable it. This is a very common occurrence on Windows machines and the solution is simple – go to Network Connection, right click the Ethernet network, click on Disable and then on Enable. It should now see the wired connection and you should gain access to the Internet.
- Check if the cable is broken or damaged. The easiest way to do so is by changing the cable with another one and see if the second cable works. But what if you don’t have another cable available or if it’s in the wall? Although it’s a more particular solution, there are routers and Ethernet switches that do have the option to check for faulty cables and to let you know at which length it had detected the issue. I have tested a few of these devices, such as the Zyxel switches (including Zyxel XS1930-12HP) and the EnGenius ECS1008P.
- Your router may be the culprit. Yes, it happens and I have seen it quite recently with the Netgear AX40 (v1) which required a restart to allow wired clients to connect to the network (the WiFi did work during this event, which was very strange). If you get (wired) access to the Internet after restarting the router, you may need to get a new one.
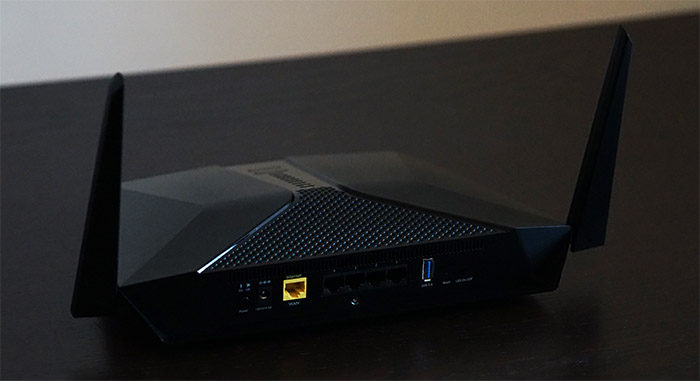
What if neither the WiFi, nor the Ethernet connection give you access to the Internet?
- The most common reason is a botched Internet connection configuration. This one is fairly easy to fix if you have access to the router interface (or app) and if you have the ISP-given username and password. Most routers will have a Quick Internet Setup (or a similar variation) on the main page, where you get to re-run the initial configuration wizard and insert the proper info to gain access to the Internet.
- It may be a problem with your modem. Besides restarting it, there isn’t much you can do in this case by yourself, so you do need to contact your ISP for support.
- Your device may be in the router’s blocklist. It can happen. You roam the app or the web-based interface after the initial configuration is done and you accidentally click something you’re not supposed to (and Save afterwards). The good news is that it’s easy to fix – just access the router interface from another computer, select the device that is blocked from the list and either disable the Block Internet Access option (in the case of Asus routers) or remove the device from the blocklist (if you use another router brand).
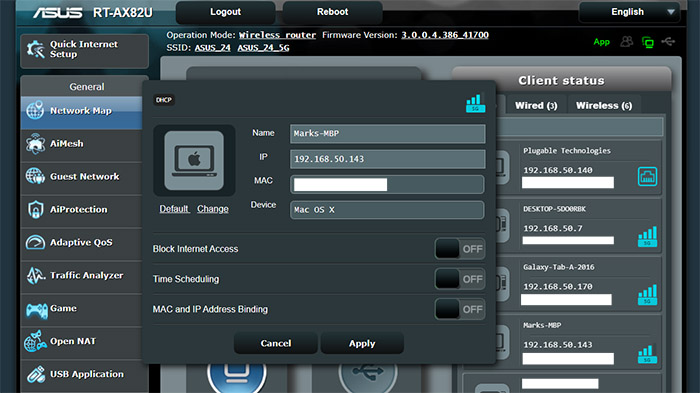
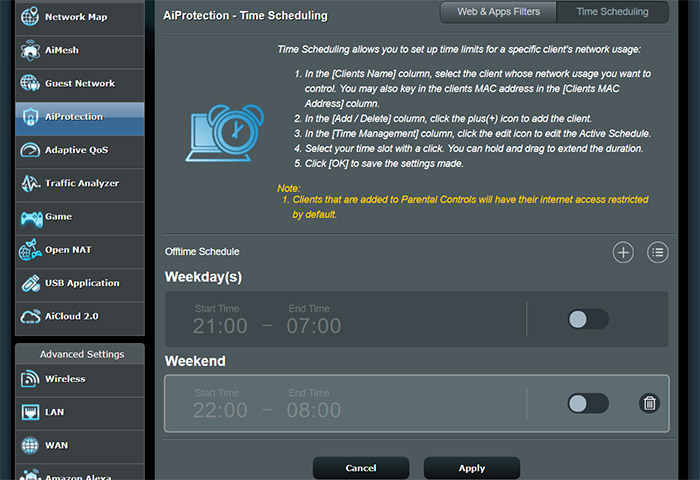
- You may have Parental Controls enabled for this device. This is another fairly common occurrence since a lot of people configure the Parental Controls and then forget that they have added a specific device to a Profile with scheduled Internet access. To fix it, you need to access the router app or web-based UI and either remove the device from the list or disable the scheduled Internet access. If we again take an Asus router as an example, you can find the Parental Controls on the web software by going to AiProtection > Parental Controls and then simply check for the device that has the Internet access blocked.

Mark is a graduate in Computer Science, having gathered valuable experience over the years working in IT as a programmer. Mark is also the main tech writer for MBReviews.com, covering not only his passion, the networking devices, but also other cool electronic gadgets that you may find useful for your every day life.


![Toni Kroos là ai? [ sự thật về tiểu sử đầy đủ Toni Kroos ]](https://evbn.org/wp-content/uploads/New-Project-6635-1671934592.jpg)


