Blog – Theme Documentation – maka Agency
Mục Lục
Introduction
Setup
In order to use blog and blog post templates one must configure them in the settings area. Simply navigate to “Settings” → “Website” → “Blog” → “Templates”. There you will find two drop-downs to select a Blog Post template and a Blog Listing template. Feel free to choose the respective POWER Theme templates here.
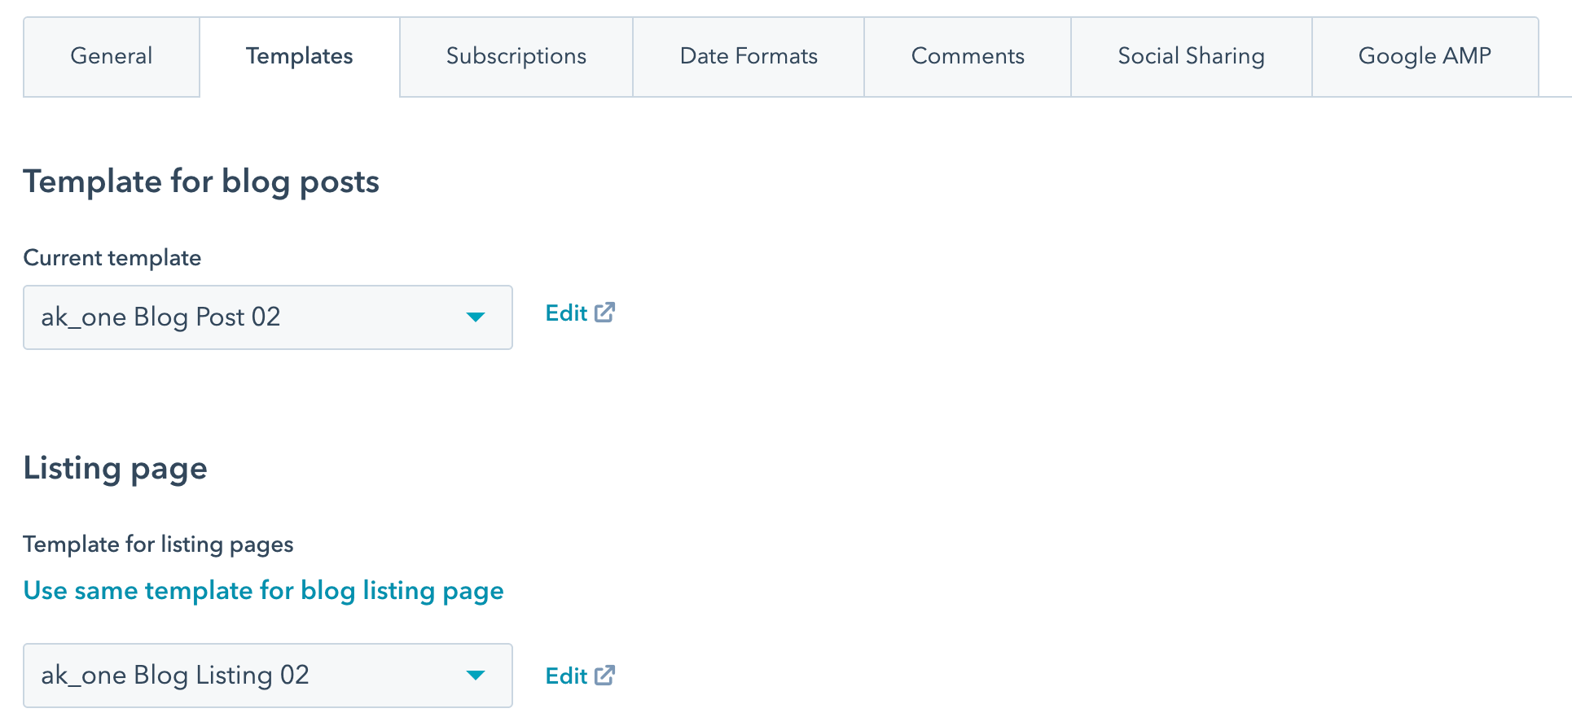
When you are setting up system pages or blog templates, you will see at least 2 templates in the dropdown for POWER.
The first should be for the marketplace/parent theme and the second should be your first child theme.
If you have more than one child theme or a clone, you will see one template per instance of the theme. The files typically follow the same order that they appear in the Design Tools.
It is important to click the preview link to verify you have chosen the right one.
Additionally, you can set other parameters, like the number of posts on the listing page, etc.
Of course, all the blog listing and blog post templates are fully configurable. The templates are built using the following modules.
Previous/Next Navigation
At the top of each blog post you will find a small navigation area. This allows the user to navigate to the previous or next blog post. By clicking on the icon in the middle the user is led to the blog listing area.
The links are included automatically, so no further technical configurations are needed.
Regarding the design, many options are possible. A light and dark version is available. Additionally, one can define custom colors. The background color can be set directly in the module settings..
Dark Version:
Light Version:
Blog Listings
We offer many options for blog listings which can be configured in the theme options under “Settings” → “Website” → “Themes” → “POWER THEME” → “Blog” → “Blog Listing”. Read more about the theme options → here.
The options include:
- Show Filter Bar: Shows/Hides the bar containing the blog categories/tags
- Layout: Choose between a 1 column, 2 column, and 3 column layout option
- Show Blog Post Author?: Displays the author name in the blog post previews, if activated.
- Show Blog Post Date?: Display the date in the blog post preview, if activated.
- Show Blog Post Reading Time?: Display the estimated (internally calculated) reading time of the blog post, depending on the length of the blog post content.
- Show Blog Post Summary?: Displays the excerpt text on the listing page.
- Get Summary from…: offers to pull the excerpt text either from the blog post directly or from the meta description of the blog post, which will be defined in the settings of the blog post editor.
- Truncate Summary: limits the length of the excerpt text to a given number.
- Pagination: We have provided the standard pagination method with arrows and a modern way of loading more blog posts by clicking on a “load more” button.
Have a look at the layout options:
1-Column: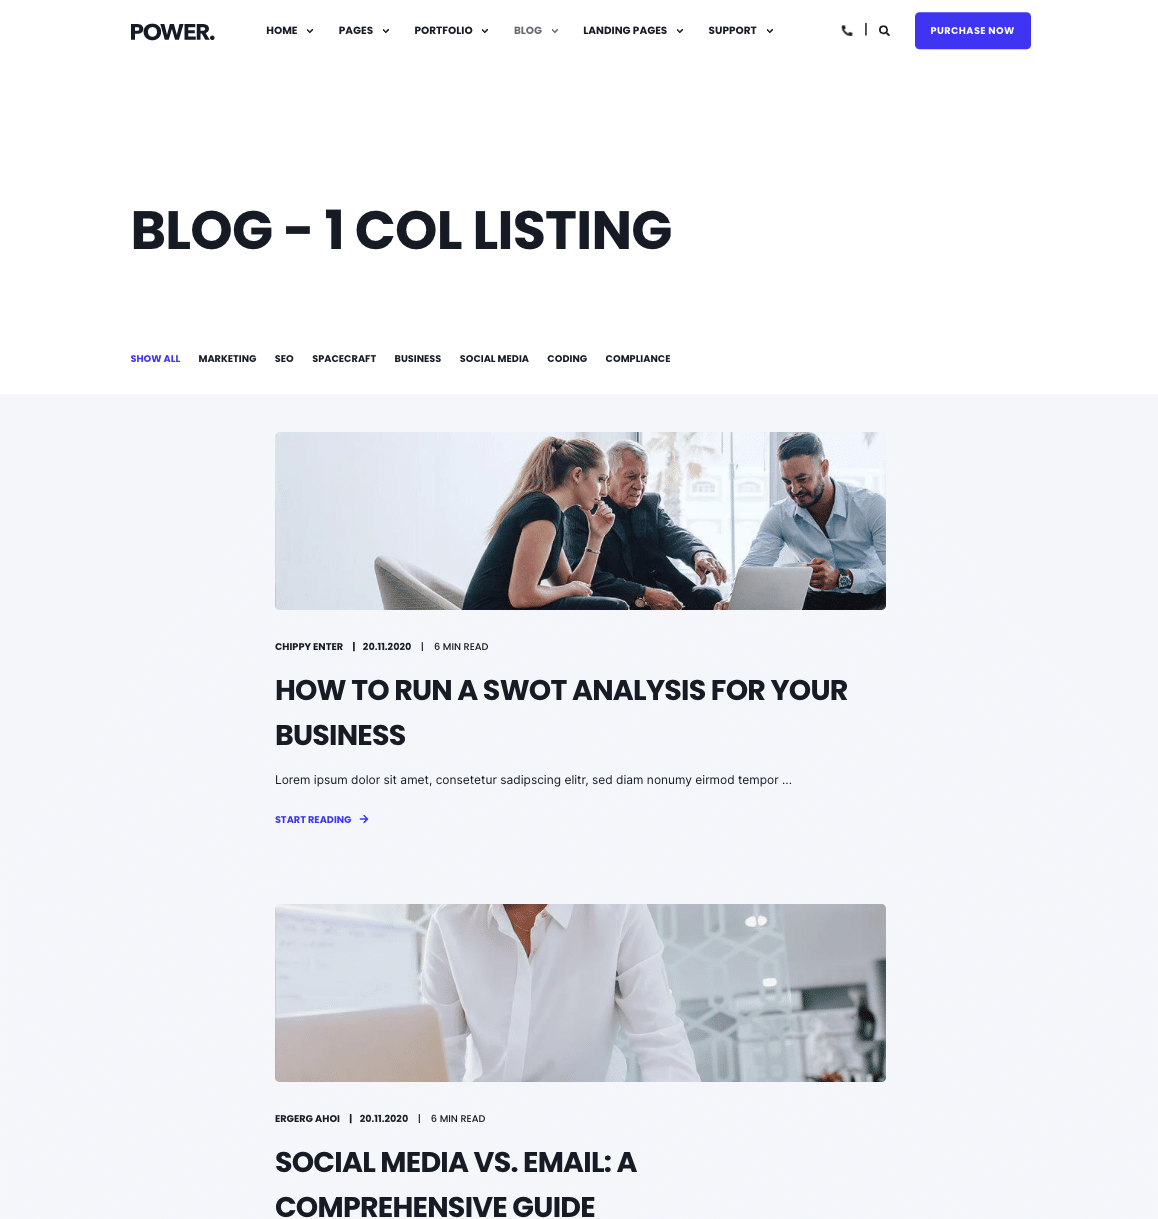
2-Column: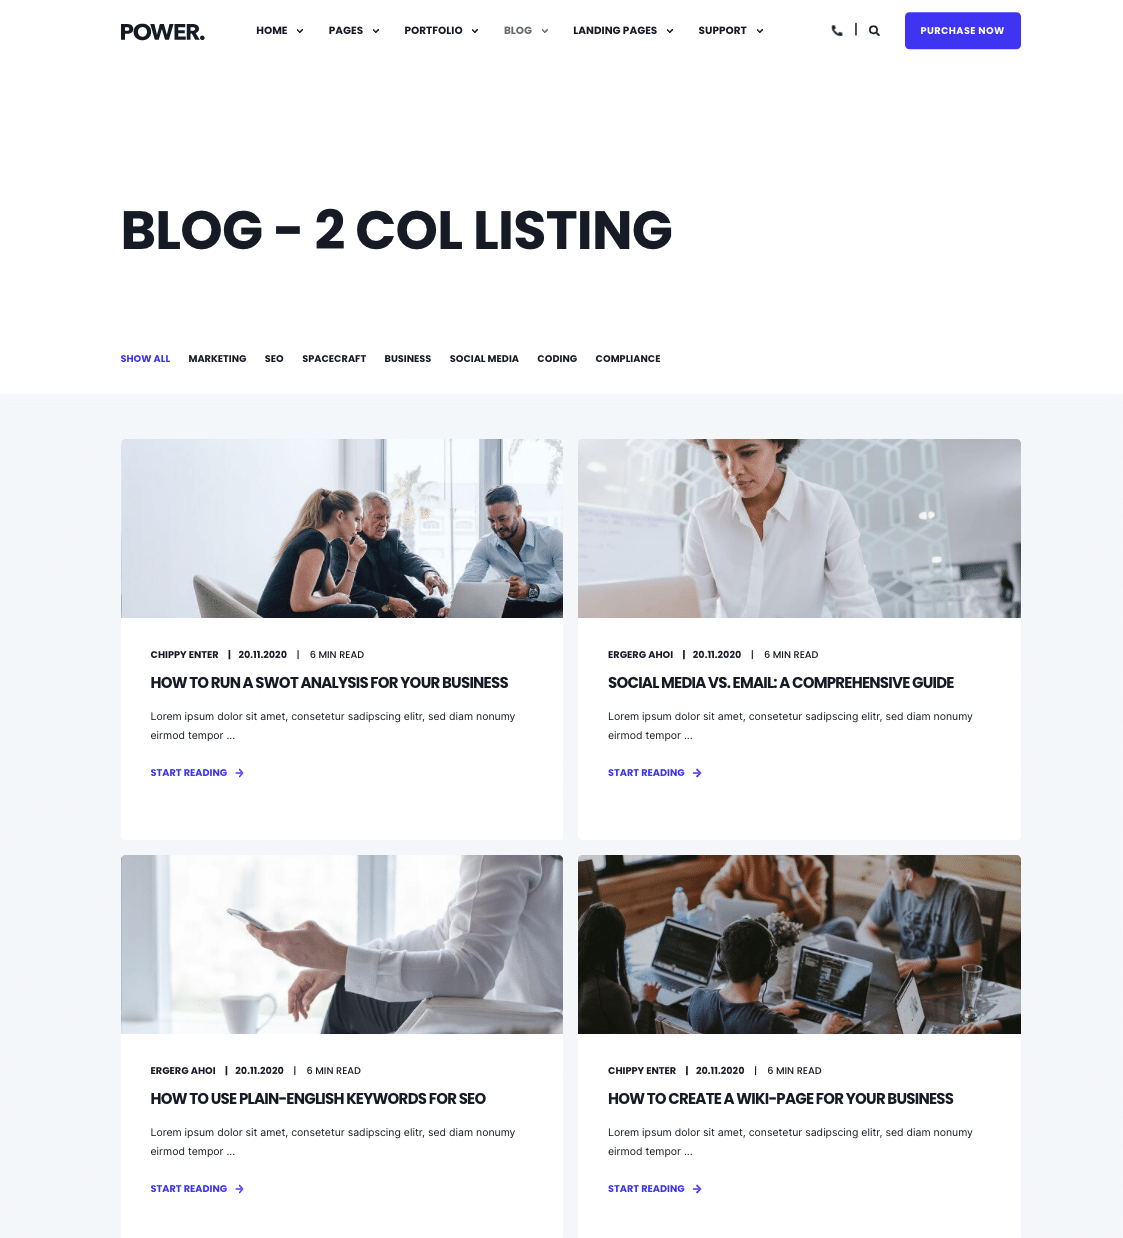
3-Column: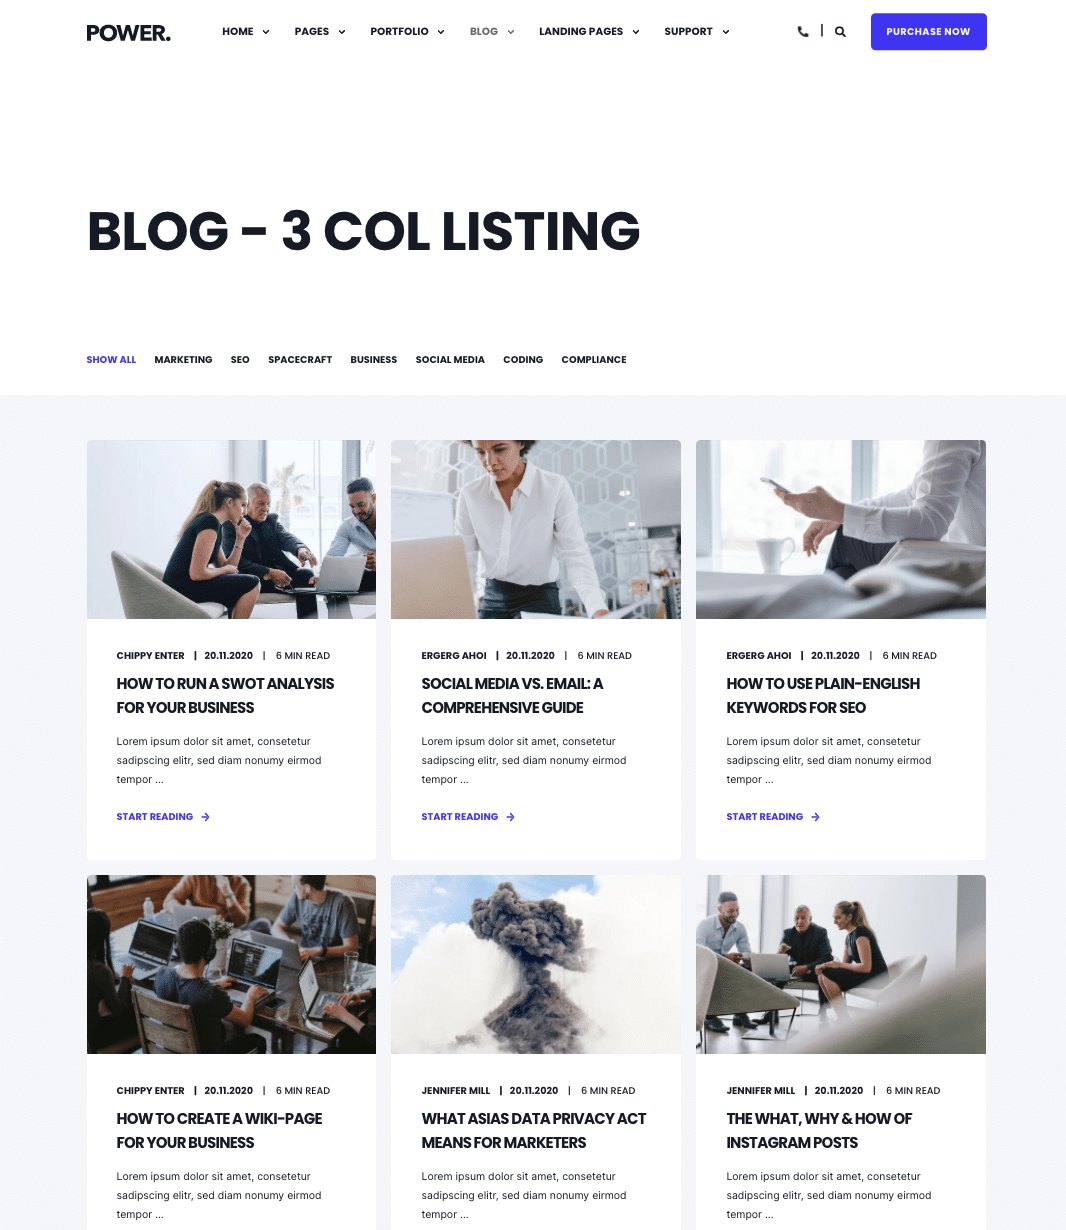
Blog Posts
For the blog posts we offer a few settings. Some of them can be found in the theme options: “Settings” → “Website” → “Themes” → “POWER THEME” → “Blog” → “Blog Post”
- Show Navigation Bar: Shows/Hides the navigation bar for jumping to the next/previous post or blog overview
- Show related Posts: Shows/Hides the related posts section below the main blog post body.
Additionally, you can configure the blog posts directly in the blog post template or blog post (content editor). Once you have setup a blog post you will find several modules in the left sidebar of the content editor in HubSpot:
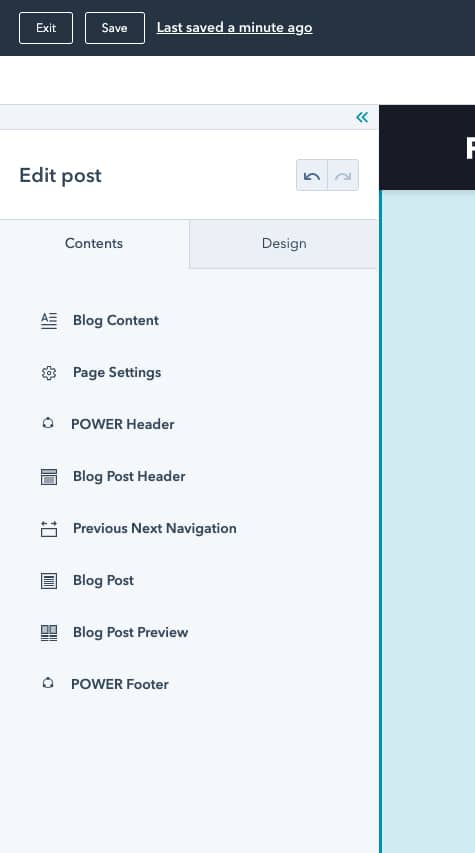
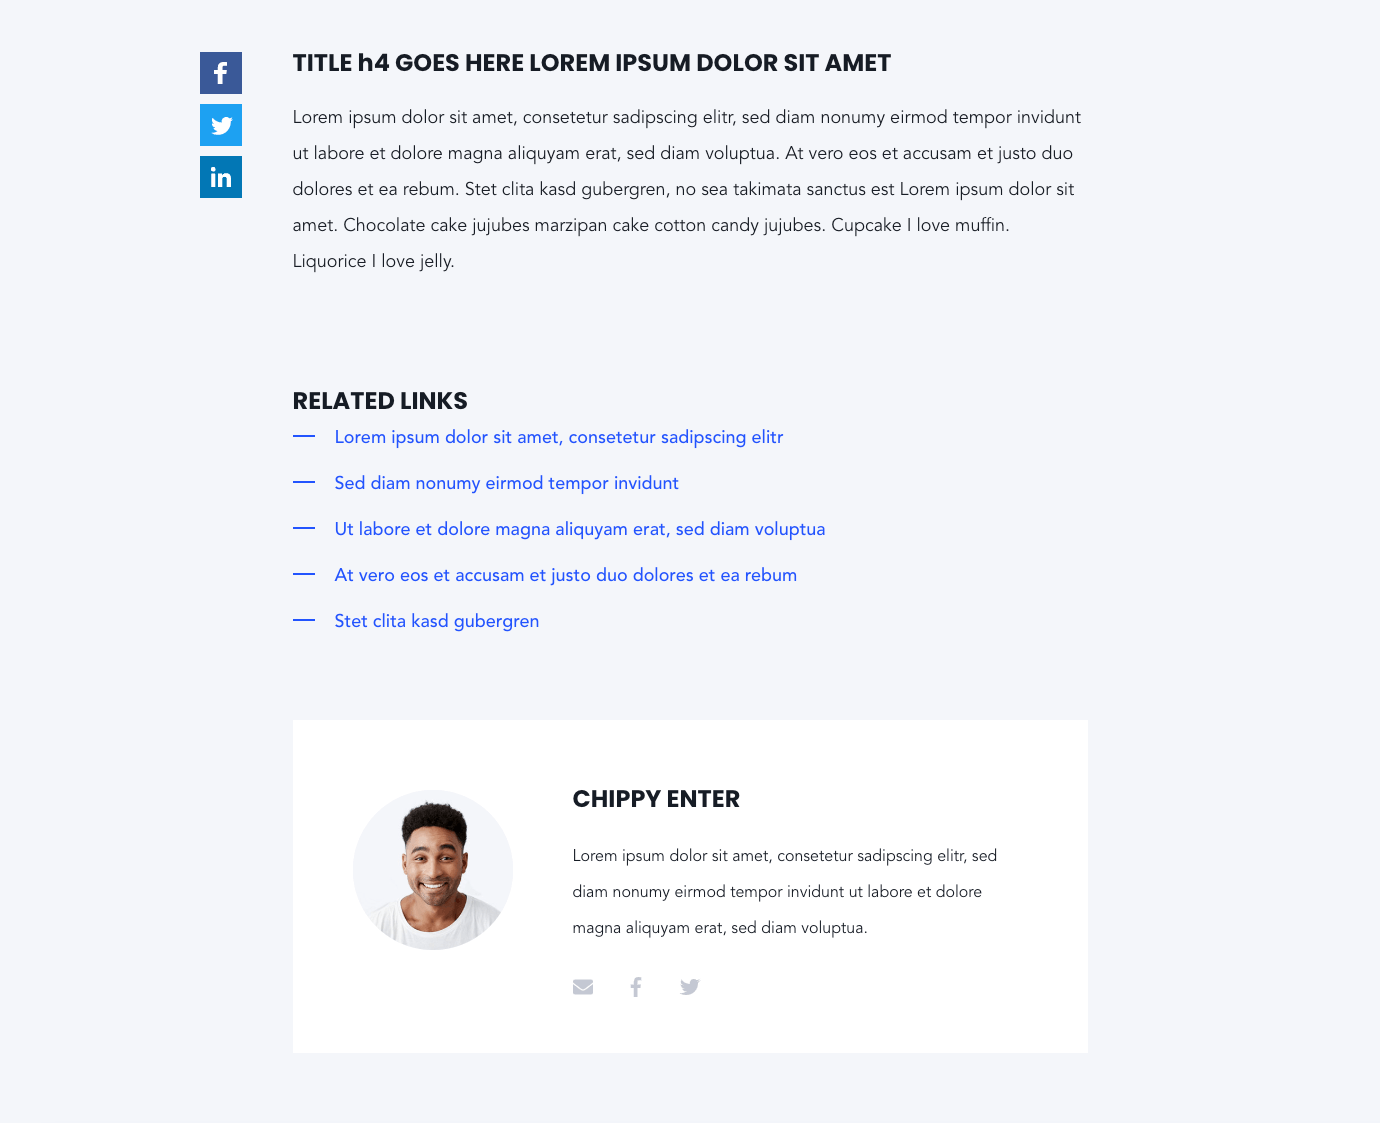
Within the Blog Post module you will find the following options:
- Social Sharing – AddThis Script Link:
In order to get the fixed scrolling social sharing icons, you need tho use AddThis. You can create your own AddThis Script on the AddThis website:https://www.addthis.com/
In the AddThis dashboard, add the toolShare Buttons
and make sure to use the tool type Inline. Furthermore choose the following settings: “Style” = “Standard Responsive”, “Size” = “Large (32×32)”, “Hide Network Names” = “Yes”, “Share Counter Type” = “None”. Once, you have configured the tool click the button “Get the code”. There you will find your AddThis script link that is needed to configure in the module, e.g. //s7.addthis.com/js/300/addthis_widget.js#pubid=YOUR_ID.
If you use AddThis, please make sure to deactivate all HubSpot social sharing buttons for your blog in the settings. “Settings” → “Blog” → “Social Sharing” → “Social Sharing Buttons”. - Layout → Float AddThis Social Sharing Items: By activating this options you get the floating/fixed scrolling effect on the AddThis social sharing icons.
- Layout → Show Author Box?: Activating this shows an author box at the end of the blog post.
Blog Posts Preview
In the blog post template you will also find the Blog Post Preview module, which simply shows blog post previews. You can use it here to add related posts to your blog post or simply use it on any other page to preview your blog posts.
Within this module the following options can be configured:
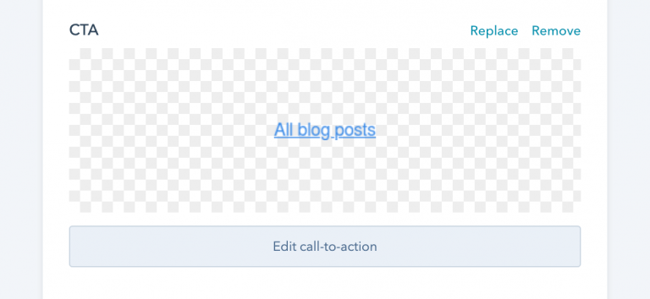
1. CTA: A custom HubSpot CTA can be picked here. Usually this CTA leads to the blog overview/listing page.
2. Layout: We have prepared multiple layouts for the blog post previews:
1. Posts Standard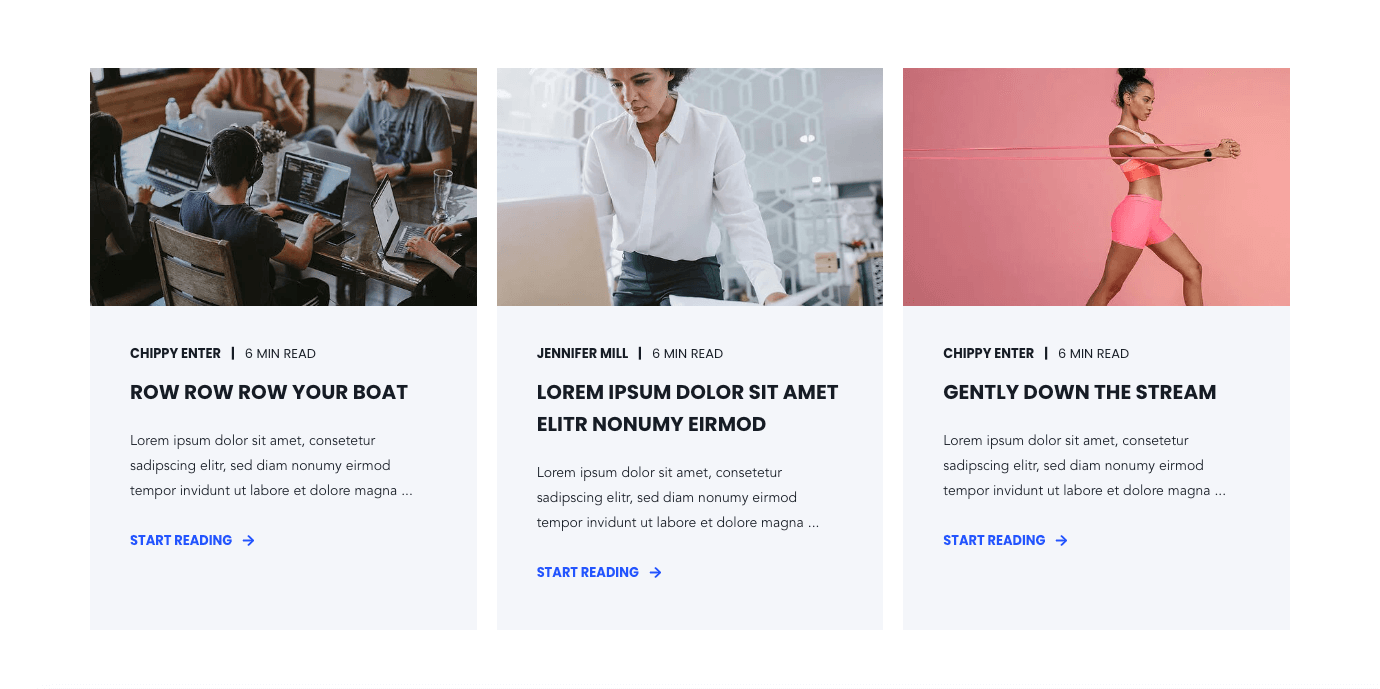
2. Posts Large – Horizontal Layout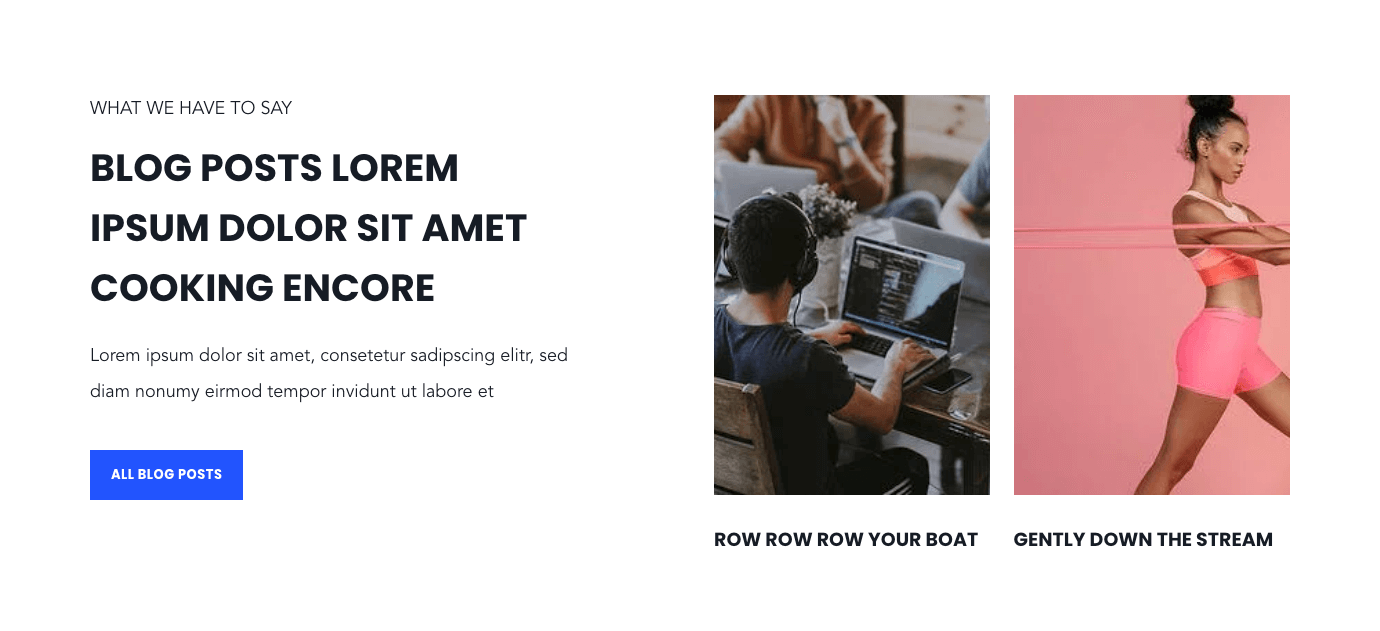
3. Posts Large – Vertical Layout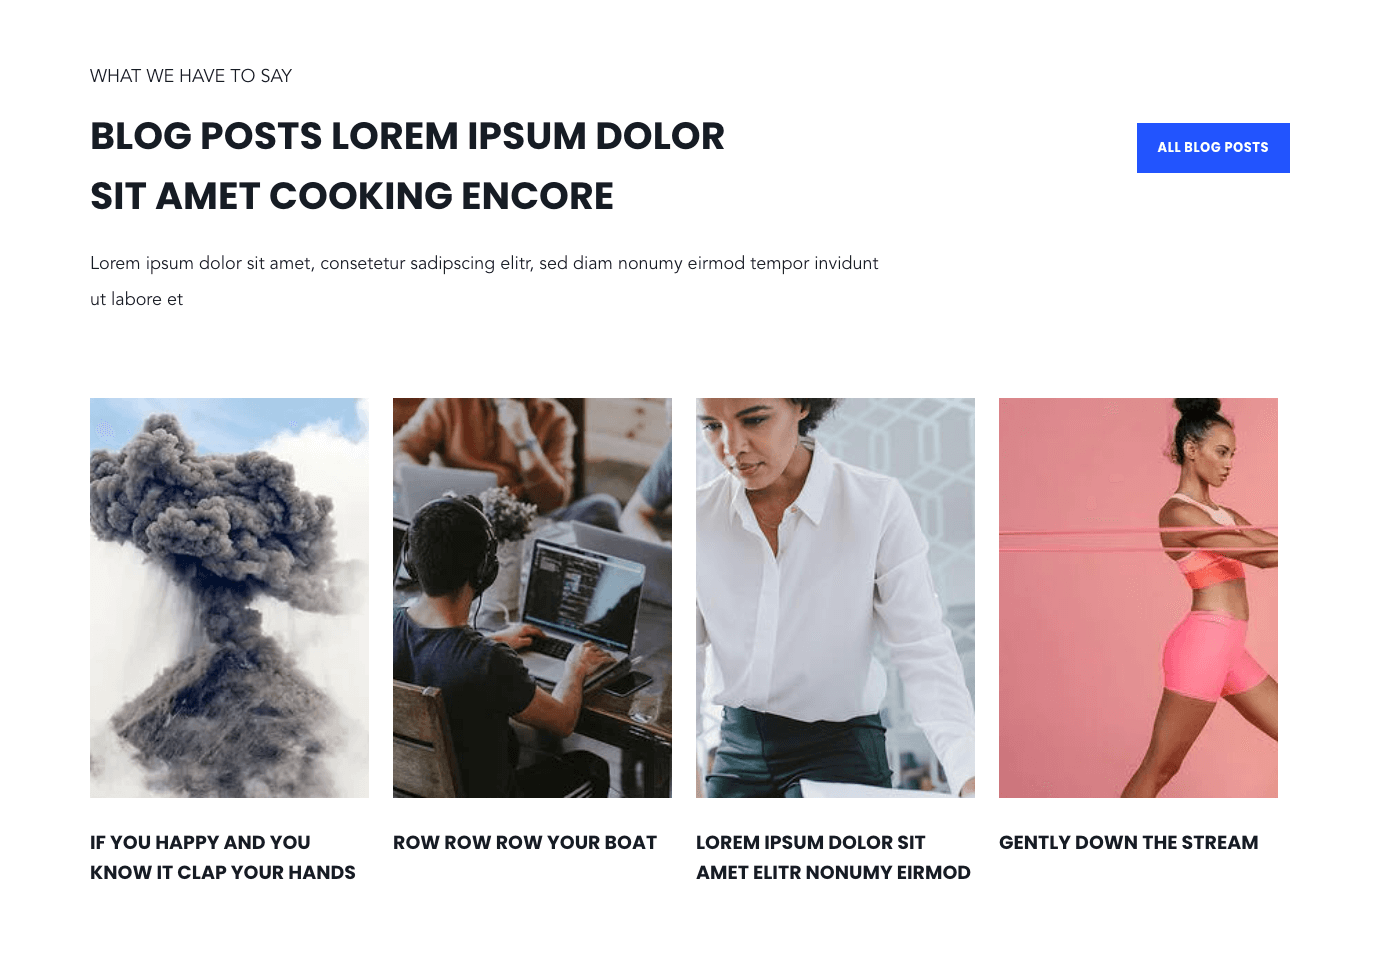
4. Posts Small – Horizontal Layout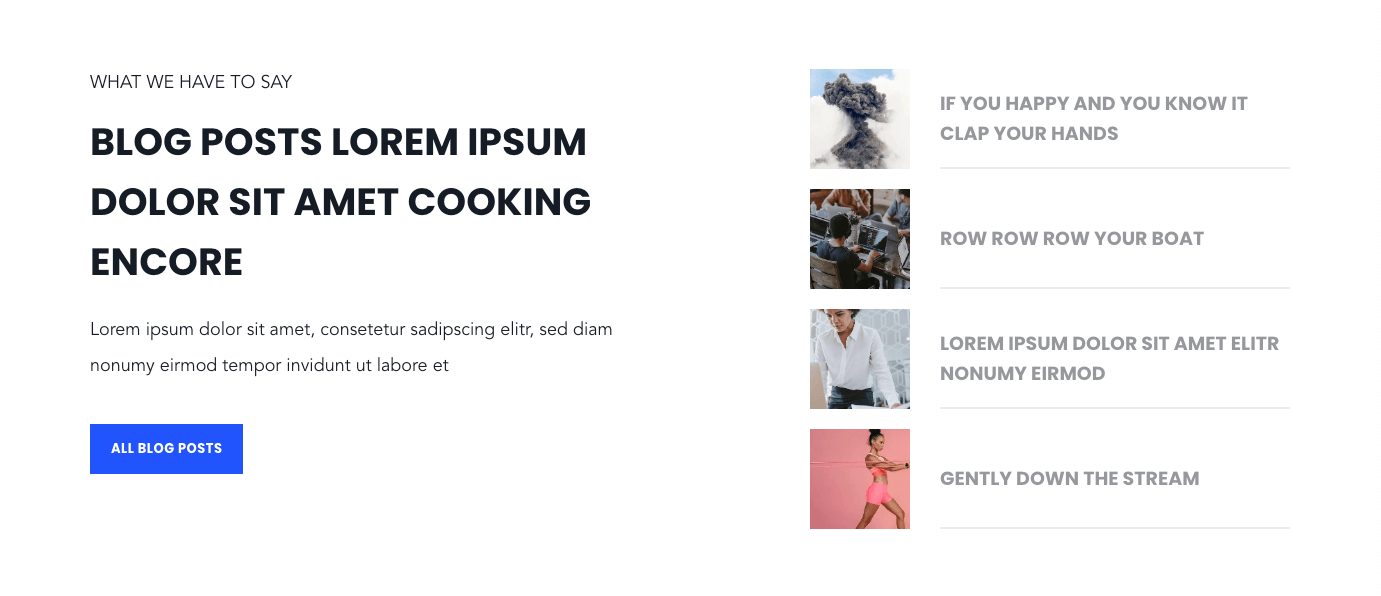
5. Posts Small – Vertical Layout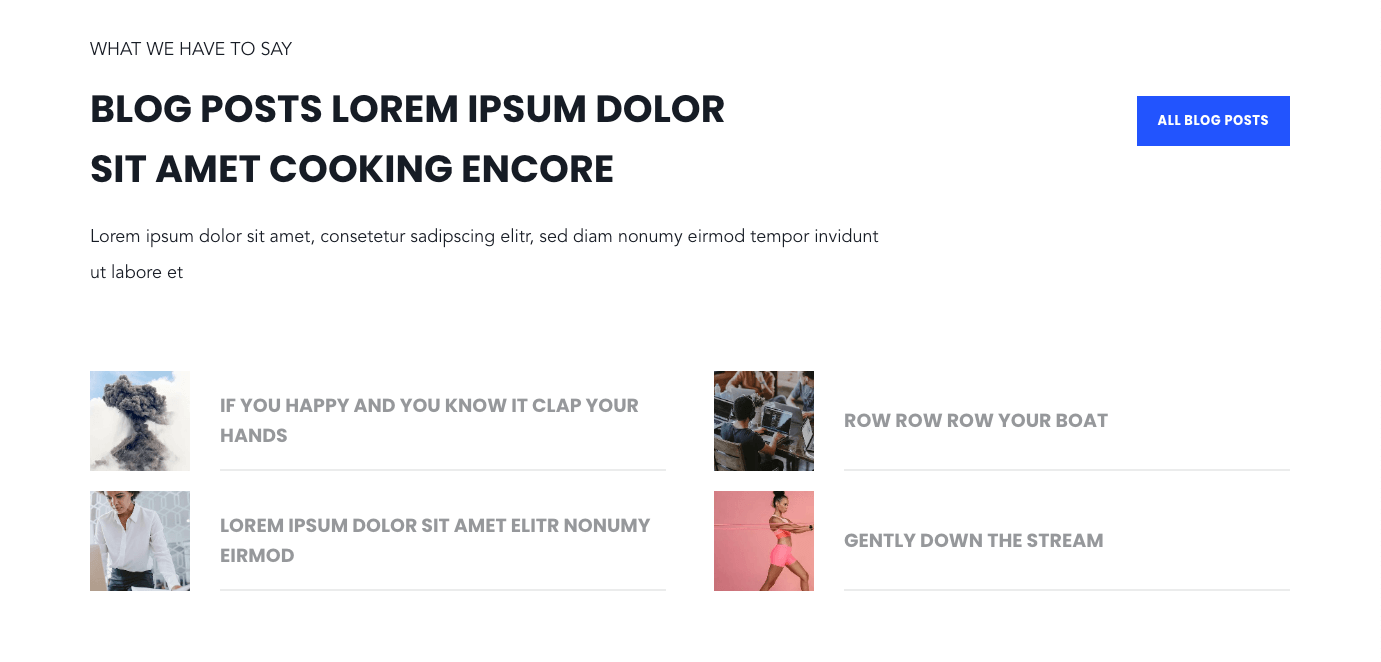
6. Posts – Text only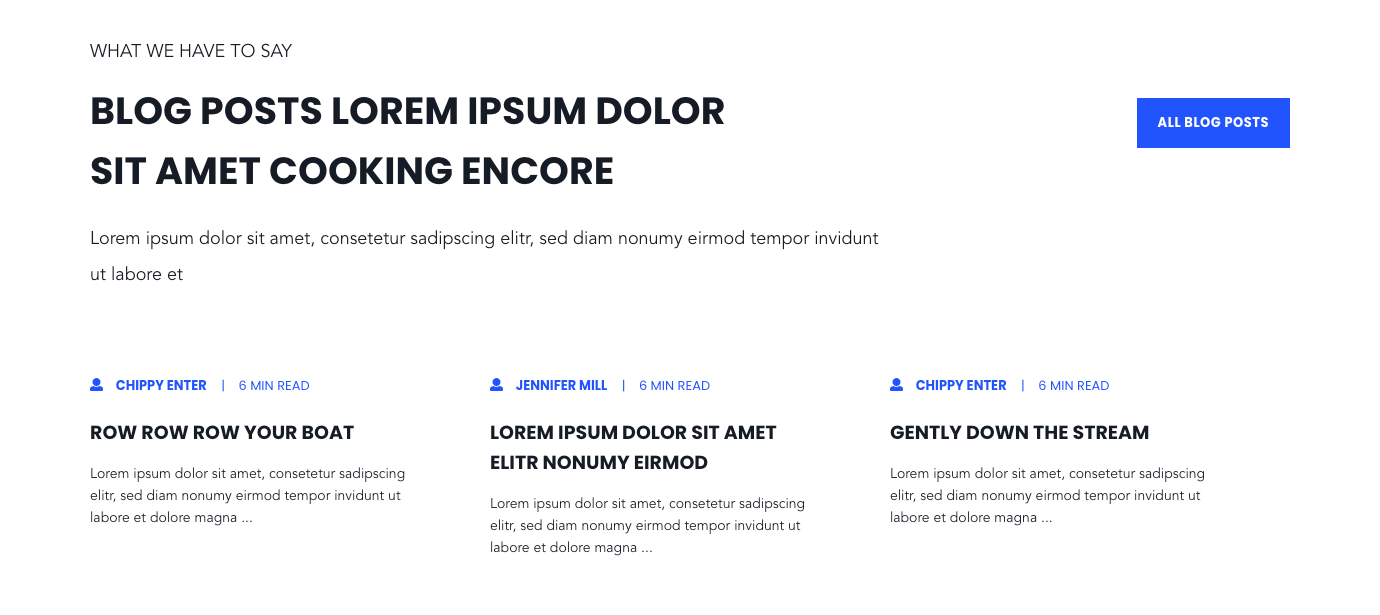
3. Number of Posts to show. Only has an effect on layouts “Posts – Large – Vertical Layout”, “Posts – Small – Horizontal Layout”, and “Posts – Small – Vertical Layout”
4. Show Author: Displays the author name in the blog post previews, if activated. Only for layout “Standard” and “Text only”.
5. Show Date: Display the date in the blog post preview, if activated. Only for layout “Standard” and “Text only”.
6. Show Reading Time: Display the estimated (internally calculated) reading time of the blog post, depending on the length of the blog post content. Only for layout “Standard” and “Text only”.
7. Show summary: Displays the excerpt text on the listing page. Only for layout “Standard” and “Text only”.
8. Get summary from: offers to pull the excerpt text either from the blog post directly or from the meta description of the blog post, which will be defined in the settings of the blog post editor.
9. Truncate summary: limits the length of the excerpt text to a given number.
10. Post Filter: Here, the set of blog posts which should be shown can be defined. Defining this set is based on multiple options:
10.1 Blog: Choose the blog (if you have more than 1) from which the blog posts should be pulled.
10.2 Tags/Categories: Select up to 3 different tags and categories.
10.3 Authors: Posts from specific authors. Please enter the exact name as configured in HubSpot. You can configure several ones by separating them by comma without whitespace.
10.4 Always show this posts: Blog posts which always should show up in the returned listing, despite all other filters. Enter the IDs of the blog posts. You’ll find the ID in the URL while editing the specific post. You can configure several ones by separating them by comma without whitespace.


![Toni Kroos là ai? [ sự thật về tiểu sử đầy đủ Toni Kroos ]](https://evbn.org/wp-content/uploads/New-Project-6635-1671934592.jpg)


