Tutorial for the Sina blouse
Here’s a detailed tutorial for the Sina blouse, it’s the free pattern for March 2022. I liked making it and I hope these instructions can help you while sewing. Find the instructions for the pattern download in this blogpost.
You can download the free sewing pattern for the “Sina” blouse at the following link:
www.bernina.com/inspiration-freebie
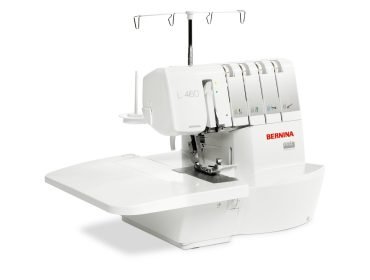
I chose for a light weight stretch fabric. Most of the seams were sewn with the BERNINA L 460. For the sewing part I like to use the Straight stitch needle plate for the 7-series sewing machine.
Mục Lục
BERNINA L 460
Learn more
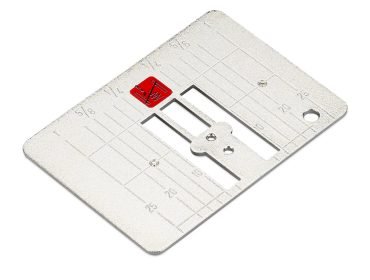
Straight stitch needle plate
Learn more
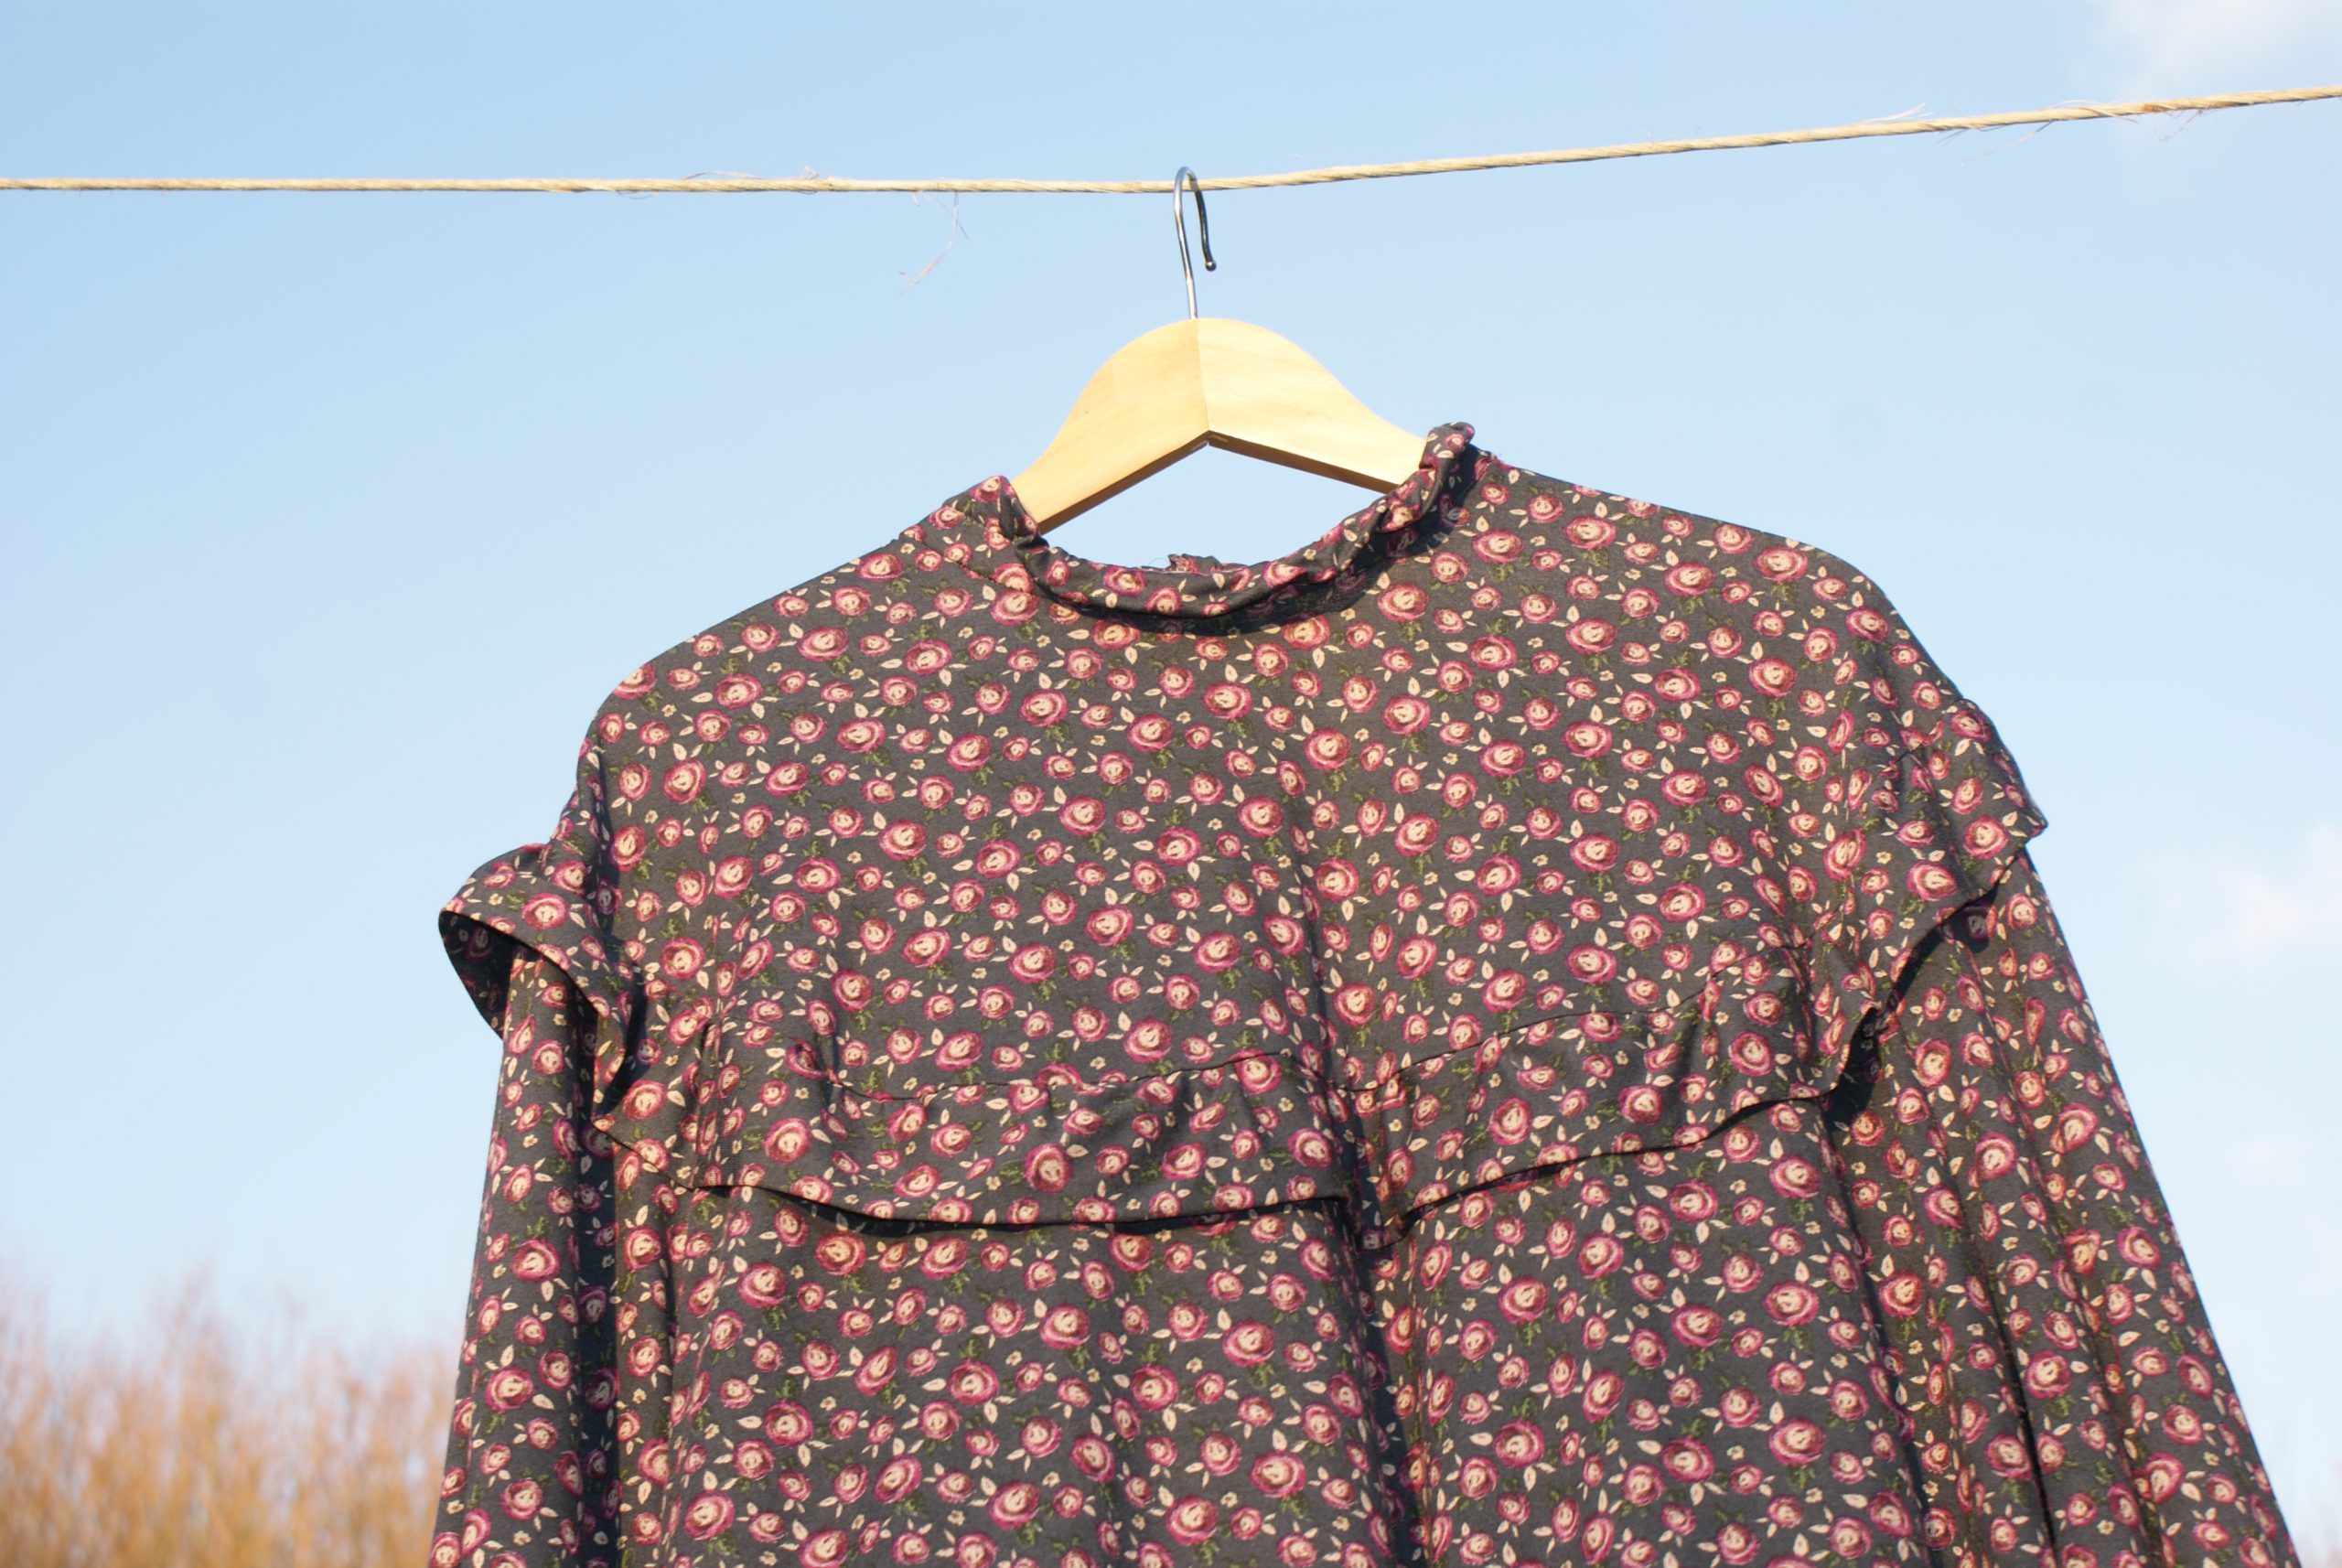
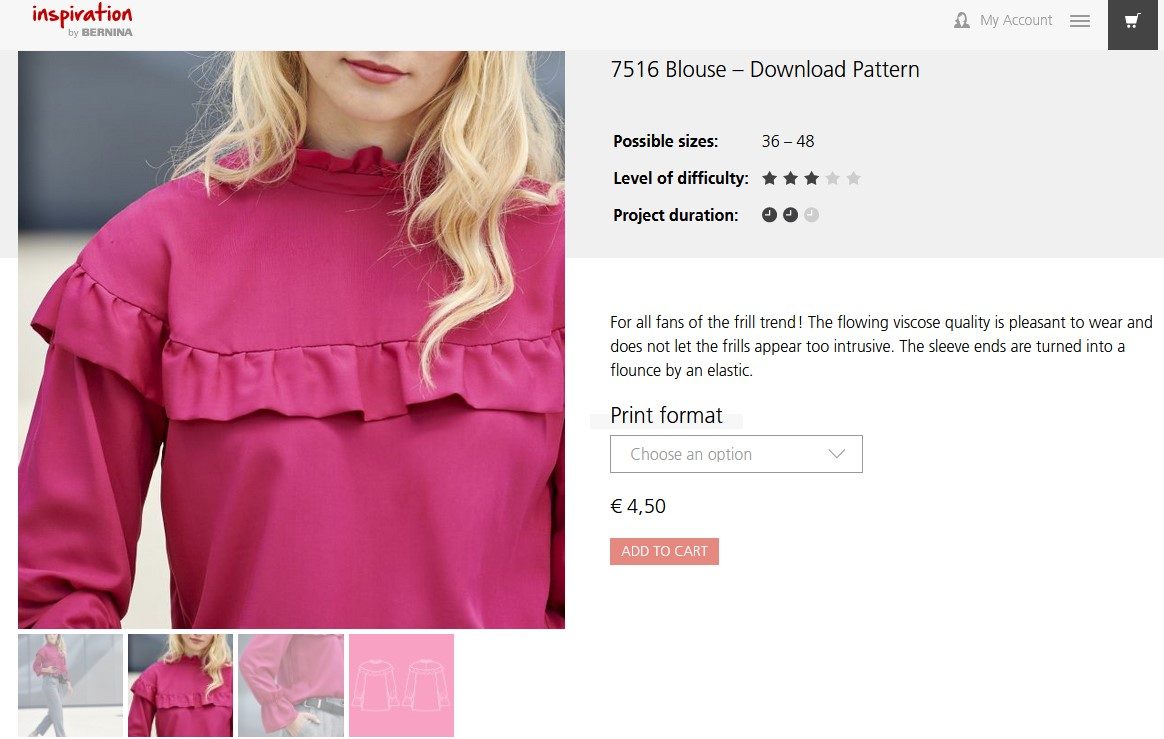
Prepare for sewing the Sina blouse:
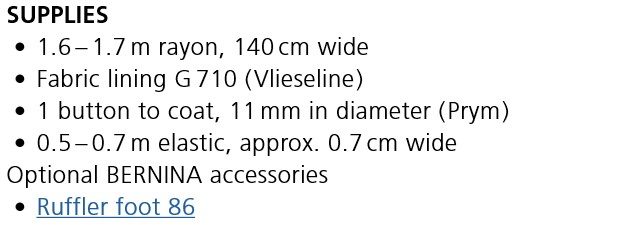
I used Mettler Seralon sewing thread.
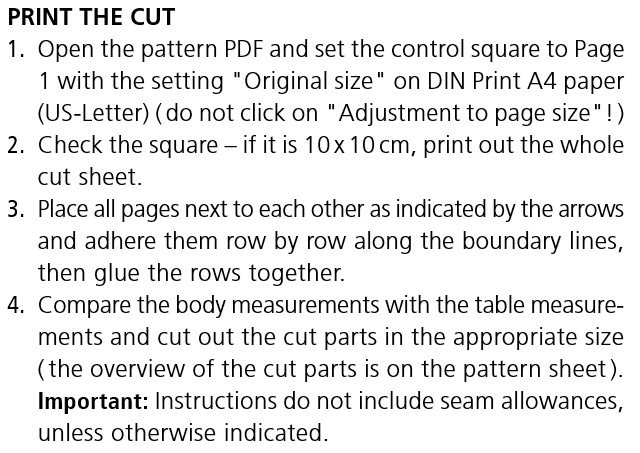
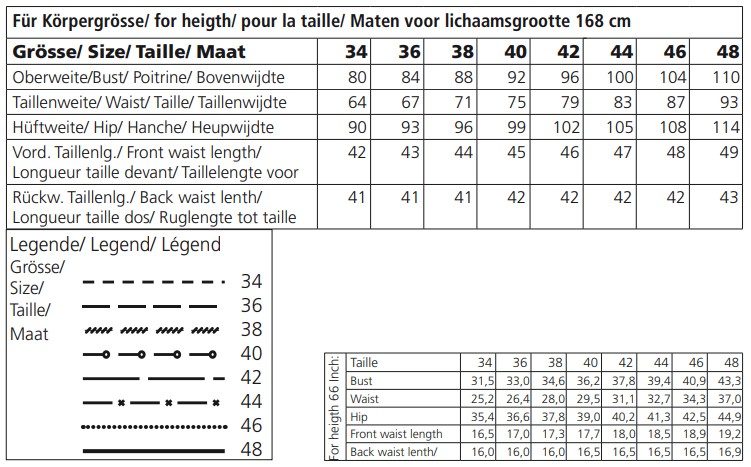
Check your body measurements with the sizes, adjust if necessary:
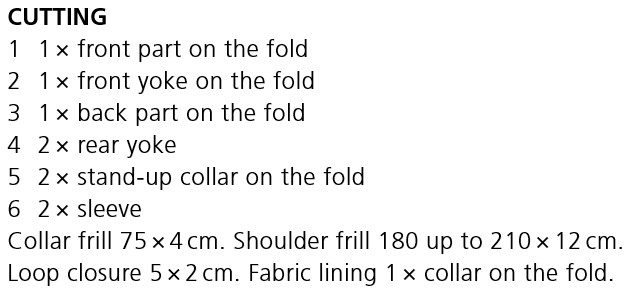
Cut out the pattern parts, don’t forget the seam allowance.
 Take marks and notches.
Start to sew the Sina blouse:
Prepare the sleeves.
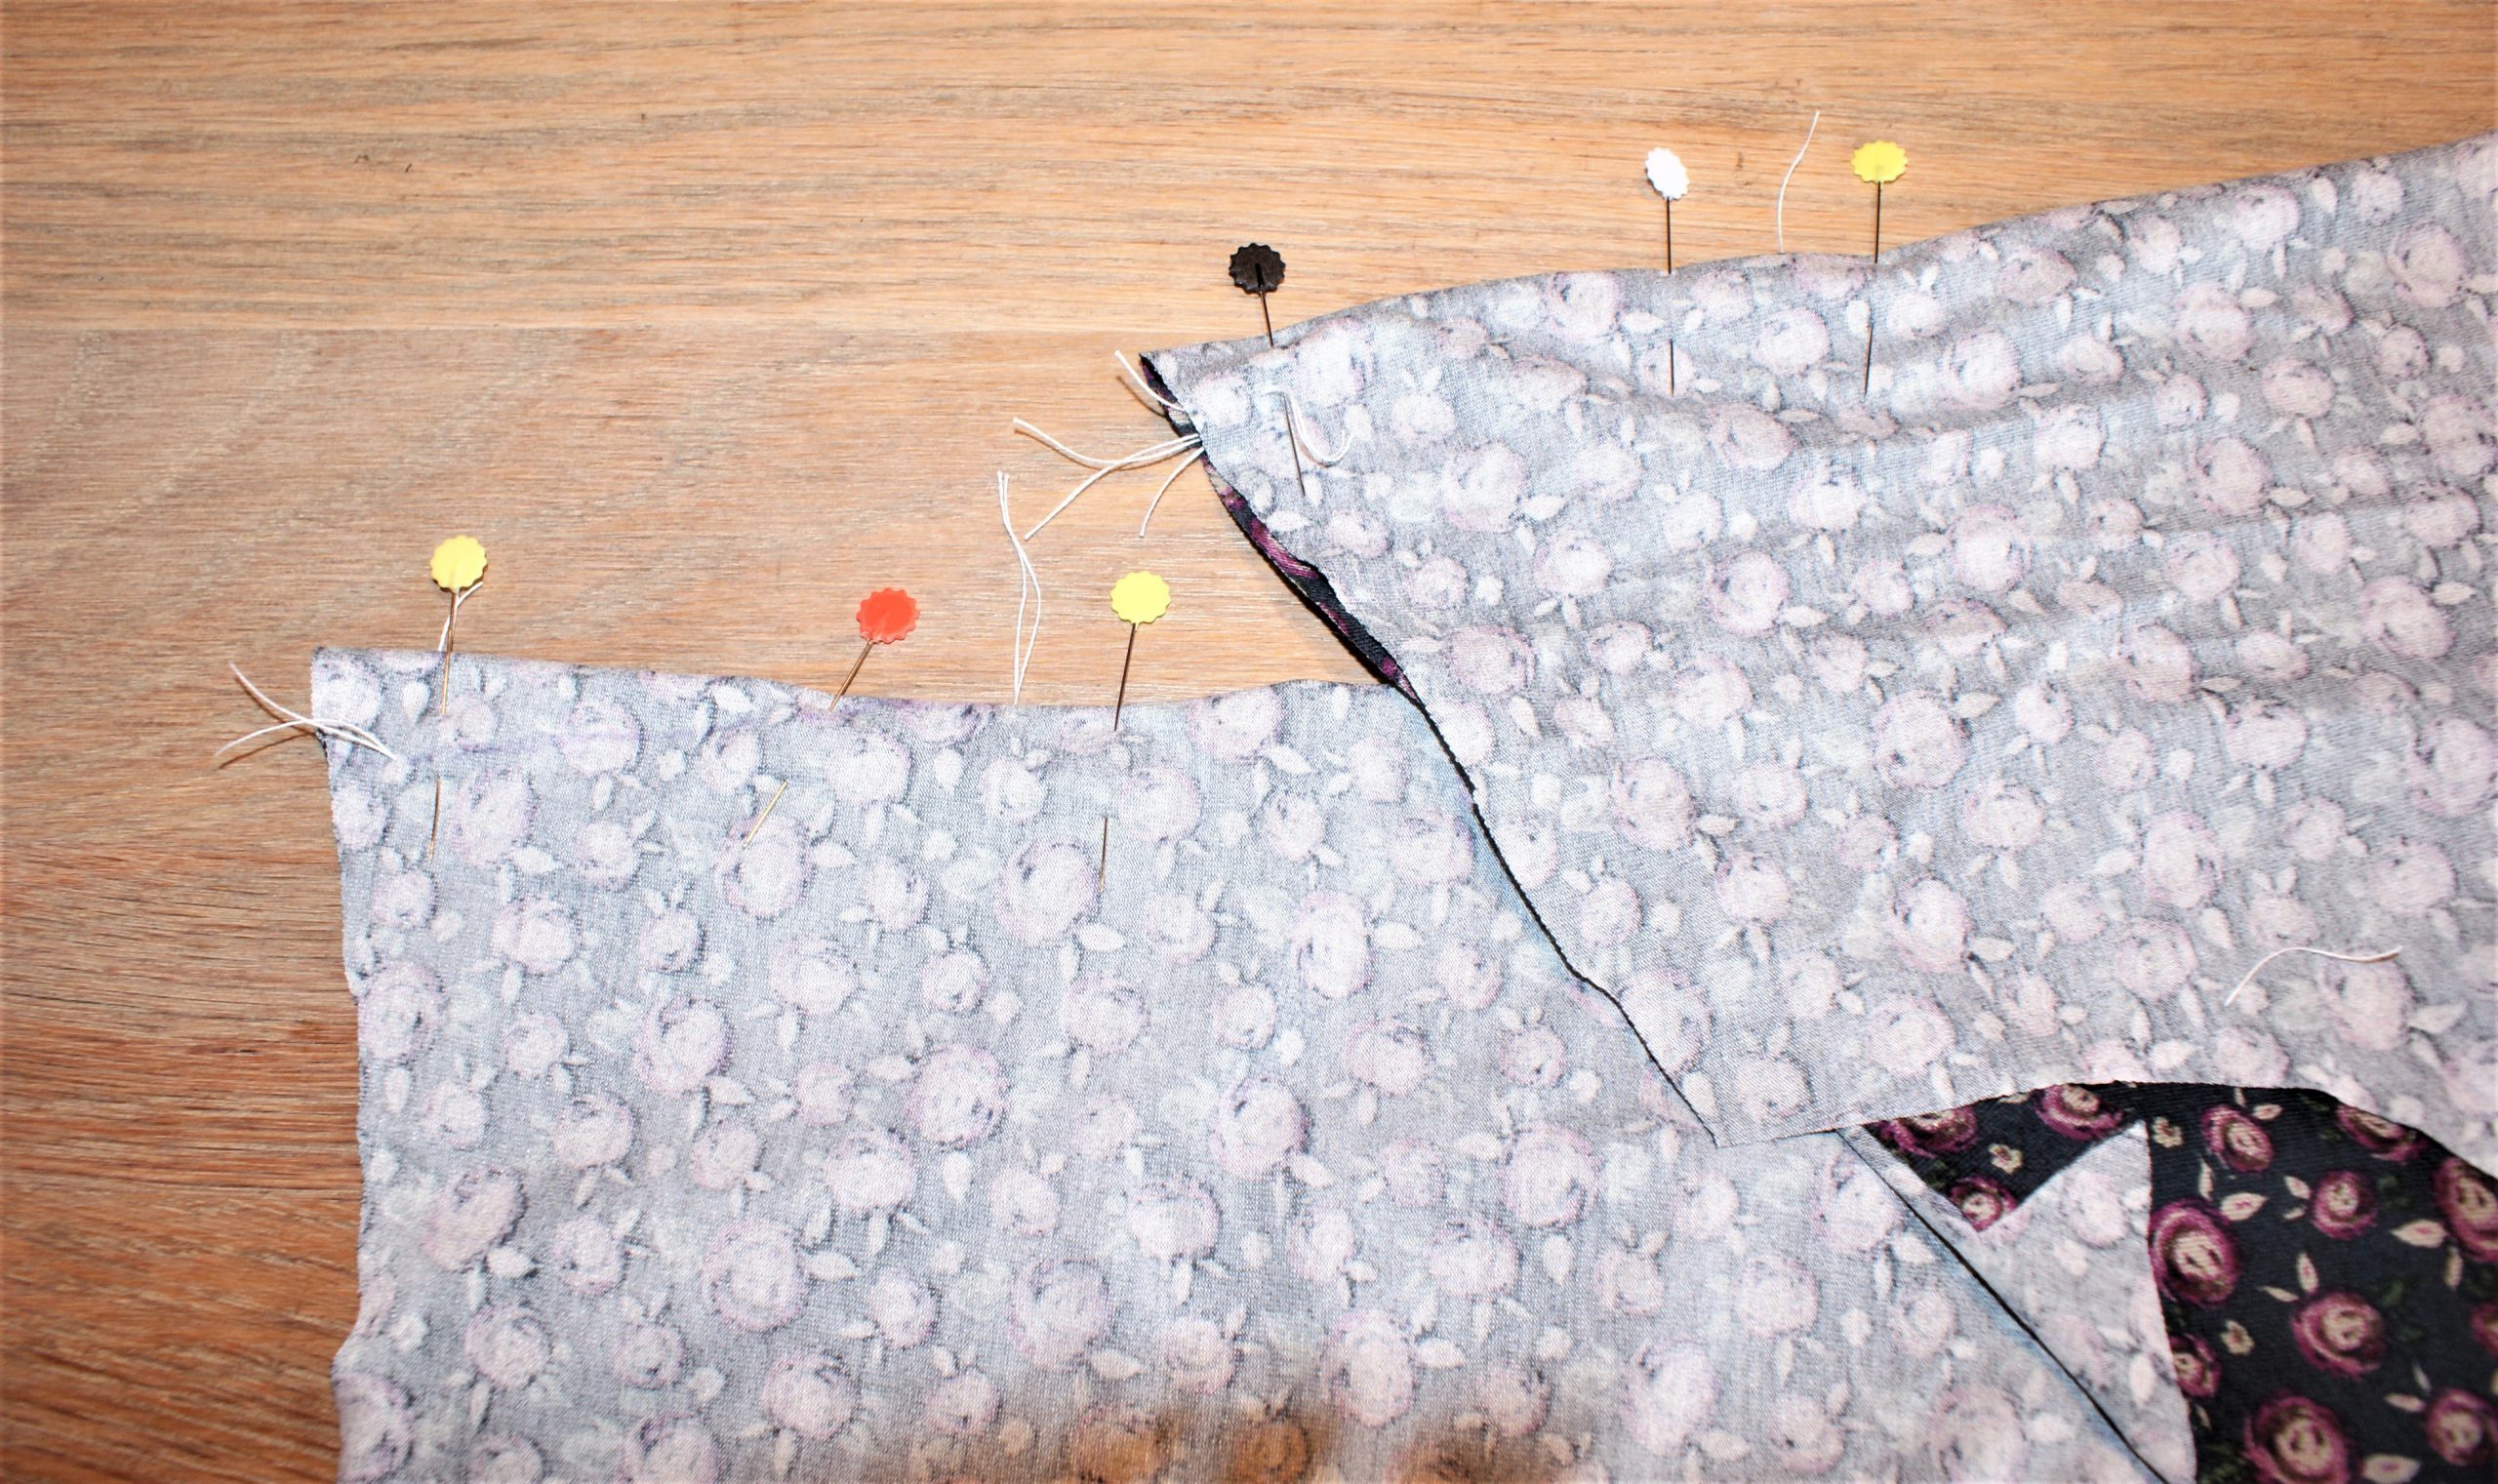
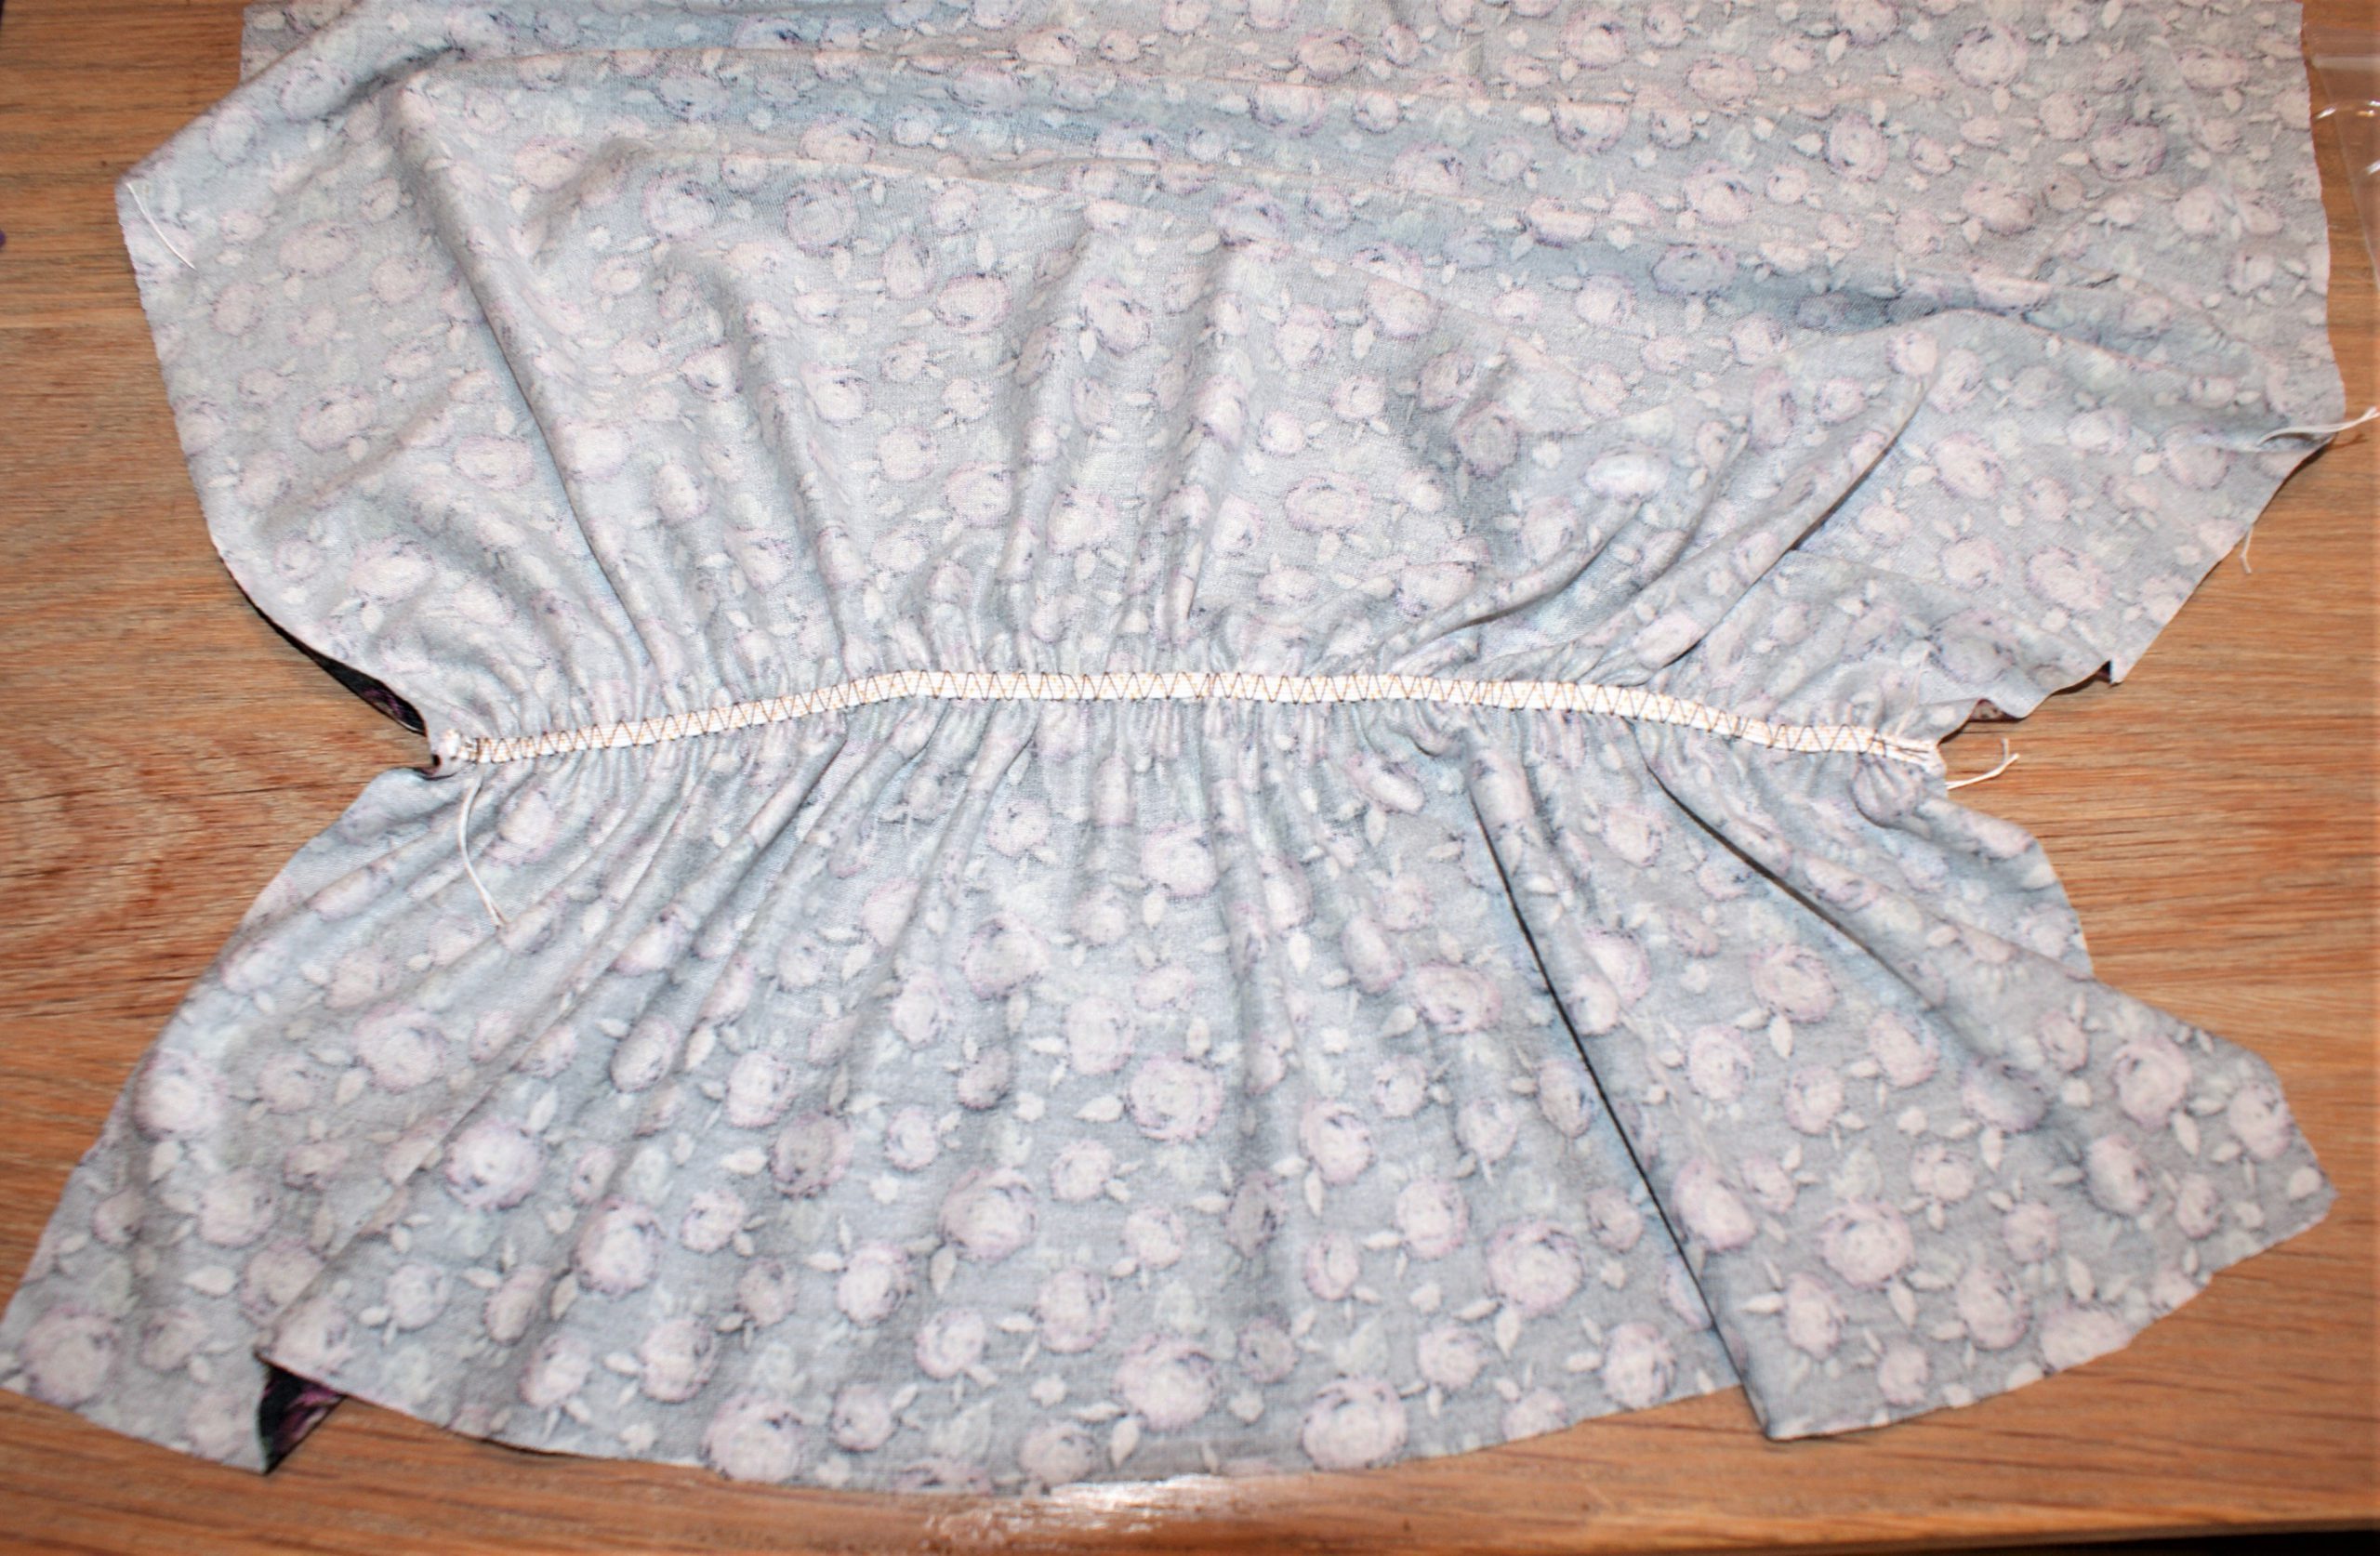
 Choose a flat elastic, maximum width 5 mm. Sew with a 5,5 mm zigzag stitch.
I cut a size 48. The suggested size for the elastic feels a little too tight. You could add some cm to the length of the elastic.
This is what it looks like after sewing:
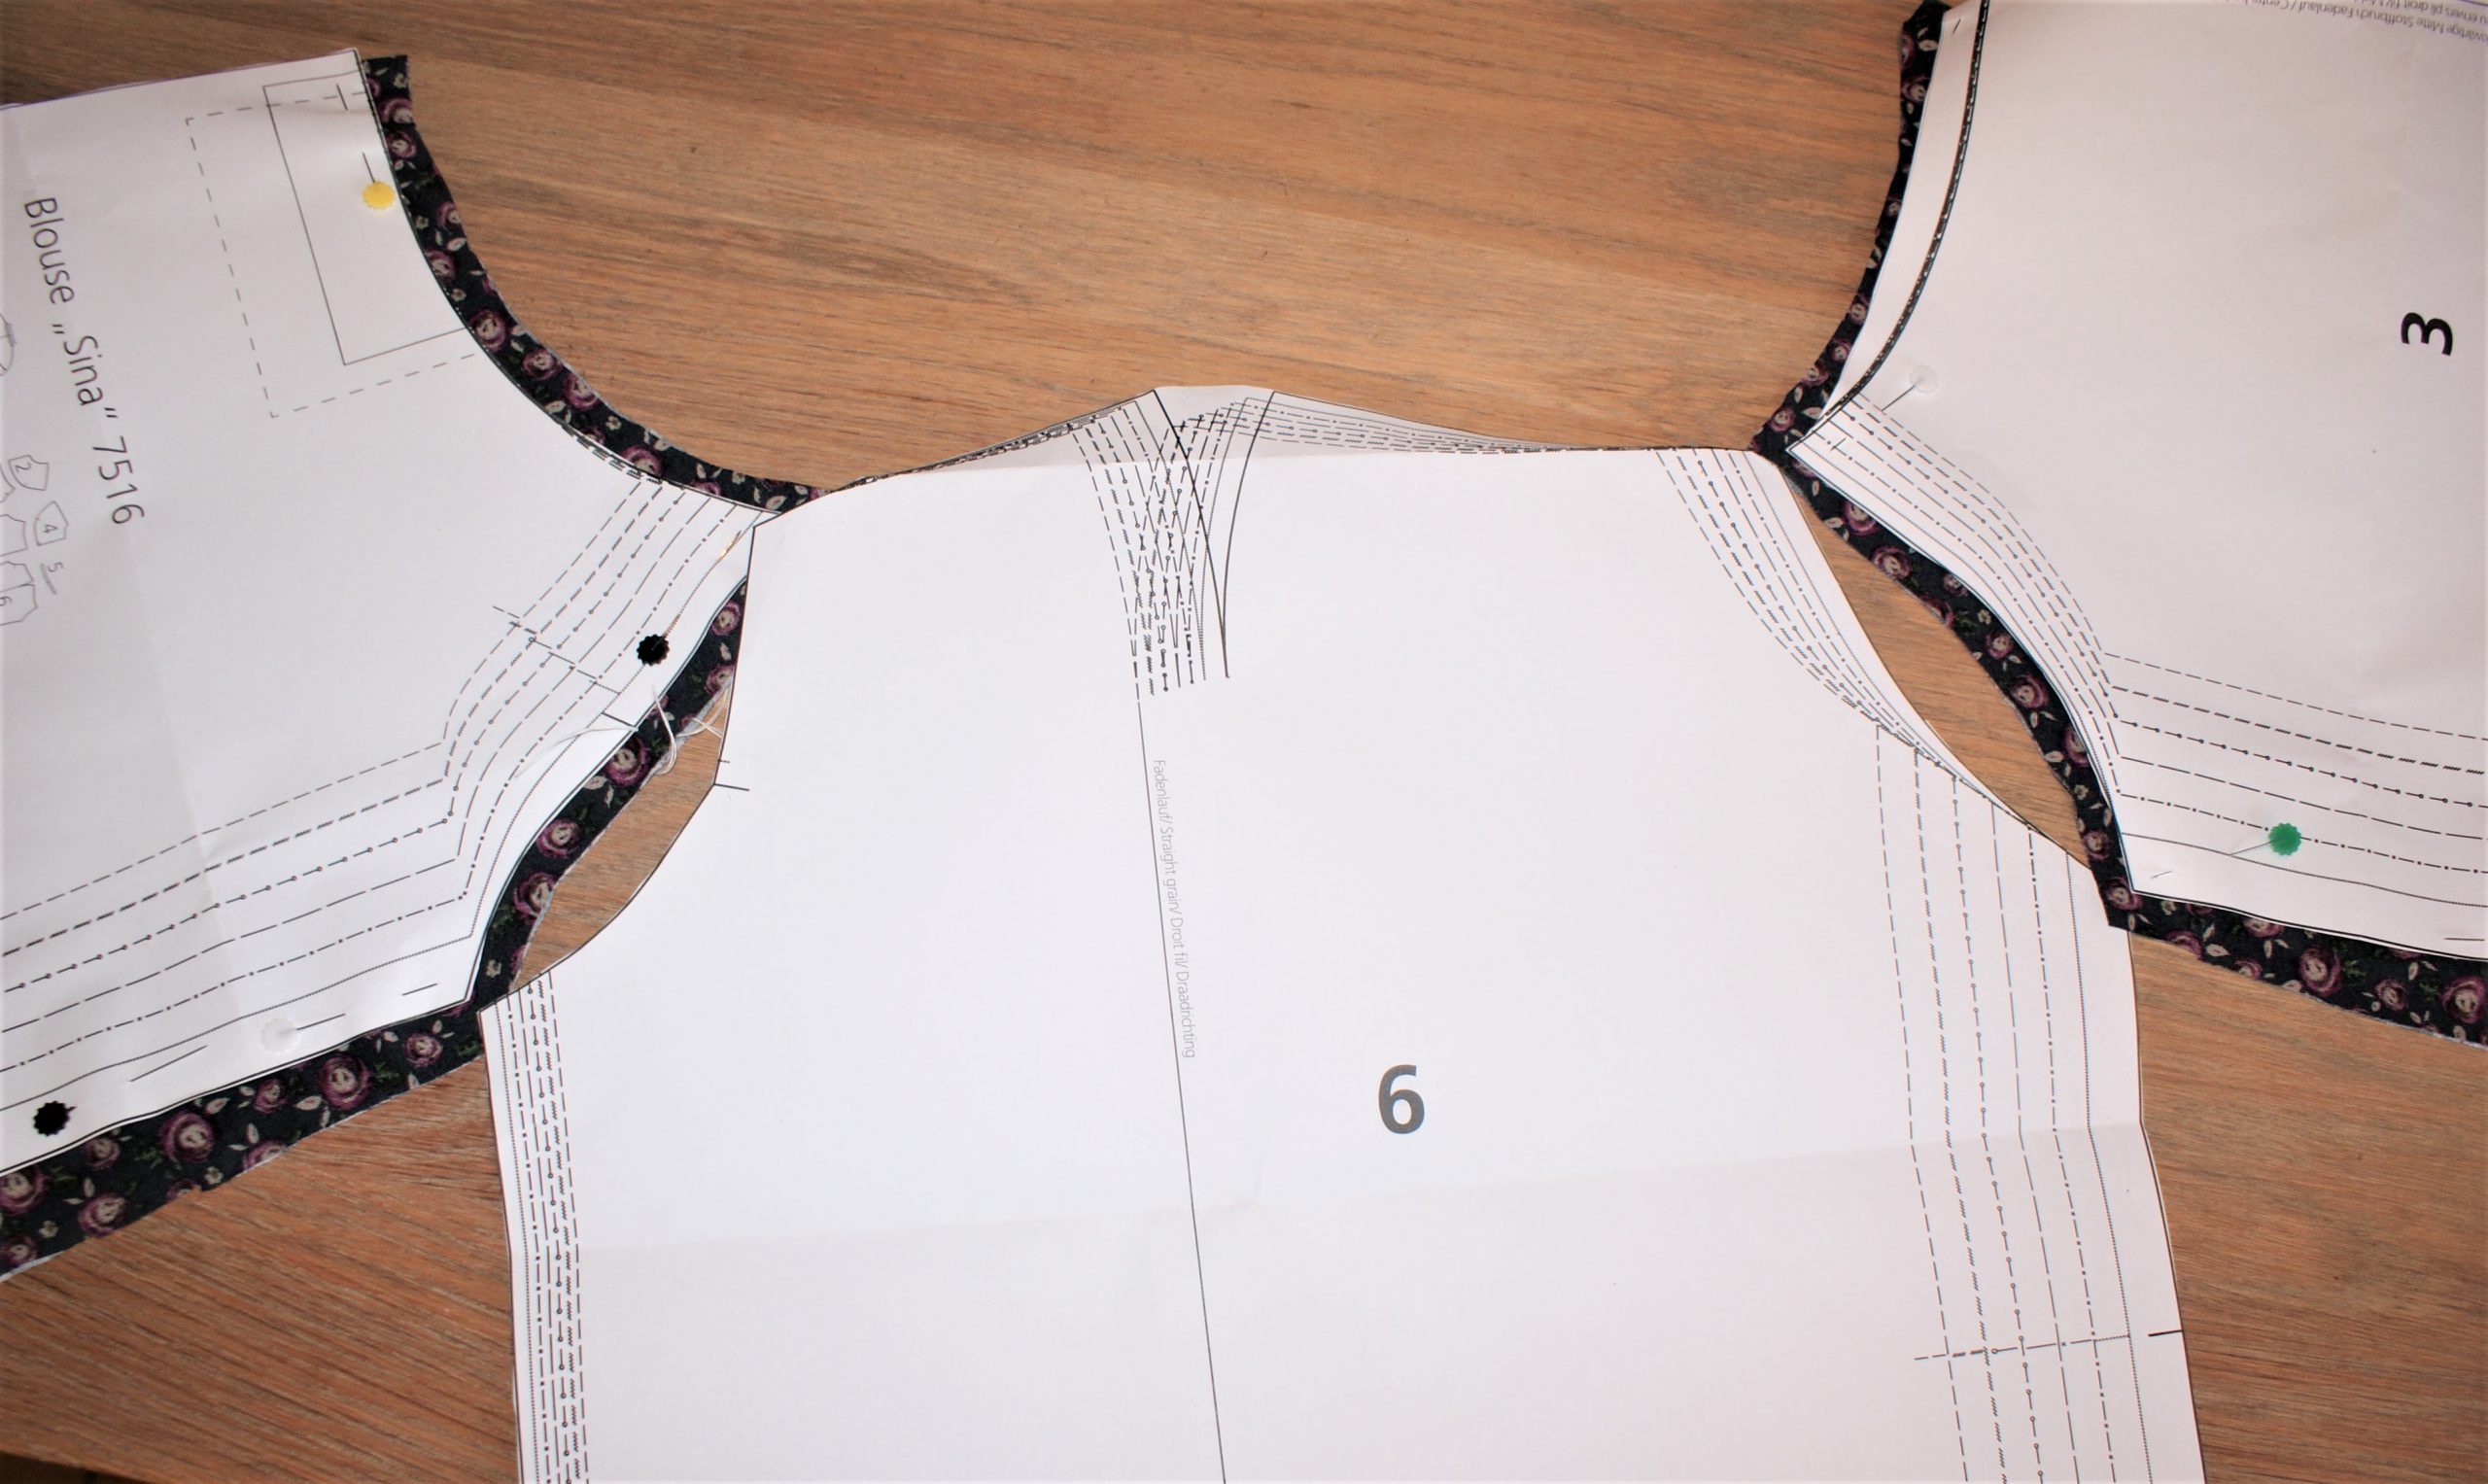
Sew the sleeves to front and back pattern pieces:

Put them together in this way (the notch is in the armhole section is in the front part).
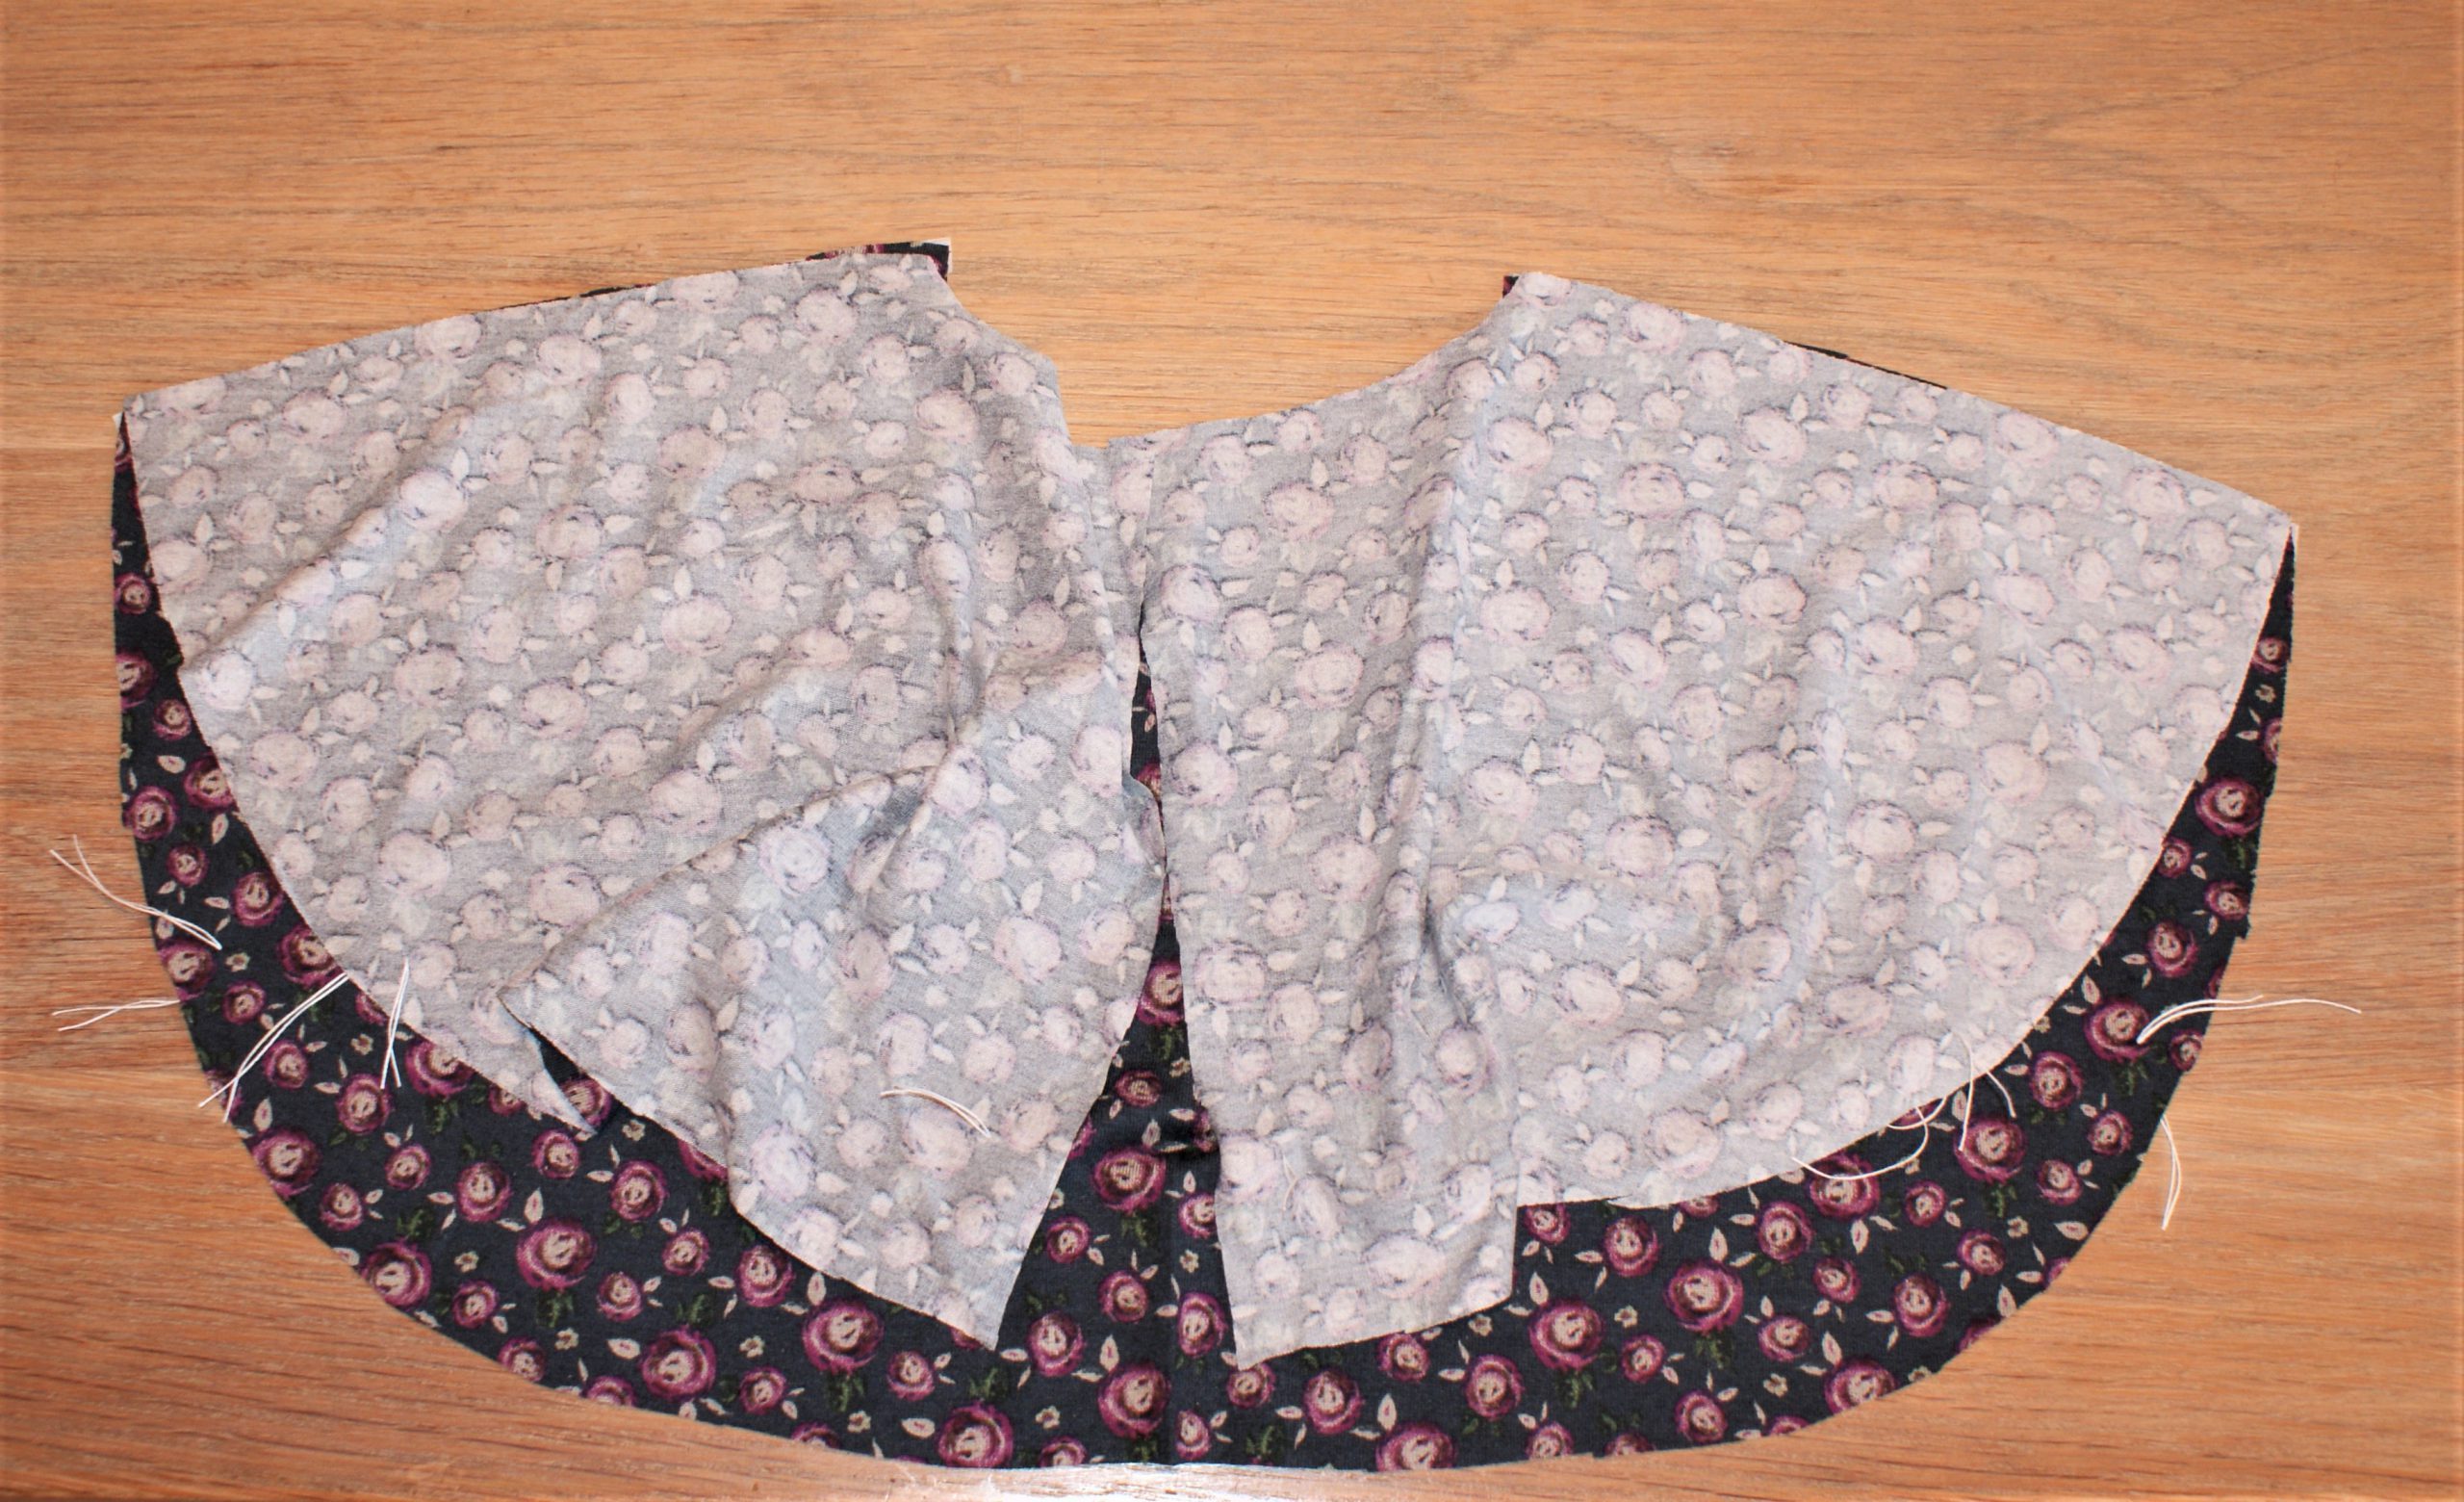
This is the rear yoke, fist close shoulder seams:
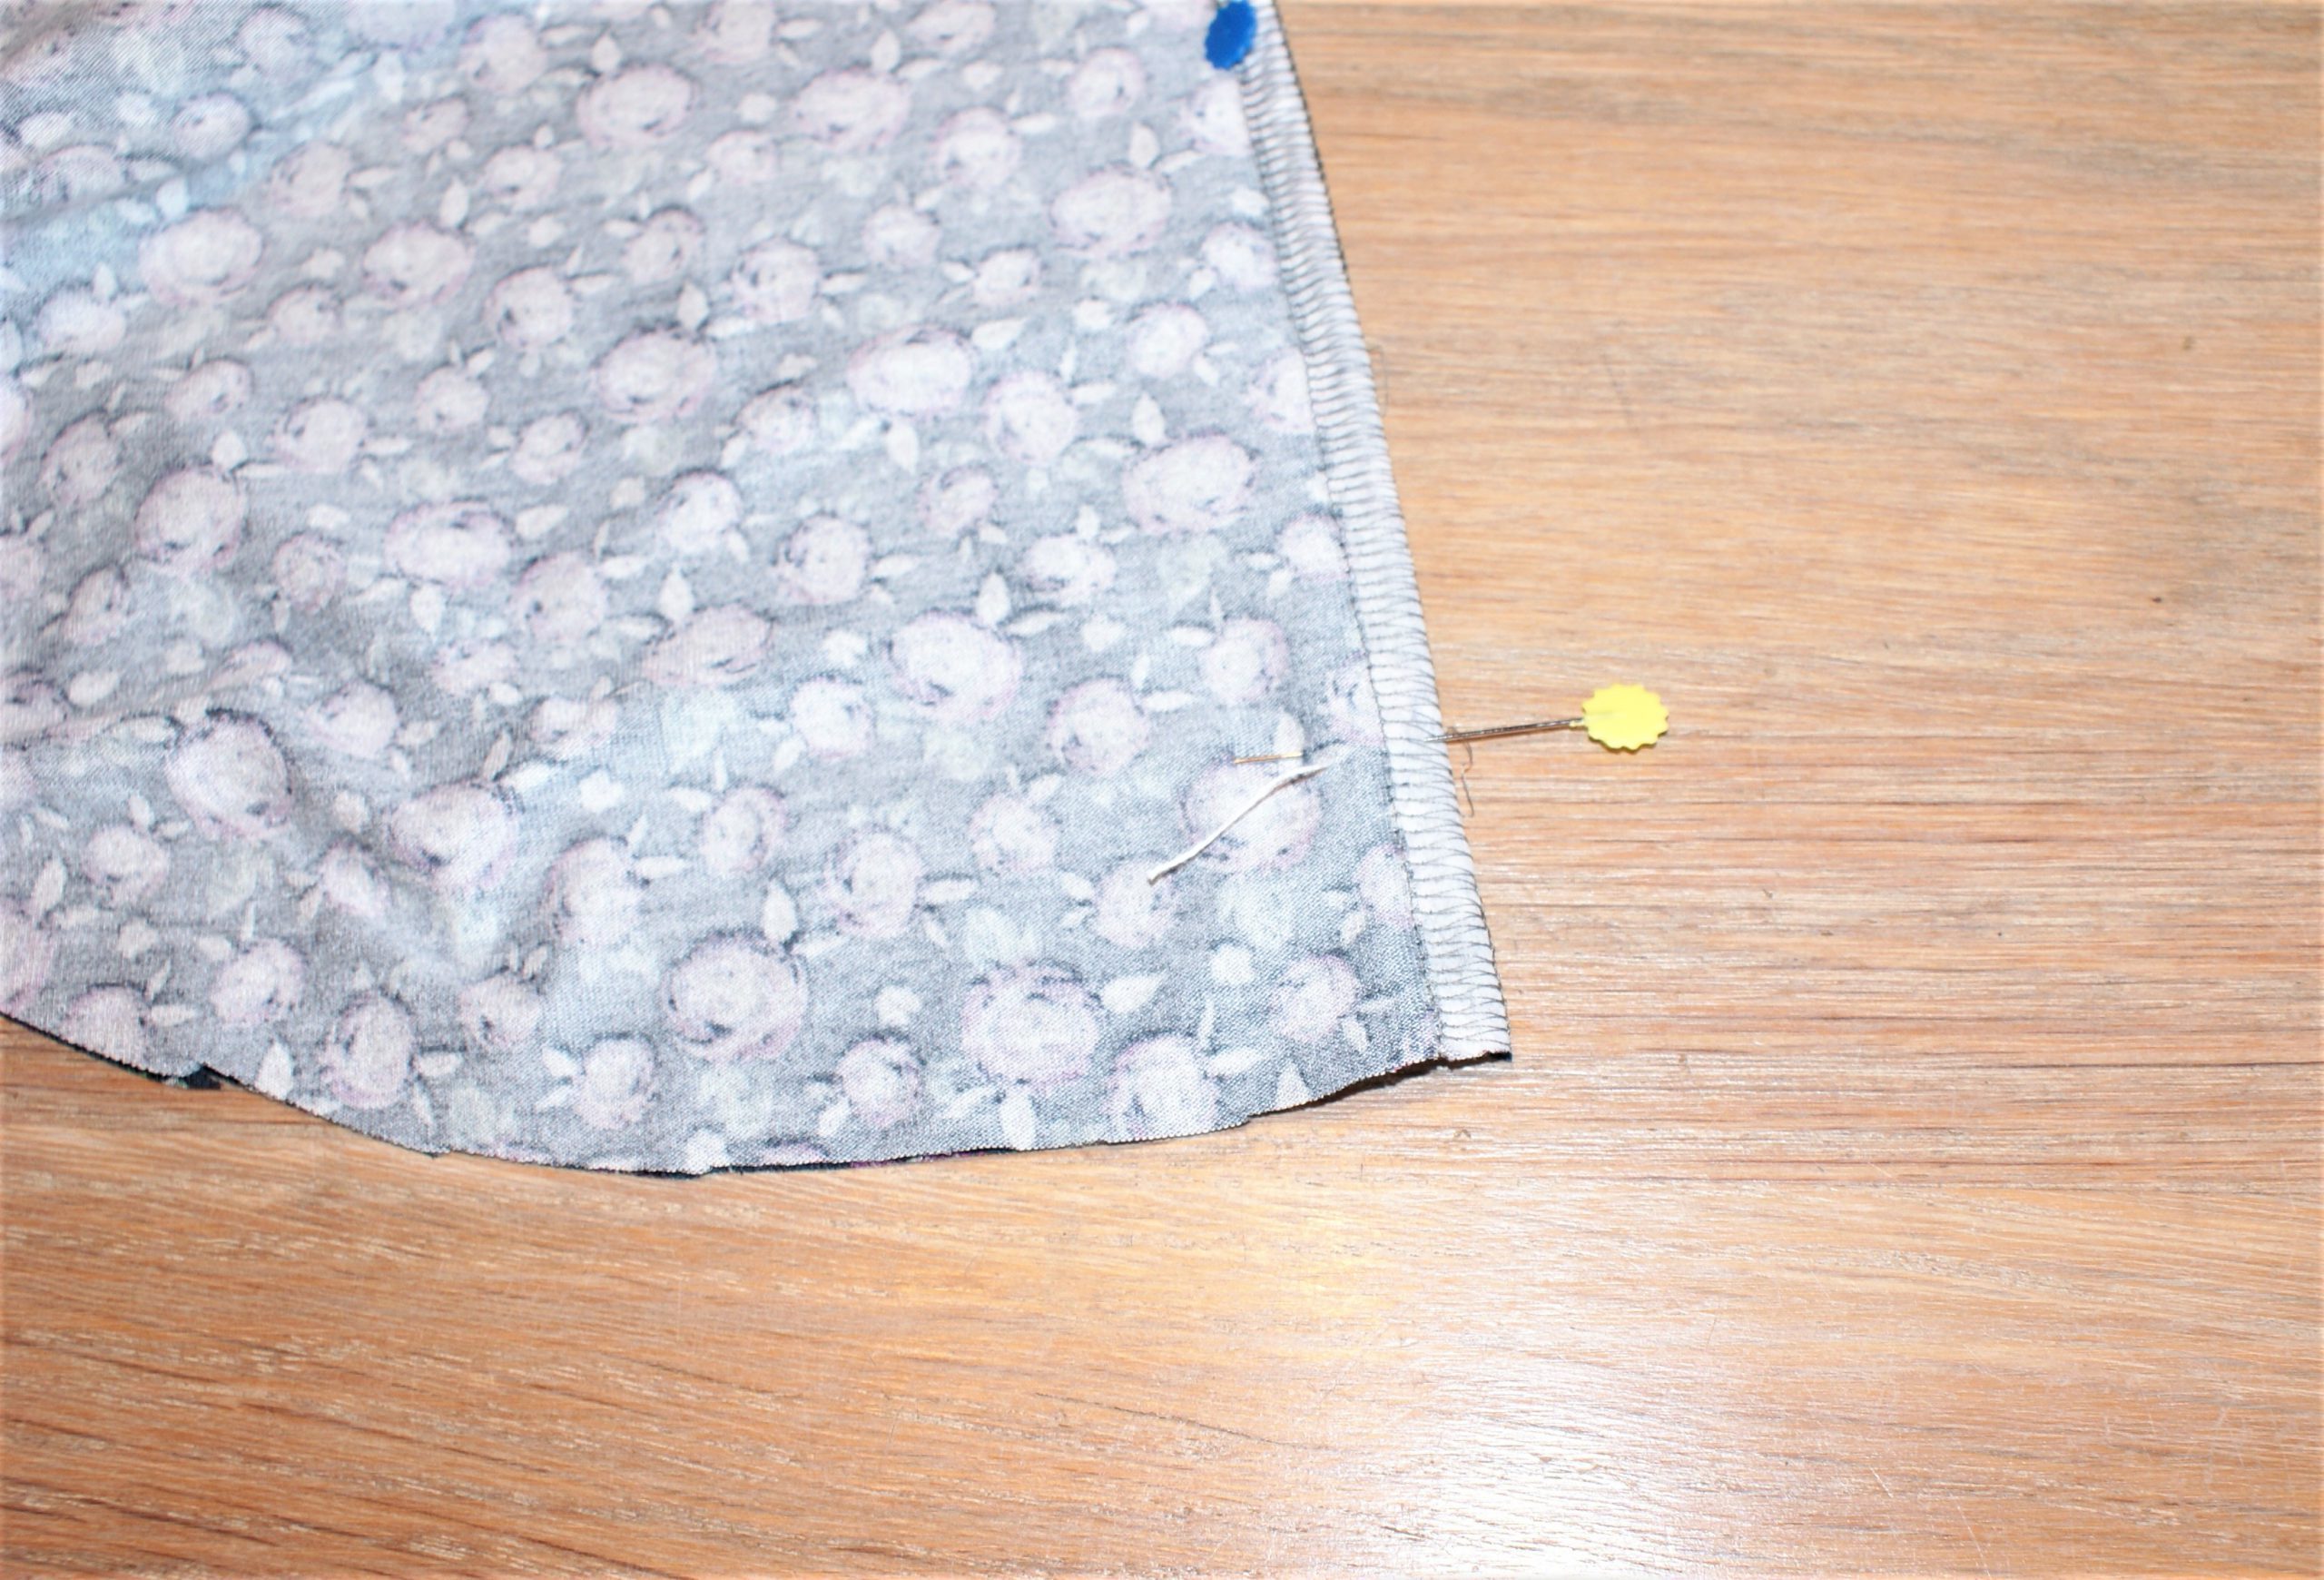
Then, overlock and sew the slit from the mark down to the bottom:

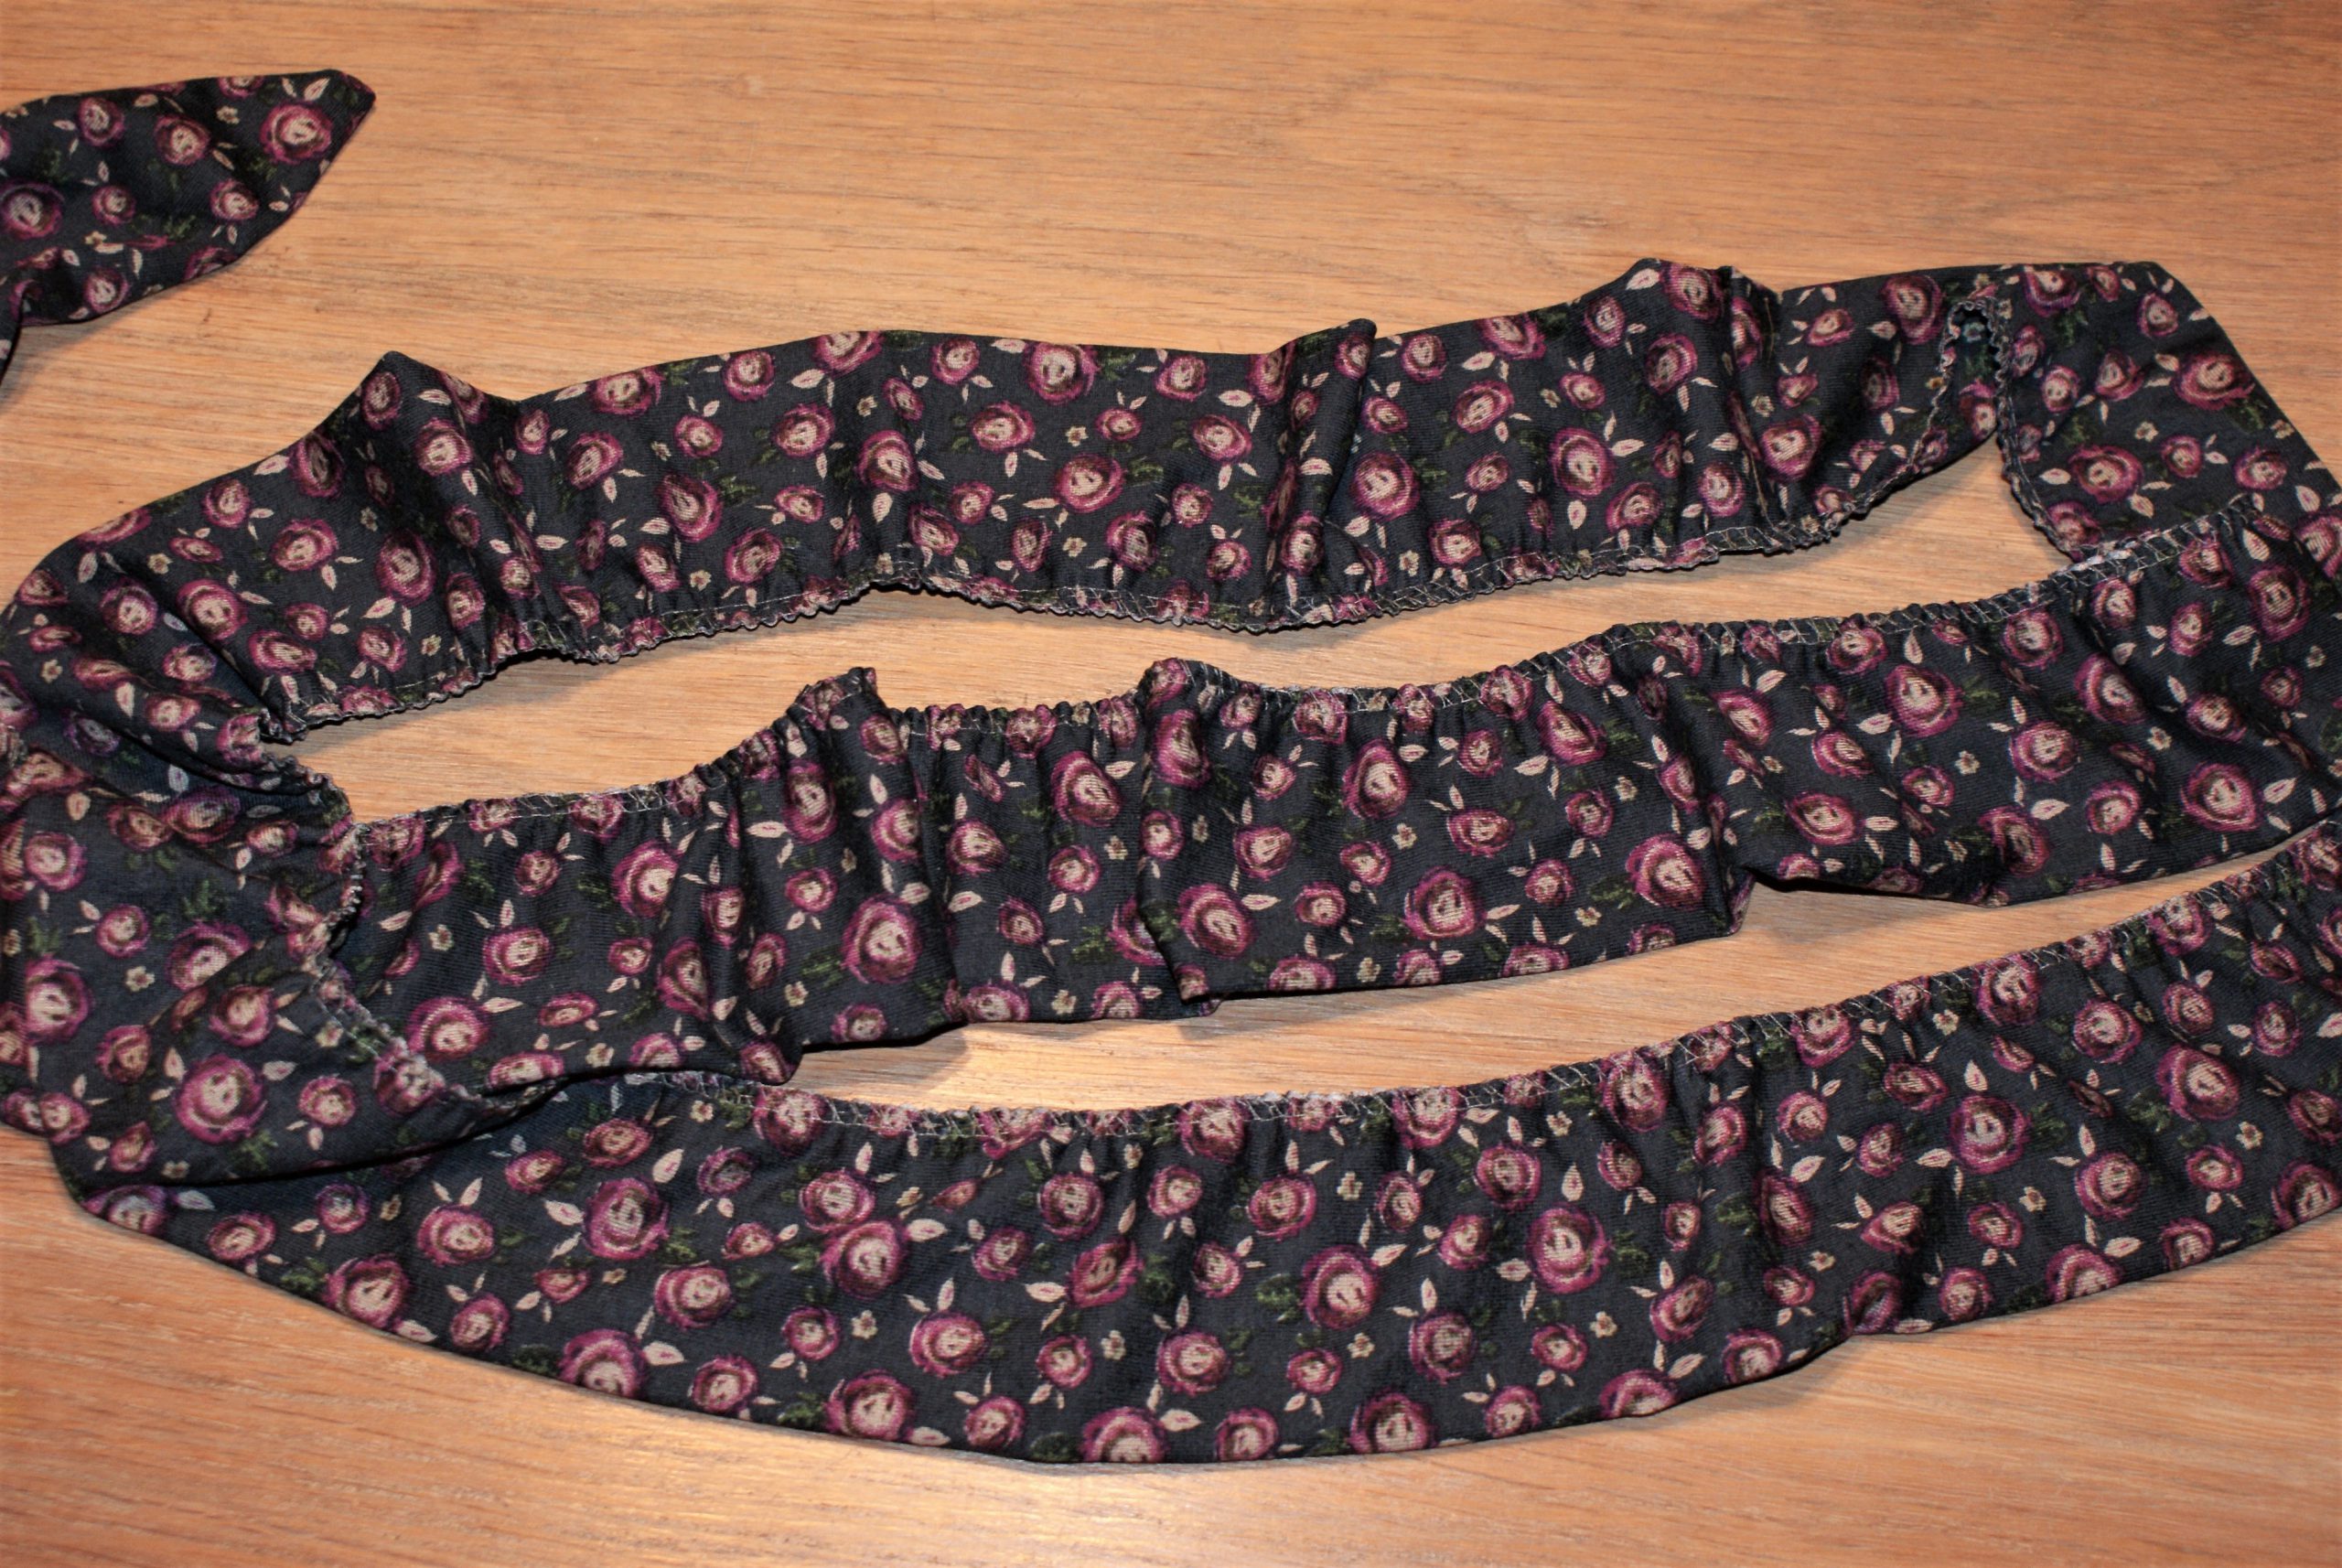
It is necessary to make pleats or gathering in the top part of the frill, because of the curved line in the yoke. A flat strip of ribbon or lace f.i. would not work. I gathered with the overlock by sewing with a maximum setting for differential feed.

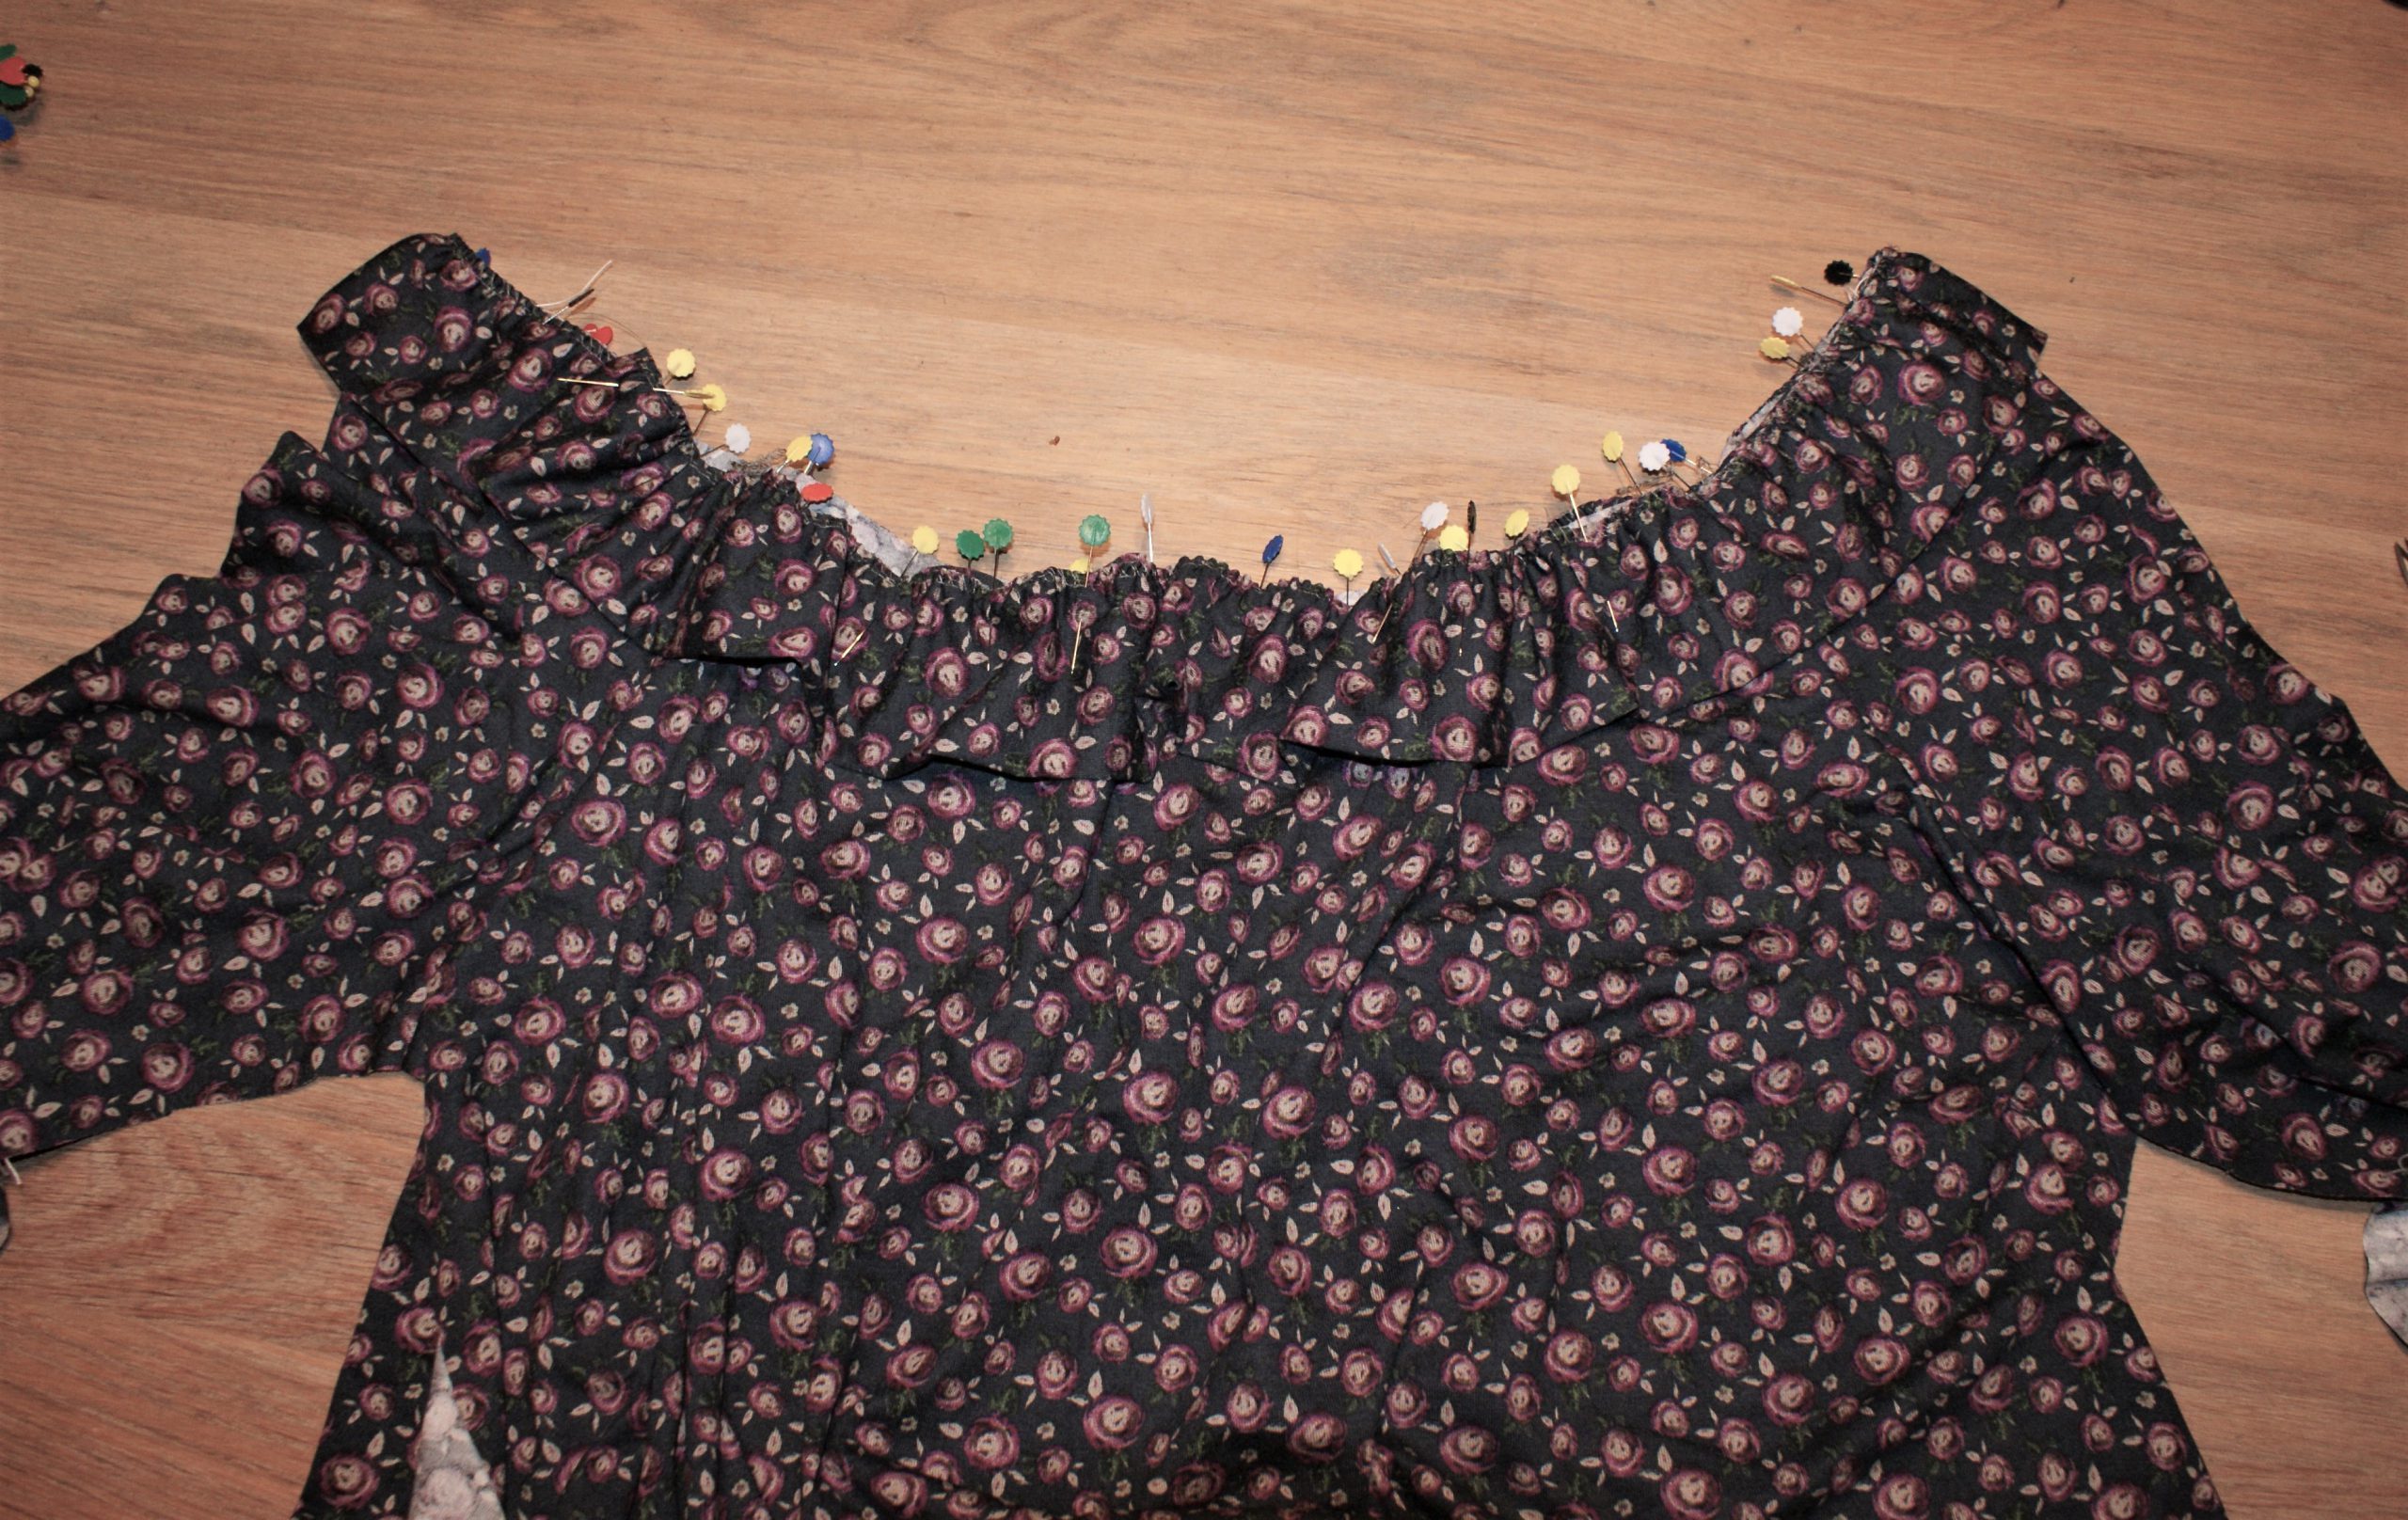
Pin the frill to the front, sleeves and back and sew together. I used a small zigzagstitch.
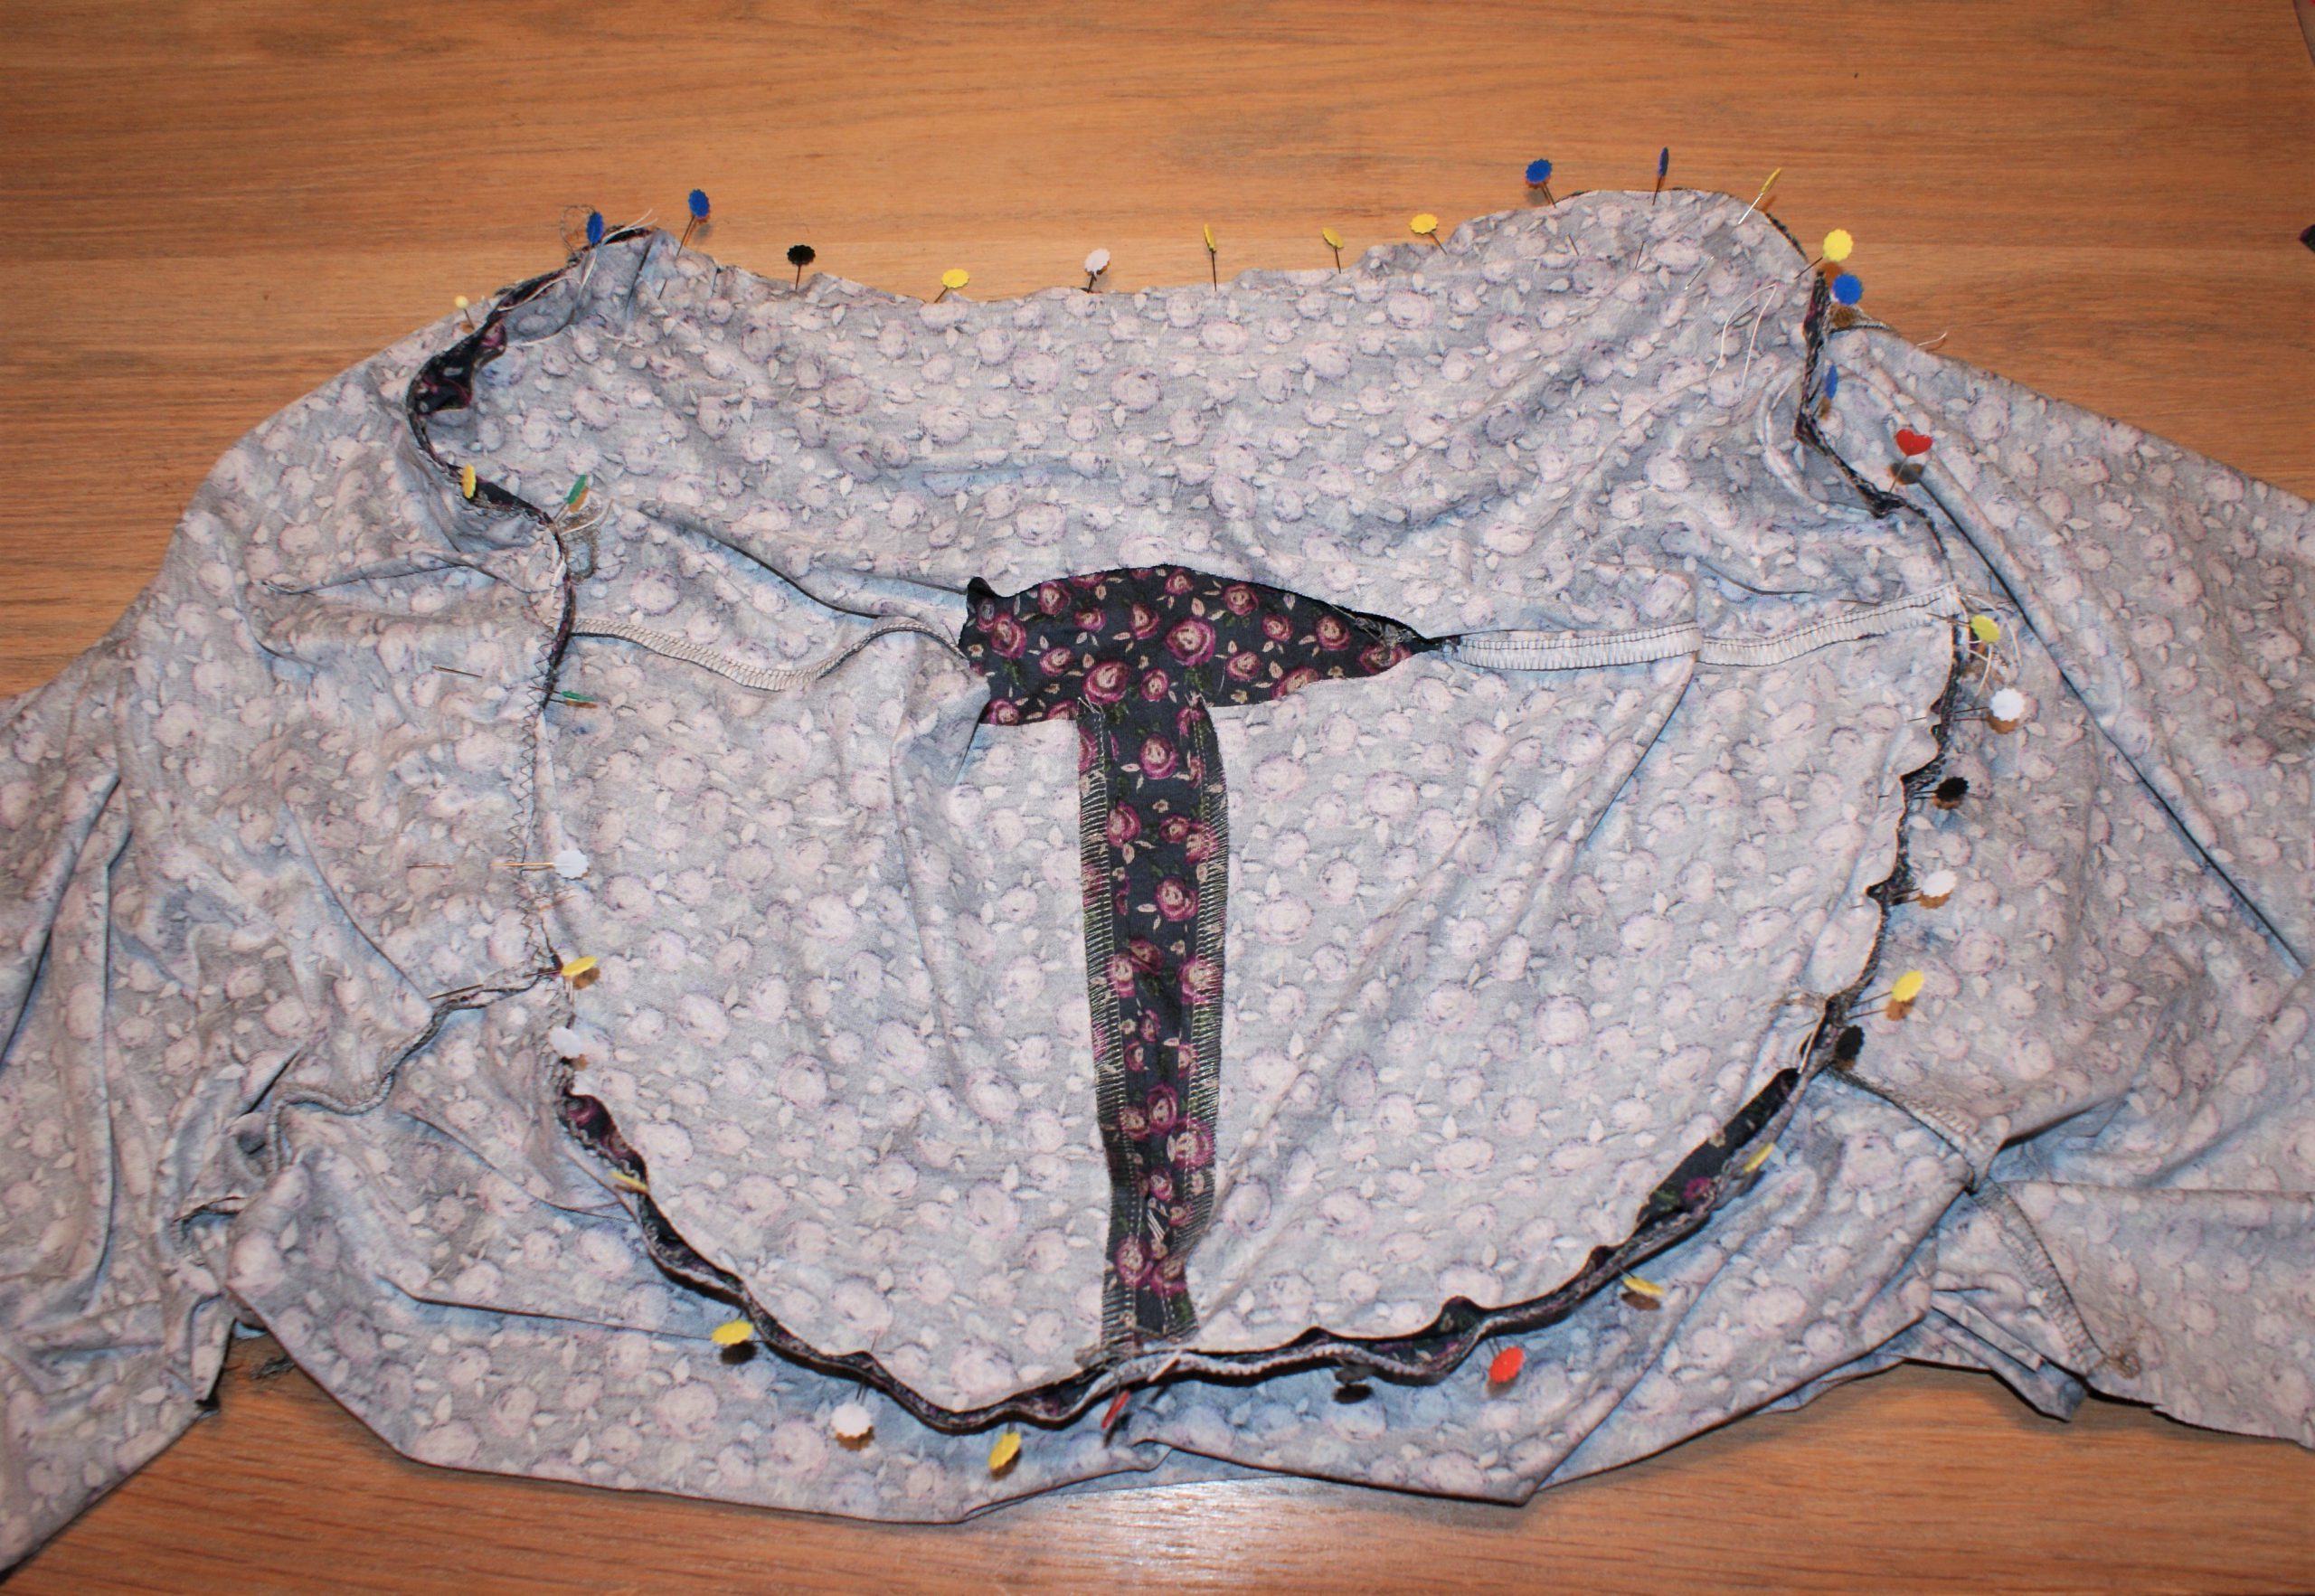
Afterwards, pin and sew the yoke to the blouse. Overlock the seam.
Finish the collar, button loop and frill.

Tip: cut the loop pattern part twice as long. Top and bottom are not easy to sew for a small pattern piece. After finishing, you can cut it to the exact size.
I pinned the frill to the top part of the collar. The marks are in the bottom side, to match the shoulers.

Don’t forget to cut away the corners of the collar after sewing both collar parts together, with the frill in between.
 I pinned and sewed one part to the blouse.
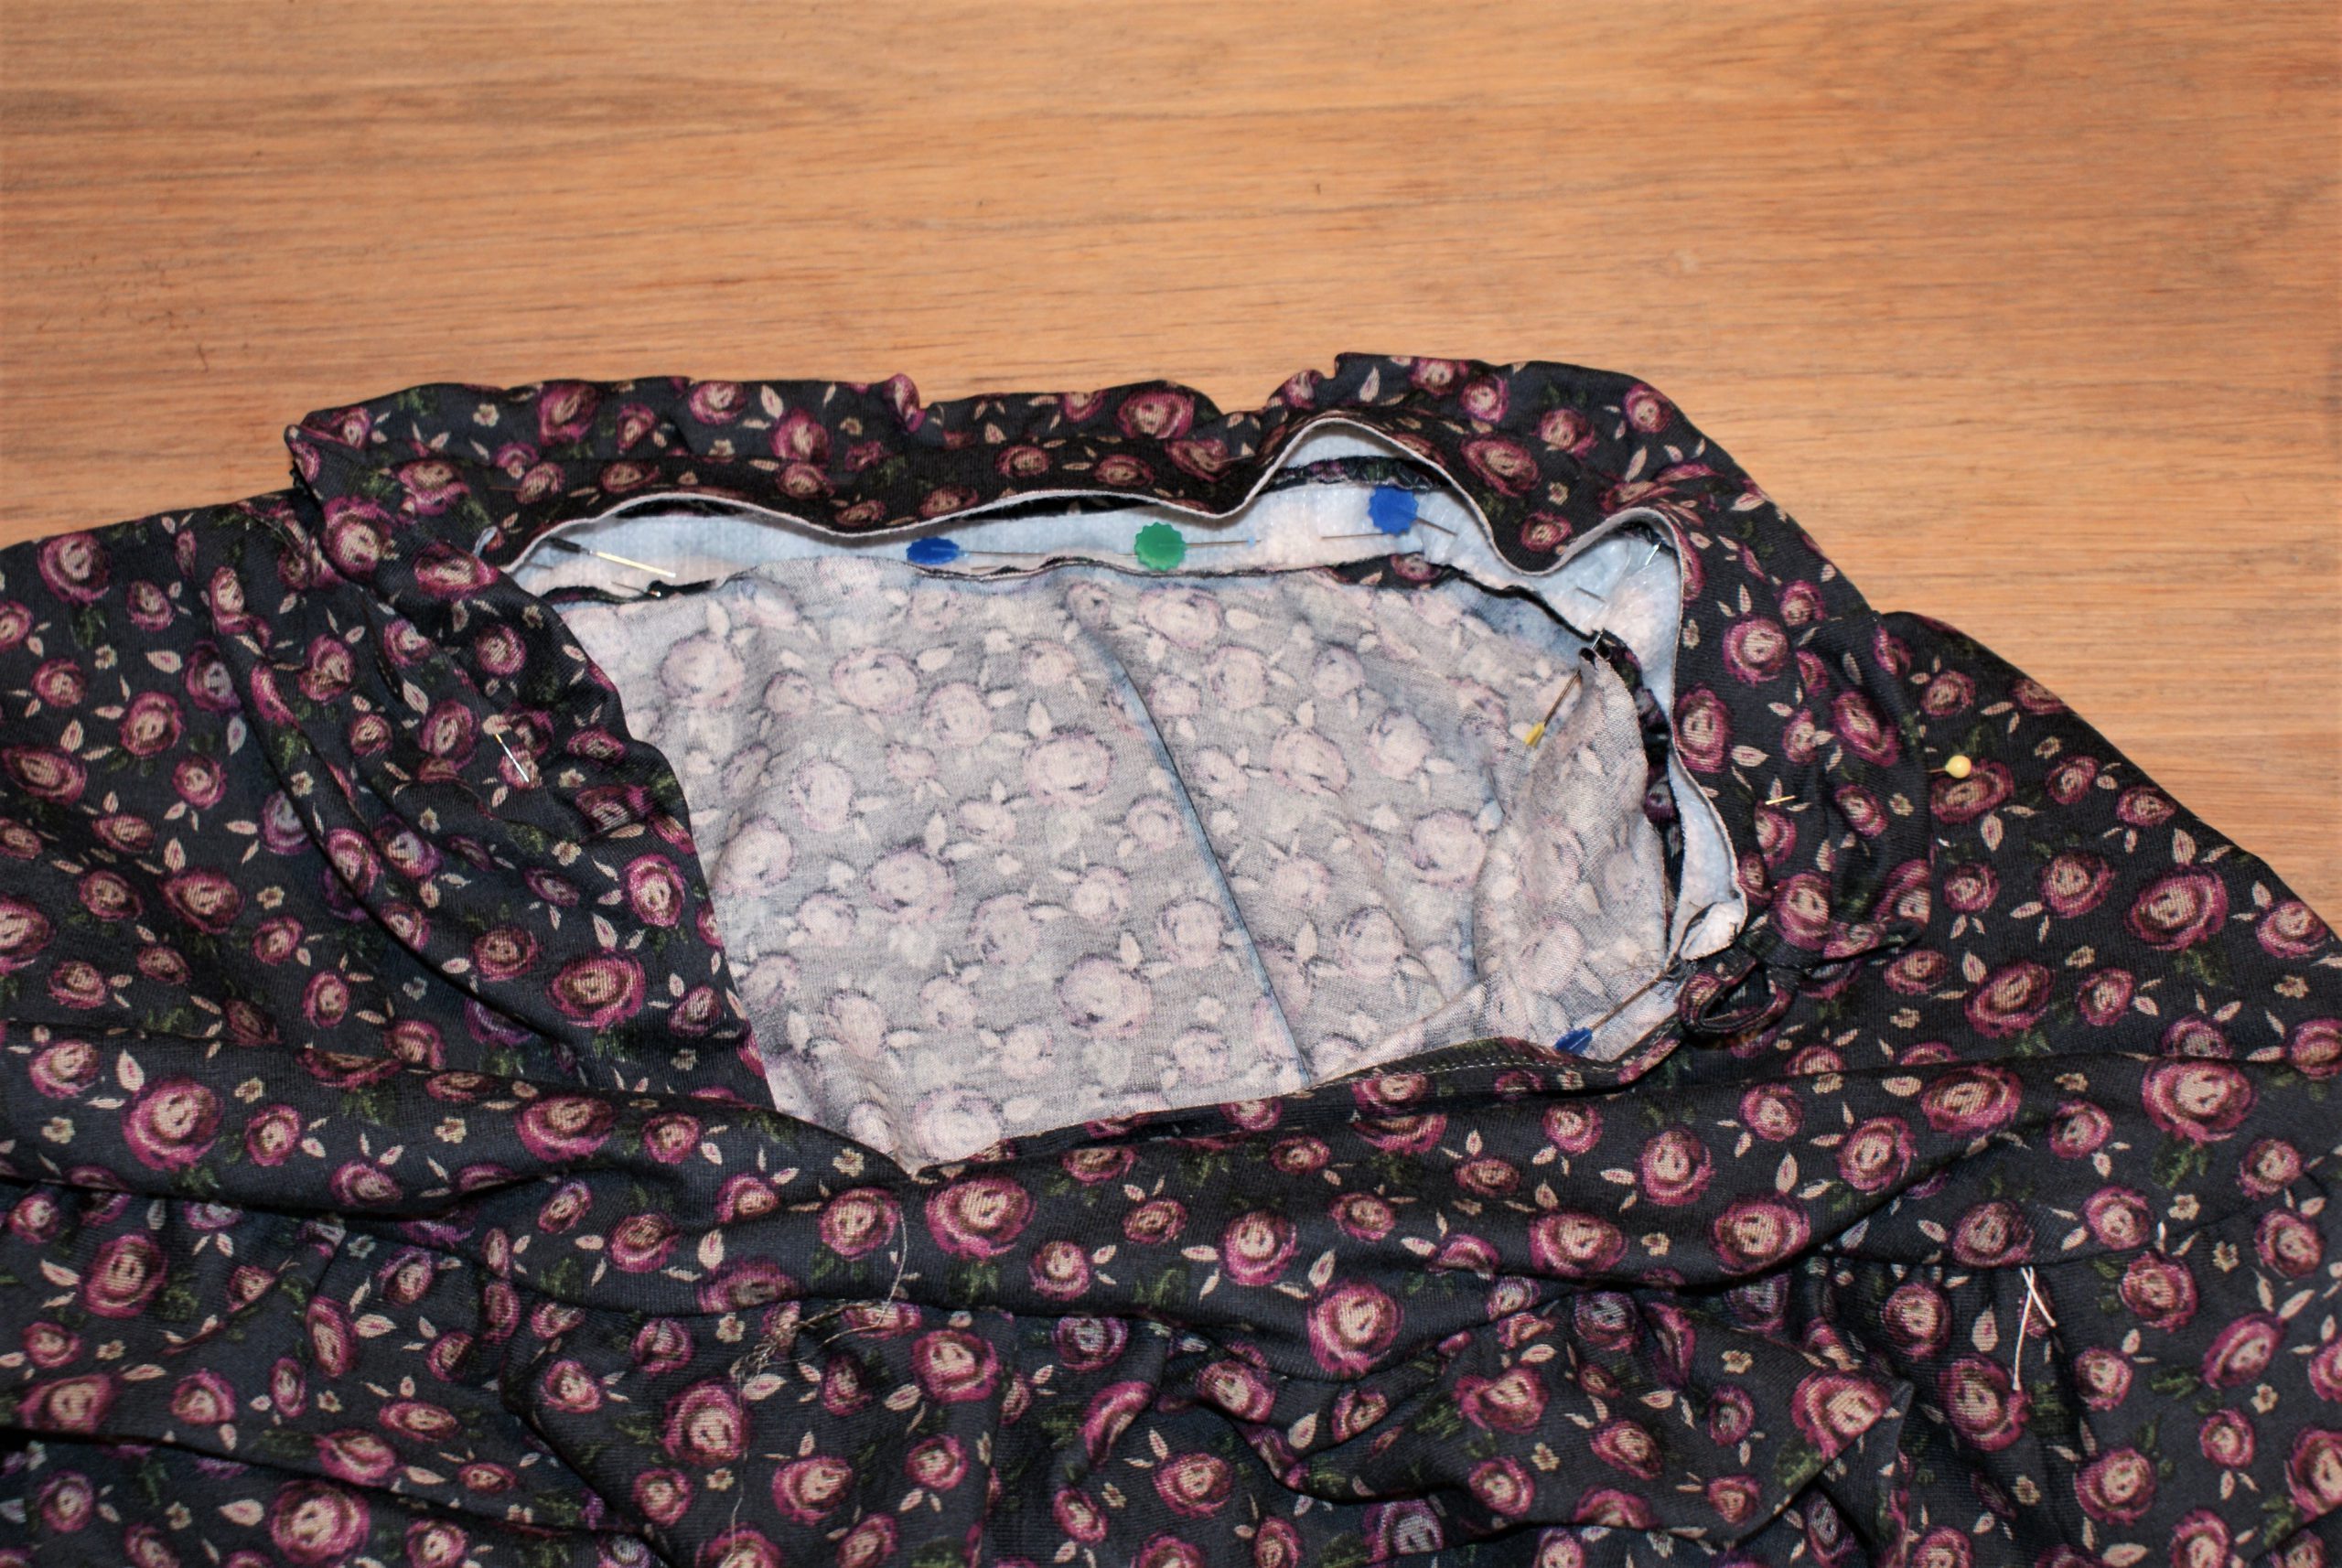
After that, I sewed the other part, with the seam turned to the interior side of the collar, look at the blue pin in the middle of the picture beneath. I did not trim seam allowances, because I wanted the collar to hold its shape when wearing.

I sewed in the ditch with the Open embroidery foot # 20, to keep a good view on my work.
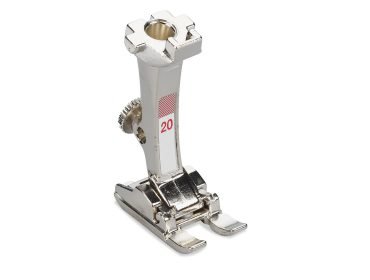
Open embroidery foot # 20
Learn more
Topstitch the collar.
Finish the Sina blouse:
Sew the button to the blouse.
Finish hems for sleeves and body of the blouse.
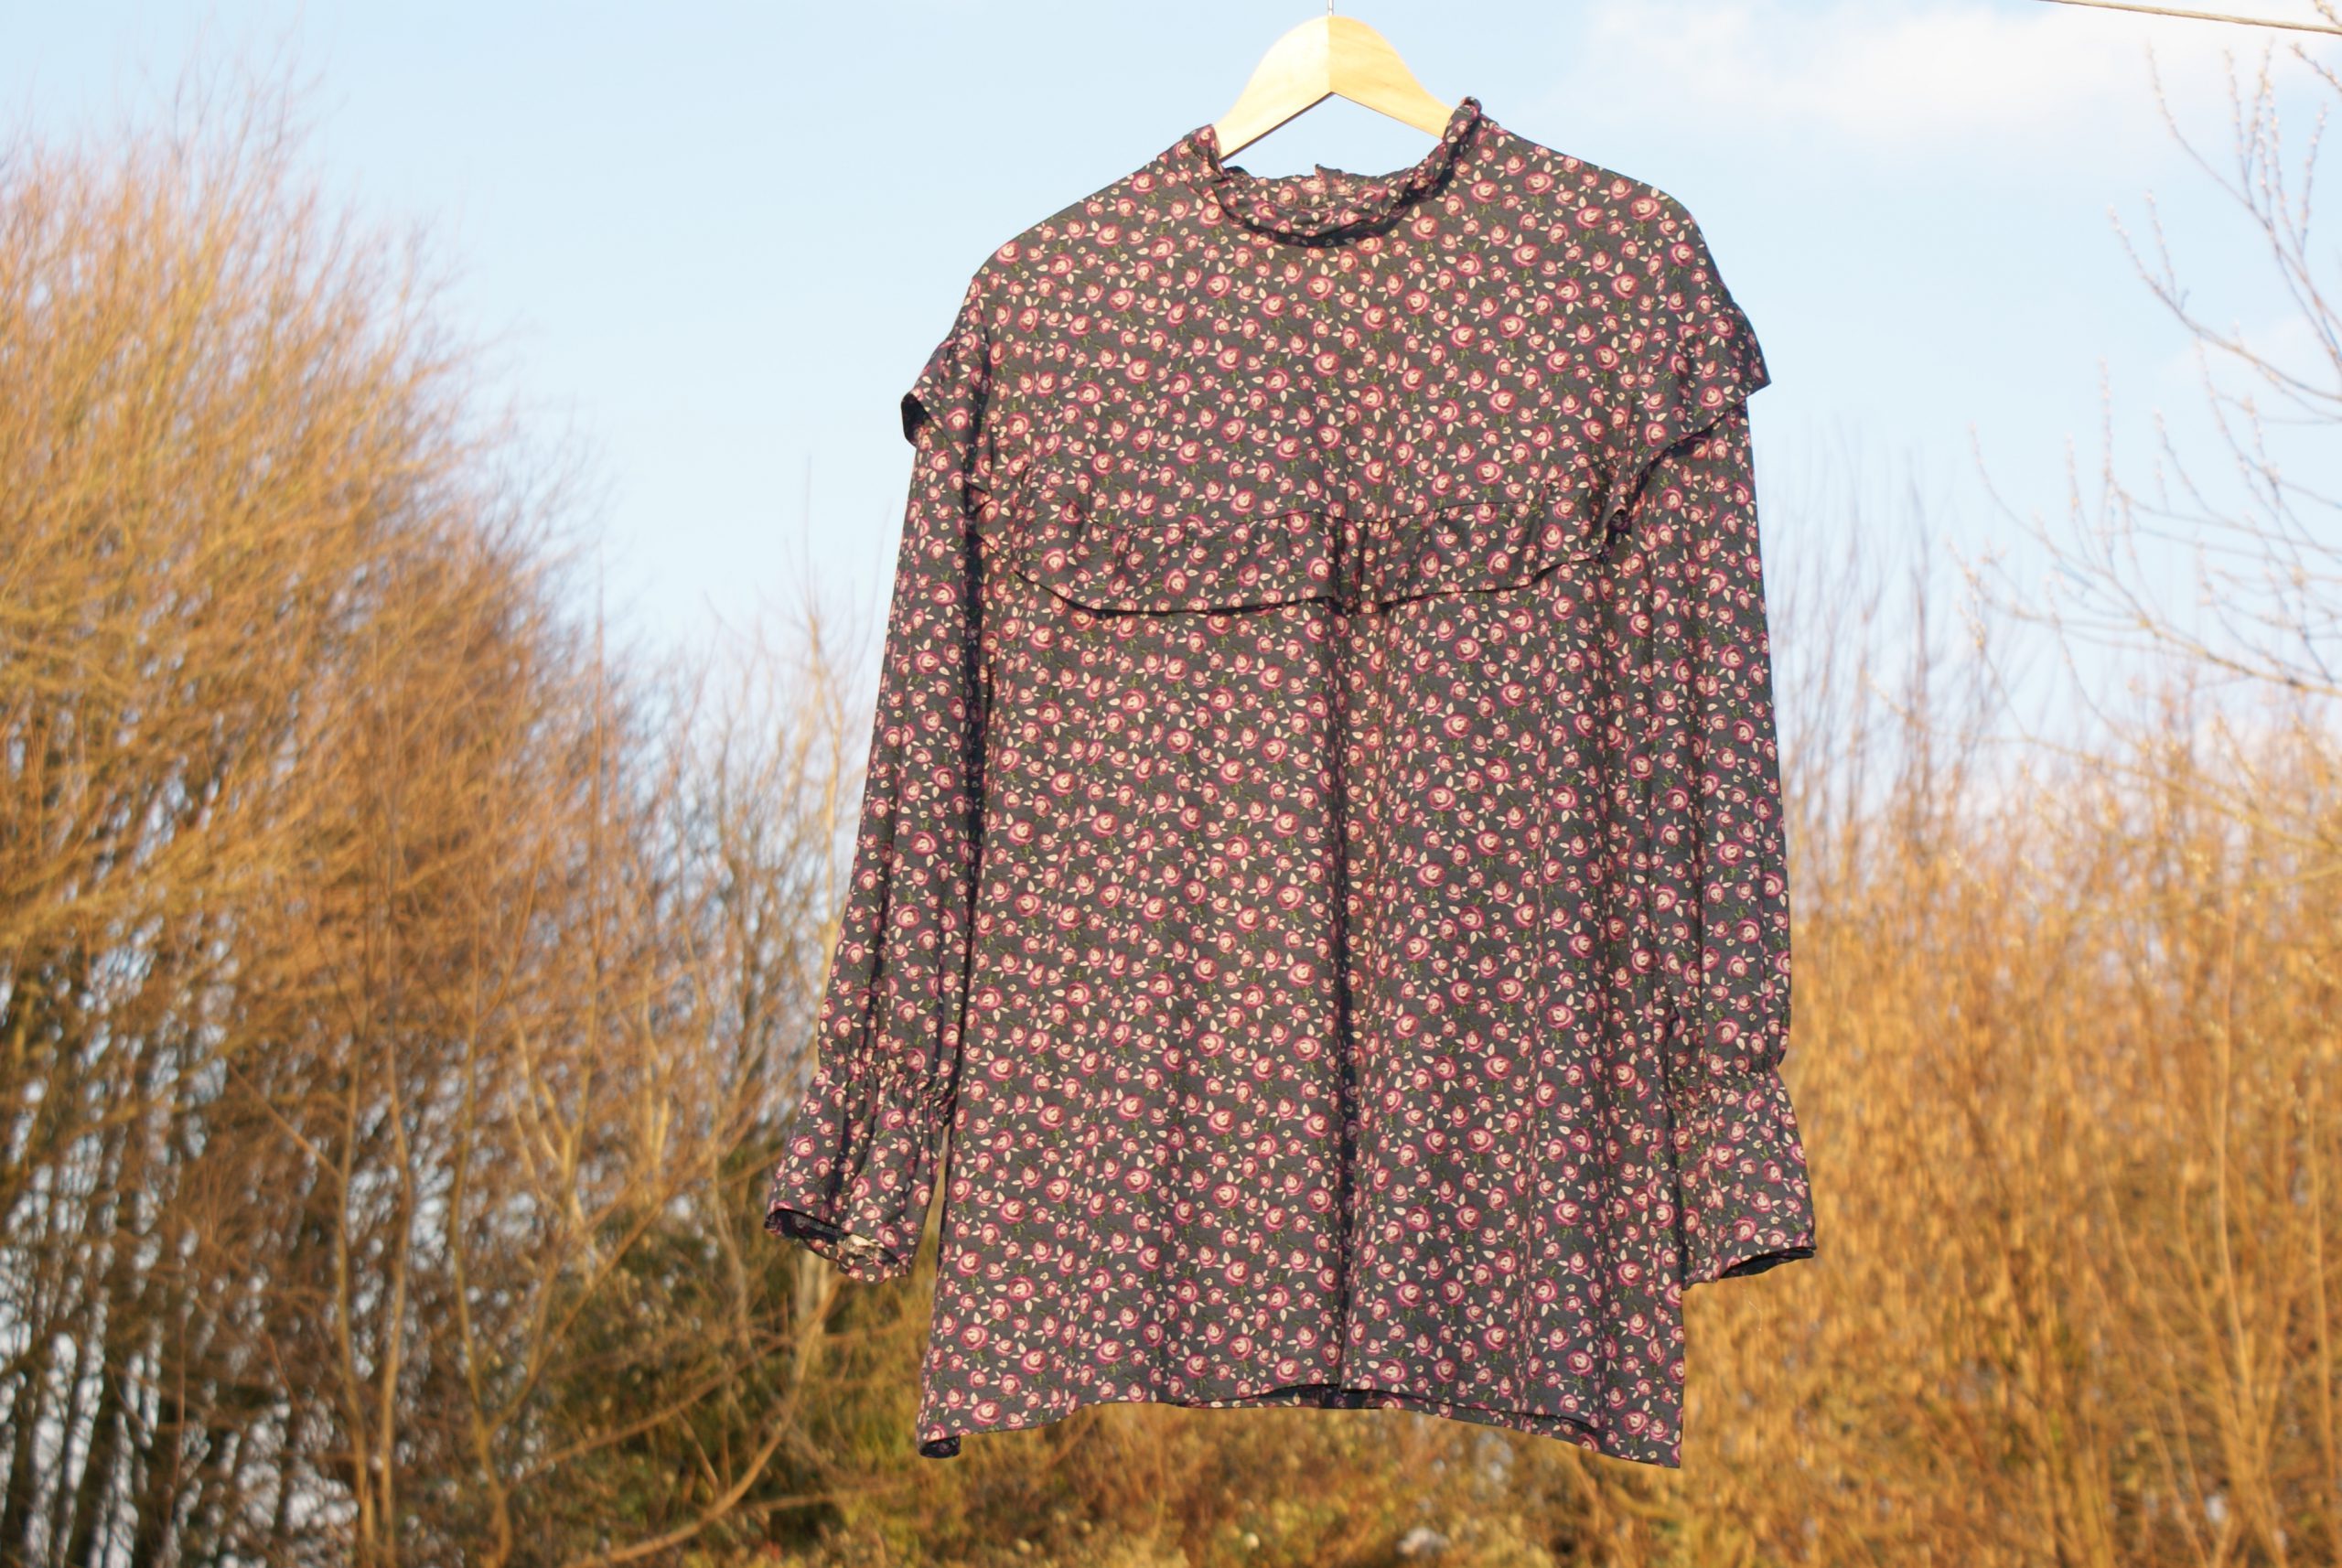
I hope you liked this tutorial for the Sina blouse. I think it’s a stylish garment…


![Toni Kroos là ai? [ sự thật về tiểu sử đầy đủ Toni Kroos ]](https://evbn.org/wp-content/uploads/New-Project-6635-1671934592.jpg)


