
Step 3: Setting Up a Docker Bridge Network
Step 3: Setting Up a Docker Bridge Network
We are now going to set up a Docker Bridge Network, this will ensure all the containers we set up will be able to easily communicate with one another such as Radarr to Prowlarr. It also allows us to have more control over the ports containers use in case we want to avoid certain port ranges that DSM uses.
While most containers will happily work without doing this step it is good practice to set up a specific Bridge rather than using the default bridge or Network Host mode.
Let’s Begin
Open up the Docker package and go into the Network tab.
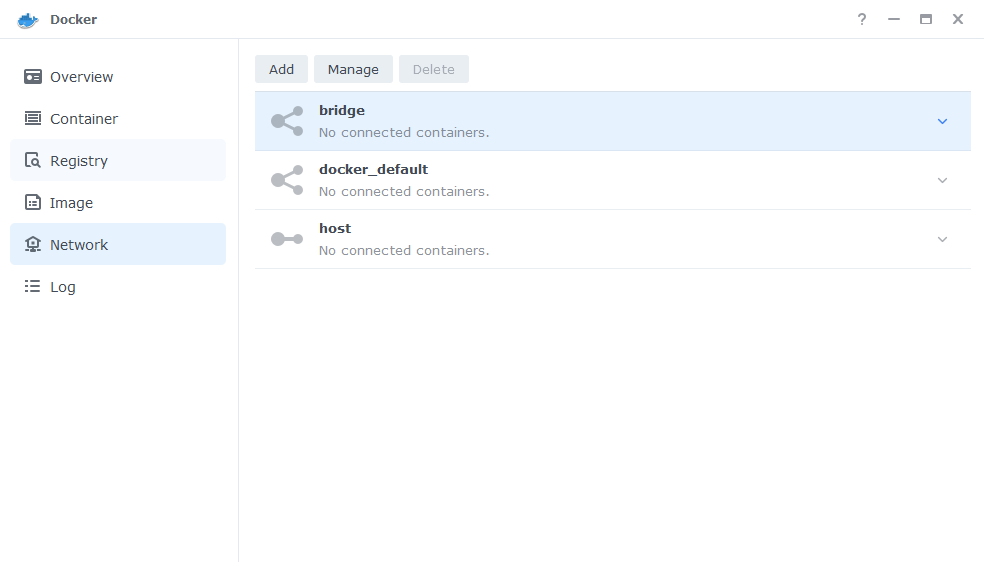
Next click on ‘Add’ which brings up the settings screen. In here we are going to specify the following values.
SectionSettingNetwork Namesynobridge (you can change this if you wish)Use manual configuration–Subnet172.20.0.0/16IP RangeLeave BlankGateway172.20.0.1
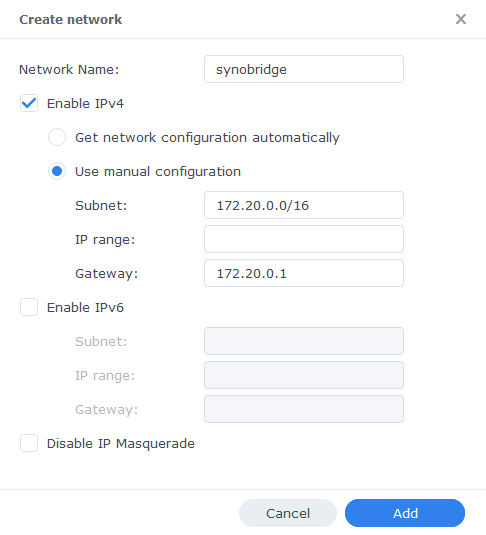
Now click ‘Add’ which will take you back to the original screen.
That’s it the Bridge is now ready for containers to be attached to it. You can go back to the guide you were following.
Optional Steps if you have the Synology Firewall Enabled
If you have the Synology Firewall enabled and configured to block incoming or outgoing connections you will need to do this step. Otherwise, you will have issues with your containers being able to contact each other.
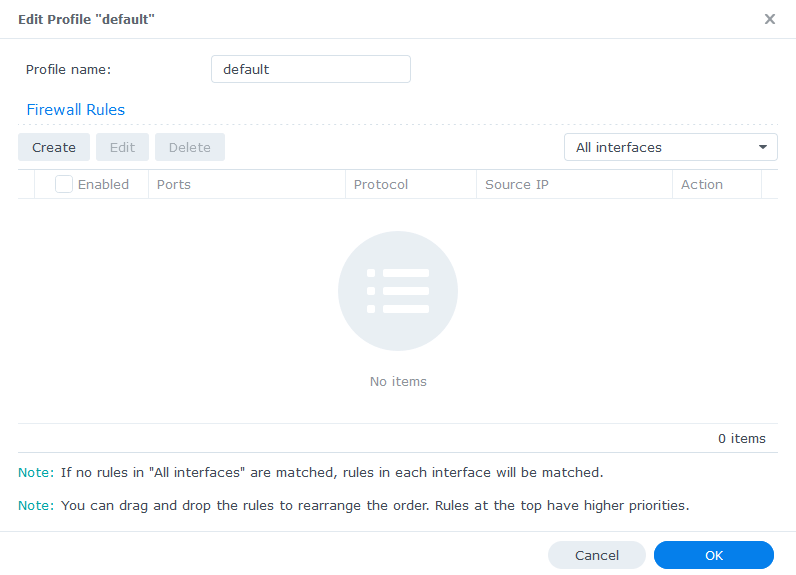
Go into Control Panel > Security > Firewall

Click on Edit Rules and in the screen that appears click on ‘Create’
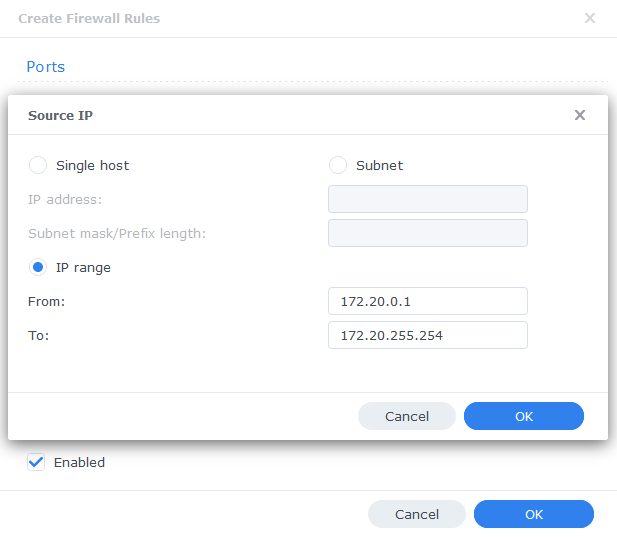
In the first screen select ‘All’ and ‘Specific IP’ then press ‘Select’
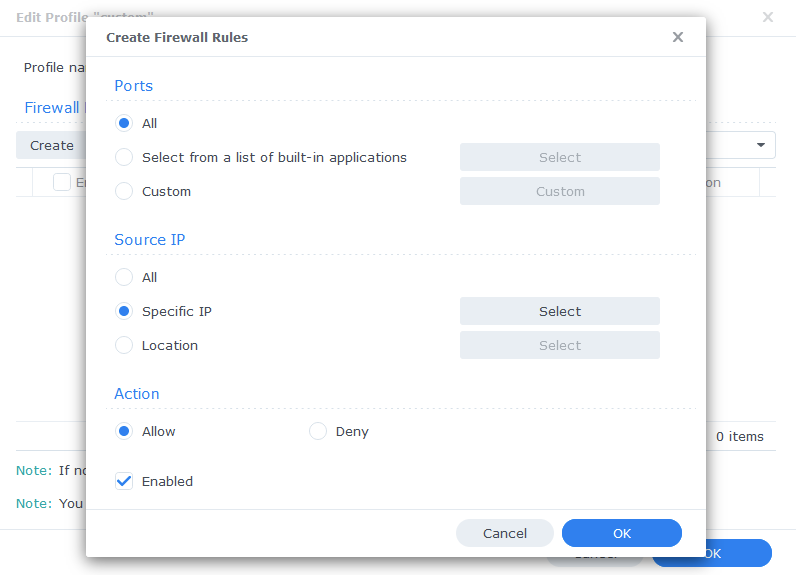
Then select ‘IP Range’ and enter ‘172.20.0.1’ in ‘From:’ and ‘172.20.255.254’ in ‘To:’
Press OK until you are back to the main Firewall screen and press Apply.
You can now go back to the guide you were following.


![Toni Kroos là ai? [ sự thật về tiểu sử đầy đủ Toni Kroos ]](https://evbn.org/wp-content/uploads/New-Project-6635-1671934592.jpg)


