
How to force a public Wi-Fi network login page to open
You open your laptop in an airport, at a coffee shop, or perhaps in your hotel or conference room. You sit down to work, select the correct Wi-Fi network, and … nothing. Your Wi-Fi icon may show it’s connected, but your browser says You are not connected to the internet no matter how hard you try. That popover login screen just never loads.
We’ve all been there. As a remote team that has spent a lot of time working from coworking spaces and coffee shops, we’ve wasted far more time than we’d like to admit trying to get online.
There’s no magic button to connect to coffee shop, hotel, and airport Wi-Fi, but these tricks get us connected most of the time.
→ Odds are you’ll need these tips when your Wi-Fi isn’t working, so be sure to download our Wi-Fi cheat sheet at the end of this tutorial to have a copy of these tips when you need them.
Mục Lục
The best option: Connect to a secure network
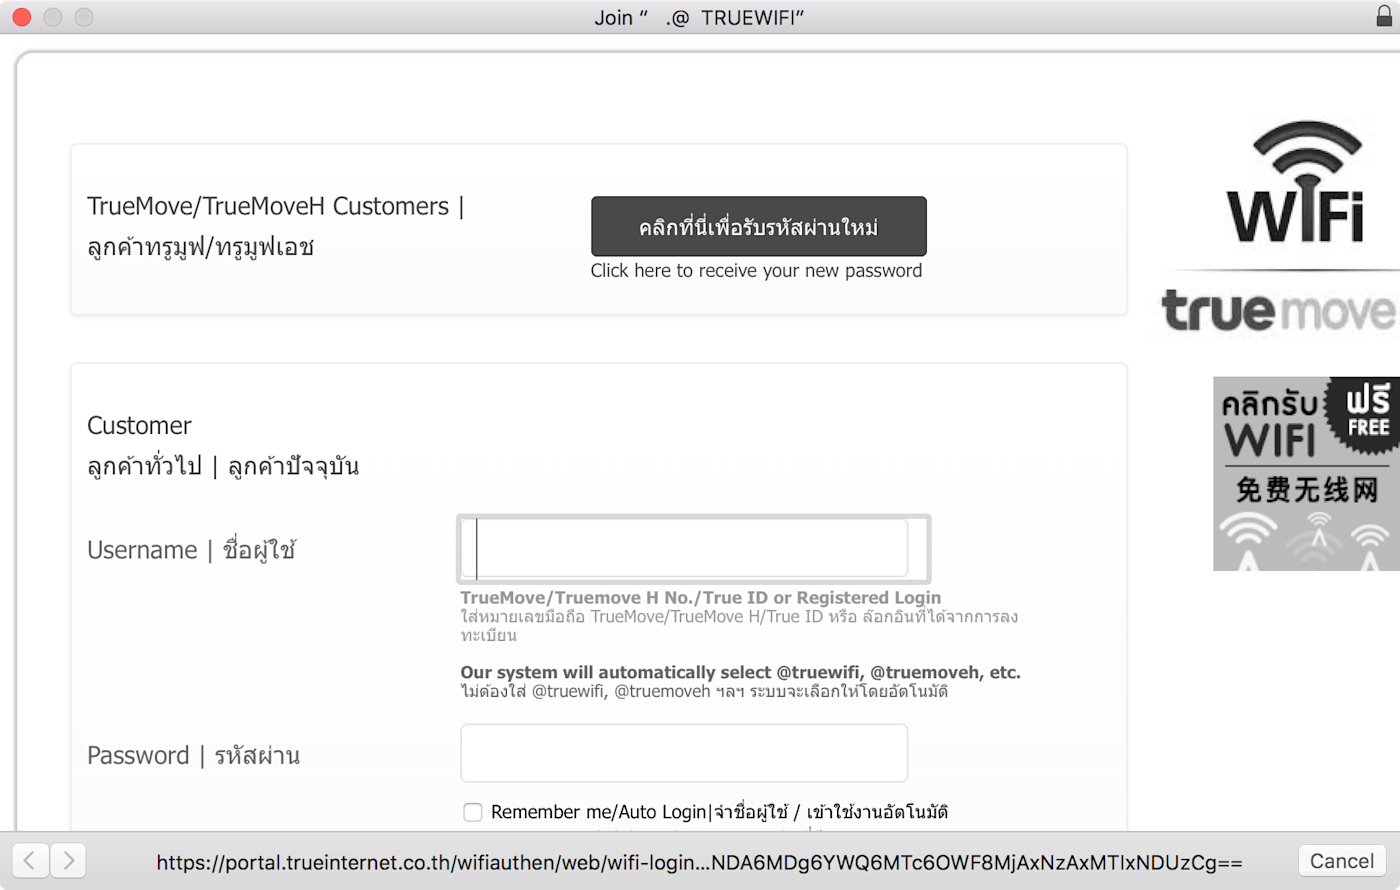
The typical problem with public Wi-Fi is the login screen not showing up. That’s only a problem only with open, public, unsecured Wi-Fi networks.
If you connect to an open network at your friend’s house, say, typically you won’t need a password and can just start browsing the internet directly. With a coffee shop or airport Wi-Fi, though, often you need to create an account or enter a code from a receipt before browsing the full internet. You have to do that on a custom login screen, and that’s what often just won’t load.
Get the Zapier blog in your inbox
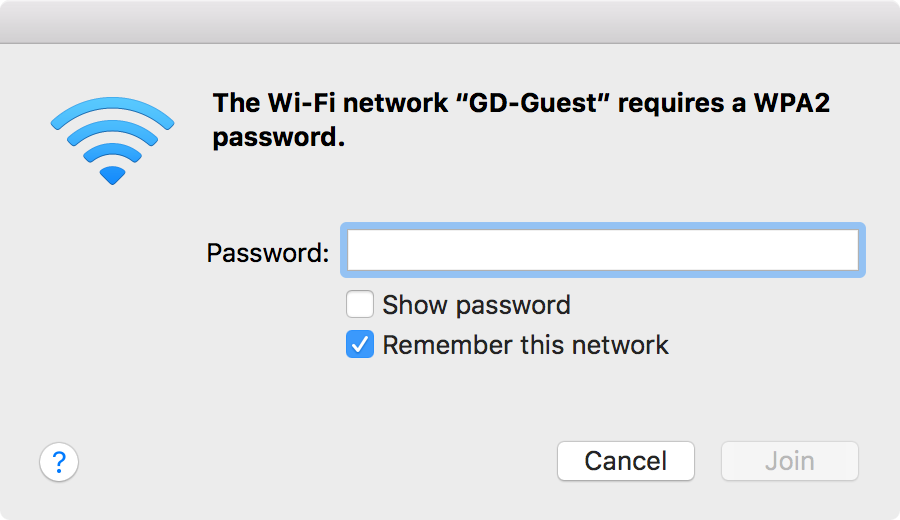
The best solution is also the most secure one: opt for only encrypted Wi-Fi connections. Typically shown with a padlock beside their name in your Wi-Fi menu, encrypted networks ask for a password in a standard dialog like the one above. Once you’ve entered the password, you’ll typically never need to do it again on that device as your computer will remember it.
Secure Wi-Fi connections are always easier to log in to, but they also add a security benefit. On a public Wi-Fi network, by default, anything you enter on an unsecured, non-HTTPS site could be viewed by anyone else on the network. Encrypted networks with WPA2 passwords are far harder to attack and thus your data is likely safer.
Some networks offer both an encrypted and public network option, and you could log in to either one. If so, choose the encrypted network.
No encrypted network available? These tips should help you get that pesky open network login screen to load.
1. Turn off alternative 3rd party DNS servers

If there’s one other tip to remember, it’s this—the trick that usually gets login pages to load: turn off your alternate DNS server.
DNS servers, or domain name servers, match domain names such as zapier.com to its server’s IP address—which makes it much easier to visit websites than typing in 52.0.36.104.
If you don’t know where to change your DNS settings, you’re likely fine; your computer by default automatically picks up a DNS server from the Wi-Fi router, which is what the public Wi-Fi expects you to use automatically. And that’s good, at least with public Wi-Fi: your login page is more likely to load, and you won’t need these tips.
If you’ve ever added Google DNS, OpenDNS, or any other alternative DNS to your network settings, though, that may be your problem. Many public Wi-Fi networks use their DNS server to tell your computer which login page to open—which doesn’t work when you’re using an alternative DNS server.
To fix that, just open your DNS settings and remove any alternate DNS servers. Here’s how:
-
Mac: Open System Preferences, select Network, Advanced, and then click the DNS tab. Select any DNS servers listed, and then tap the
-button to remove them and apply your changes. -
Windows: Right-click your network icon in the system tray and select Open Internet and Network Settings, then click Network and Sharing Center. Click your connection name (typically Wi-Fi), select Properties, then click Internet Protocol Version 4 and select Properties again. There select Option an IP address automatically to use the default DNS servers.
-
iOS: Open Settings, tap Wi-Fi, and tap the
ibutton beside your network name. Select Configure DNS and tap Automatic. -
Android: Open Settings, tap Advanced, then tap Private DNS. Choose Automatic.
With that done, turn off your Wi-Fi then turn it back on—and the login screen should open.
If not, you might need to clear the DNS cache on your computer. Here’s how:
-
Windows: Open Command Prompt, and enter
ipconfig /flushdns -
Mac: Open Terminal, and enter
sudo killall -HUP mDNSResponder
Now re-connect to the Wi-Fi network, and it should work.
Tip: Once you’re connected, you could add your custom DNS server settings again to speed up your page load time and get around some content restrictions. For that, Google DNS (8.8.8.8 | 8.8.4.4) and OpenDNS (208.67.222.222 | 208.67.220.220) are two great options to use.
2. Try to open the router’s default page
Still not connected? It’s time to try to force your browser to open the login page.
An easy trick is to load the router’s default page. Try entering 192.168.1.1, 127.1.1.1, 1.1.1.1, or http://localhost in your browser address bar, and you might get the default login page to load (or you might see a router settings login page—in which case, don’t try to log in unless you’re at home).
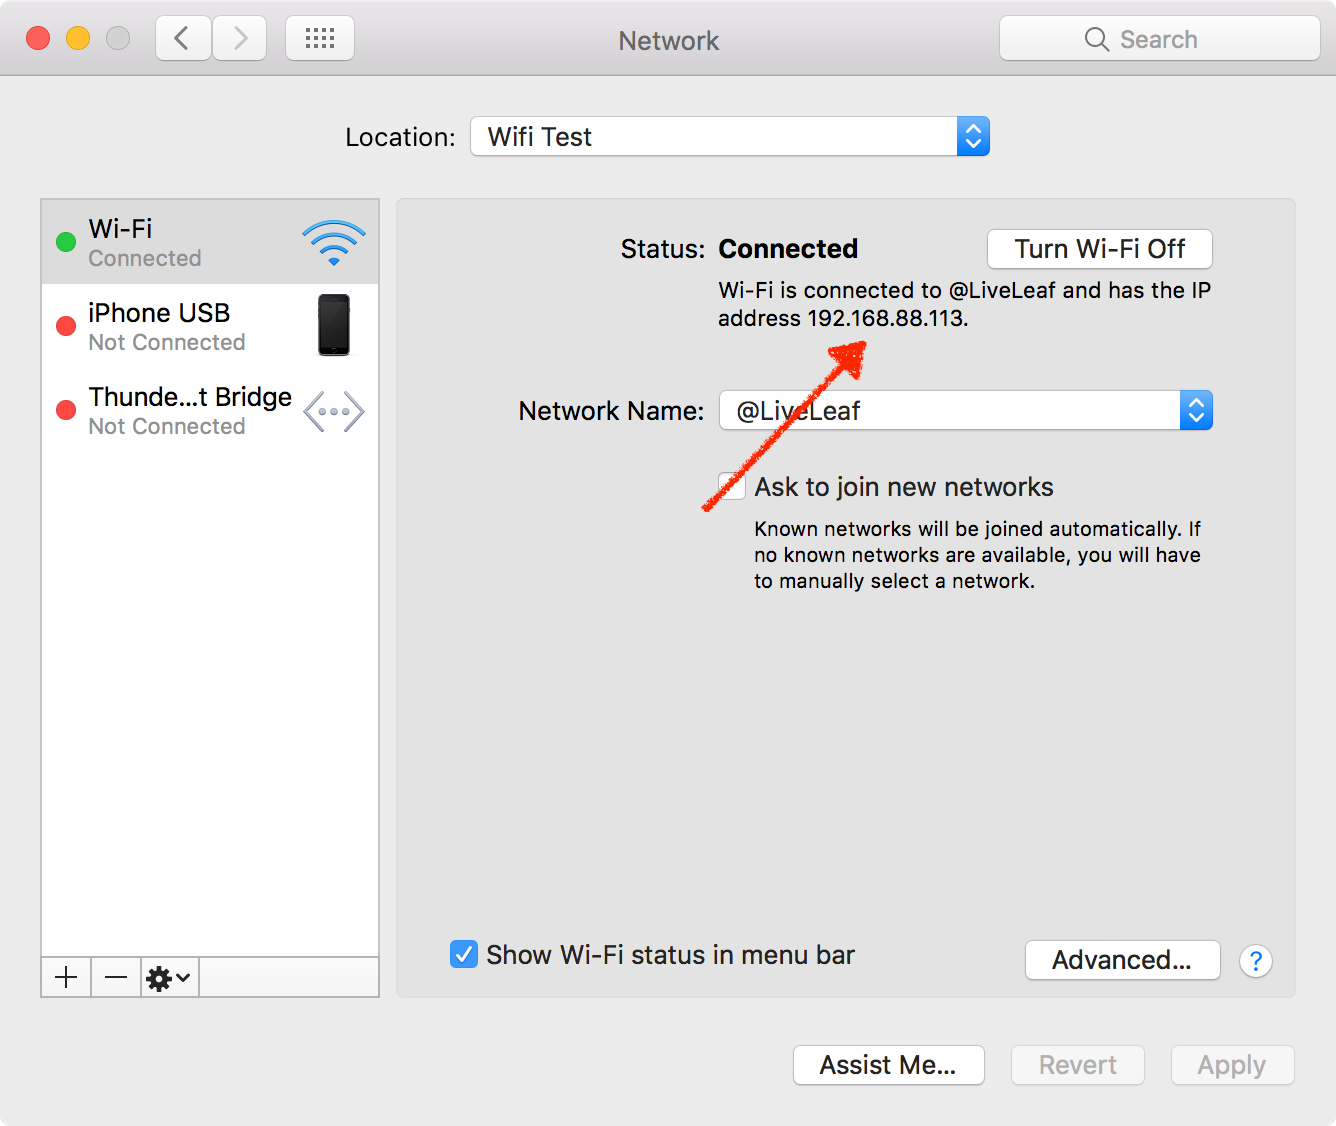
If that doesn’t work, open your network settings again, and note your computer’s IP address as in the screenshot above. Try entering that IP address in your browser, replacing the last number with 1. Or, check the TCP/IP tab in your Network settings for the router’s IP address if that doesn’t work.
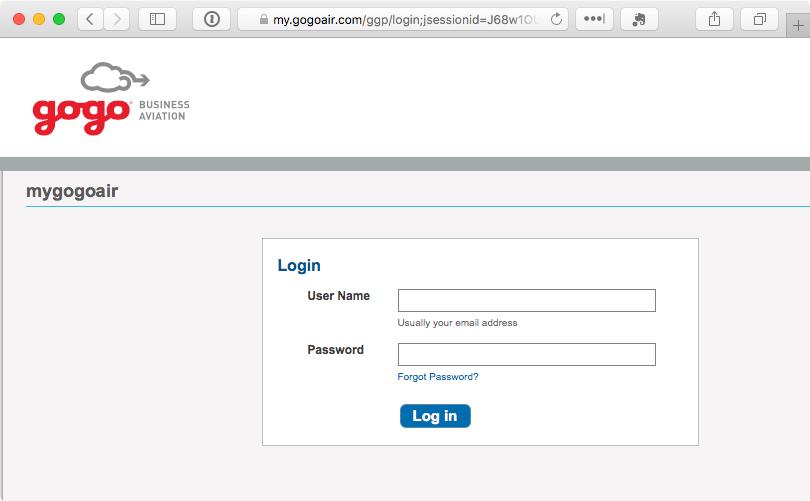
Or, if you’re trying to connect to a company’s public Wi-Fi network—perhaps Gogo internet on a flight or your cell carrier’s Wi-Fi network in a mall—try opening that company’s website. Most public Wi-Fi networks let you browse their company site without logging in, and they often have a link to their Wi-Fi login page. For instance, on a Delta flight, I opened delta.com and was able to view info about the trip and finally get the Wi-Fi login page to load.
3. Open a non-HTTPS site in incognito
The problem could be that your browser cache is still trying to use the DNS info it knows to access sites, instead of loading the Wi-Fi login page. And sometimes you can break it out of that loop by visiting something new.
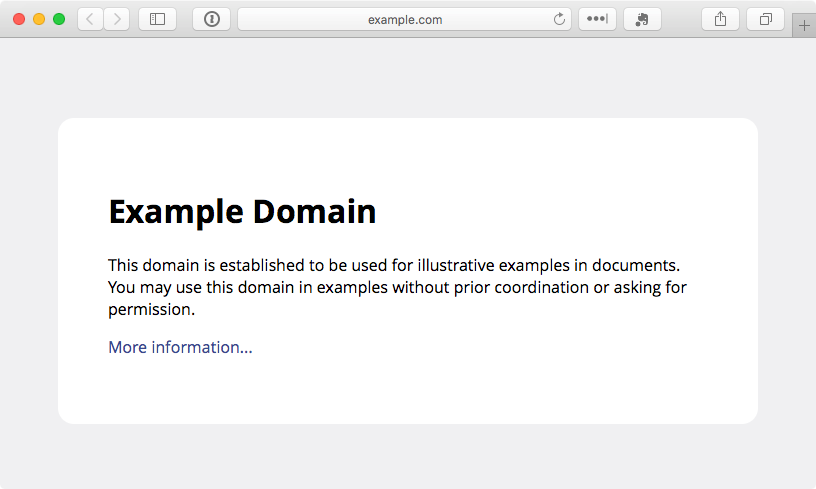
You could clear your browser cache, but that’s annoying, and you’d have to log back in to everything. Instead, open an Incognito window in your browser, which loads with a clean slate. Then try visiting a non-HTTPS site; example.com is a great option as it’s non-secured and maintained by ICANN.
Another good option is to manually visit the site your device tries to open in the background when connecting to new Wi-Fi networks. You may have noticed your device loading captive.apple.com when connecting to Wi-Fi; you could go to that site directly to force your browser to test the connection. Here are the default pages, each of which works on any platform:
-
Apple iOS and macOS: captive.apple.com
-
Microsoft Windows: www.msftncsi.com/ncsi.txt
-
Google Android and Chrome: google.com/generate_204
Tip: The reason you need to load a non-HTTPS site is that if you try to visit a secure site and your network tries to redirect your browser to a login screen, your browser will prevent the redirect to keep your data secure—something that will also keep you from logging in to that Wi-Fi network.
4. Create a new network location
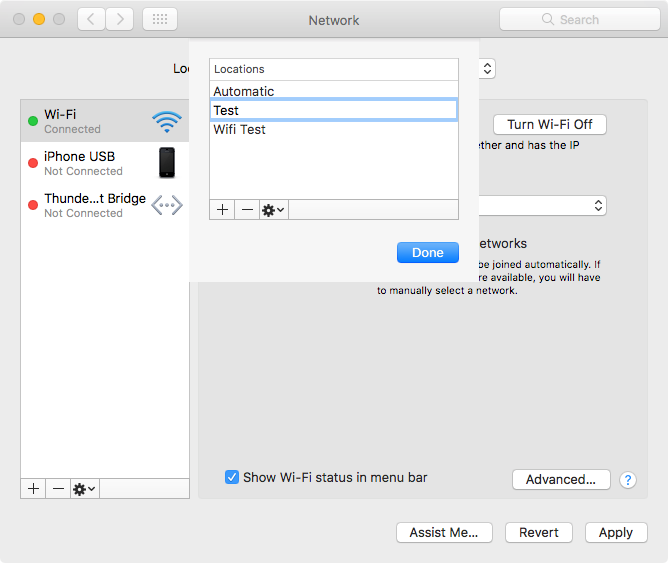
On a Mac, there’s another simple way to clear your network settings and likely get the login screen to load: a new network location. Network locations store your network settings for different locations, perhaps to make your computer use a different DNS at home than at the office or for an easy way to change which networks you connect to by default.
Open your System Preferences and select Network again. Click the dropdown at the top, select Edit Locations, then click the + icon and add a new location. Select it, and then try to connect to the network you want.
Just remember to switch back to your default network location when you’re back at your office or home.
5. Restart
Sometimes nothing works. In that case, do the one thing that typically fixes every electronic device: restart.
-
Turn off your Wi-Fi, then turn it back on.
-
Didn’t work? Try logging out of your account on your computer and then log back in—or just restart your computer.
-
Still stuck? Clear your browser cache.
-
That didn’t work? Might be time to ask around and see if anyone else can use the internet. Perhaps that Wi-Fi connection is just down, or the router needs to be restarted.
With any luck, you should be able to get the Wi-Fi network screen to load and can get back to work—hopefully without trying everything in this list!
Stay secure on public networks
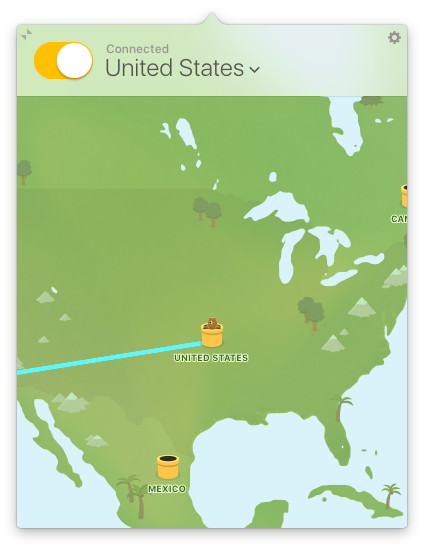
You’ve gone to all that trouble to get connected to a Wi-Fi network—but don’t stop there. If you’re on a public Wi-Fi network, you should also use a VPN to encrypt your data and keep it secure from prying eyes. And you may need to use a VPN to access your company’s internal data and services.
For around $5-10 per month, you can get a VPN connection, typically with apps that make it easy to use on your computer and mobile devices. Services like TunnelBear, NordVPN, ExpressVPN, Tailscale, and others make it easy to use a VPN—and TunnelBear even offers 500MB of free data per month if you only work outside of your office or home occasionally. Or you could set up a VPN server on your own hosting account or server using OpenVPN or a similar tool.
Either way, remember to turn on your VPN on whenever you’re on public Wi-Fi—as soon as you’ve gotten past the login screen, at least. Free Wi-Fi is not worth compromising your security.
Learn more about why to use a VPN in our VPN guide. Then, another great way to keep your data secure is with a password manager app, so you can easily use a unique, random password for each site. Here are the best password manager apps to try.
Share your mobile data
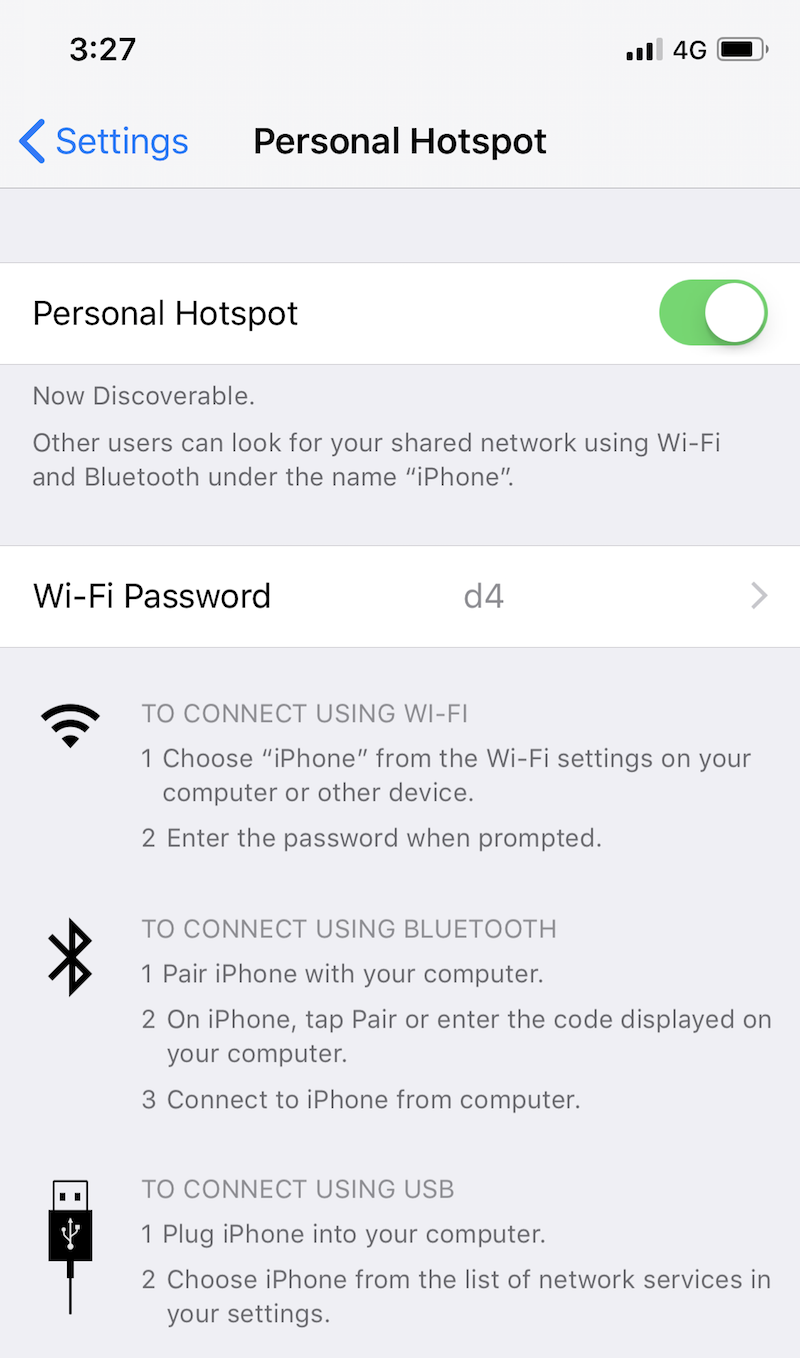
There’s another way to get online if public Wi-Fi isn’t working: your cell connection. If you have a data plan that supports it, all newer iOS and Android devices let you share your 4G or LTE connection over Wi-Fi. That way, you can make a private Wi-Fi network to connect any of your other devices. You can often do the same over Bluetooth or a USB cable if you only need to get your laptop online.
Here’s how to make a personal hotspot from your smartphone with iOS and Android.
Bonus: Download a Wi-Fi login cheat sheet
Odds are you’ll need these tips when you’re offline and can’t connect to the internet—which means you won’t be able to re-open this page and refresh your memory about how to get your Wi-Fi to connect.
So, we made a free PDF cheat sheet for you. It includes all of this article’s core tips in a quick PDF that you can save and share with your friends and colleagues.
Make sure to keep a copy of this How to connect to public Wi-Fi when you can’t PDF saved on your computer and phone so you’ll have these tips the next time you need them.
Download How to connect to public Wi-Fi when you can’t
Originally published January 16, 2017; updated September 21, 2017, November 13, 2018, and December 3, 2020, with a few extra tips.


![Toni Kroos là ai? [ sự thật về tiểu sử đầy đủ Toni Kroos ]](https://evbn.org/wp-content/uploads/New-Project-6635-1671934592.jpg)


