How to Set-Up a Small Business Facebook Page | OutboundEngine
If you’re a small business owner, you realize the importance of having a presence online (in fact, that’s probably why you’re reading this article). While maintaining profiles on sites like Yelp and Google My Business is essential for collecting online testimonials, it’s also extremely important to have a Facebook Business page.
Why? Here are a few reasons your business should be on Facebook:
- To be where the majority of your clients are
- To stay top of mind with your online book of business
- To give your clients an easy way to keep in touch with you
- To build your reputation on the largest social network in the world
Facebook encourages small business owners to create pages to promote their business and actually has guidelines in place to prevent promoting your business too much on your personal page.
So with this in mind, let’s go over how to set up a Small Business Facebook Page. It shouldn’t take much more than 30 minutes of your time (and no additional cost) to invest in a new online marketing channel.
Mục Lục
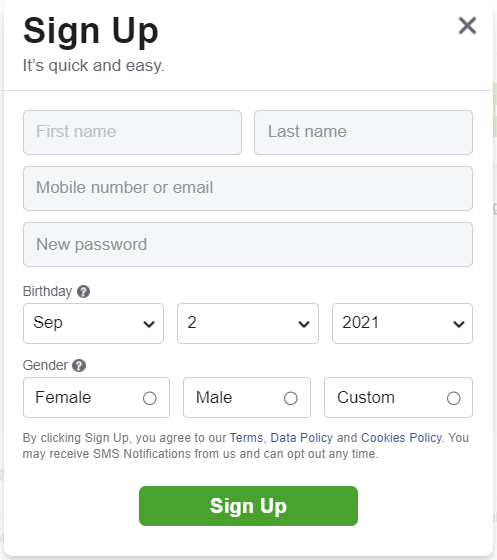
1) Log into Facebook, or create a personal profile if you don’t have one.
In order to create a Facebook Business Page, you’ll need a personal profile. If you don’t have a personal profile yet, it’s really easy to sign up and create one for free. You can think of your Personal Profile as the way to keep in touch with your friends and family, and your Business Page as the face you put on when you walk into the office to meet with a client. Still confused? Here’s an article about the difference between the two!
2) Click on the pages icon at the top (looks like a flag) and then “Create Page” on the left-hand side of your screen.
Here you have the opportunity to give your page a name, a category and a description. You can populate a couple categories based on your industry. If you begin typing them, suggestions will pop up to help categorize your business. Sometimes these aren’t a perfect fit, but they will help your audience understand which industry you work in.
Fill out a few sentences about yourself (these should speak to your brand and how you want to be known), enter your website, and then you’ll get to pick a URL for your Facebook page. You want this to be easy for both you and your potential clients to remember!

3) Upload a profile photo — AKA your headshot
If you don’t have a professional headshot, one that is flattering and simple will suffice. If you’re uncomfortable with uploading a headshot, or you’re creating a page for a whole business/team, a team photo or logo will do just fine.

4) Set your page to “Favorites” so it’s easy to find

5) Next, you’ll be prompted to select your page audience
Enter your central service area (such as Austin, TX or Ann Arbor, MI), and be sure to leave your page audience to 18 to 65 years old, all genders. You can also select some interests to help target your page a bit, but these are less important because you want to grow your Facebook Business Page organically. When you finish this step, you’ll be taken to your bare bones Facebook Business Page.
6) Add a cover photo
This can be done by clicking the “Edit” button on the cover photo area. Your cover photo could be a listing you’re proud of, your storefront, or your logo — just make sure it’s professional and on brand.
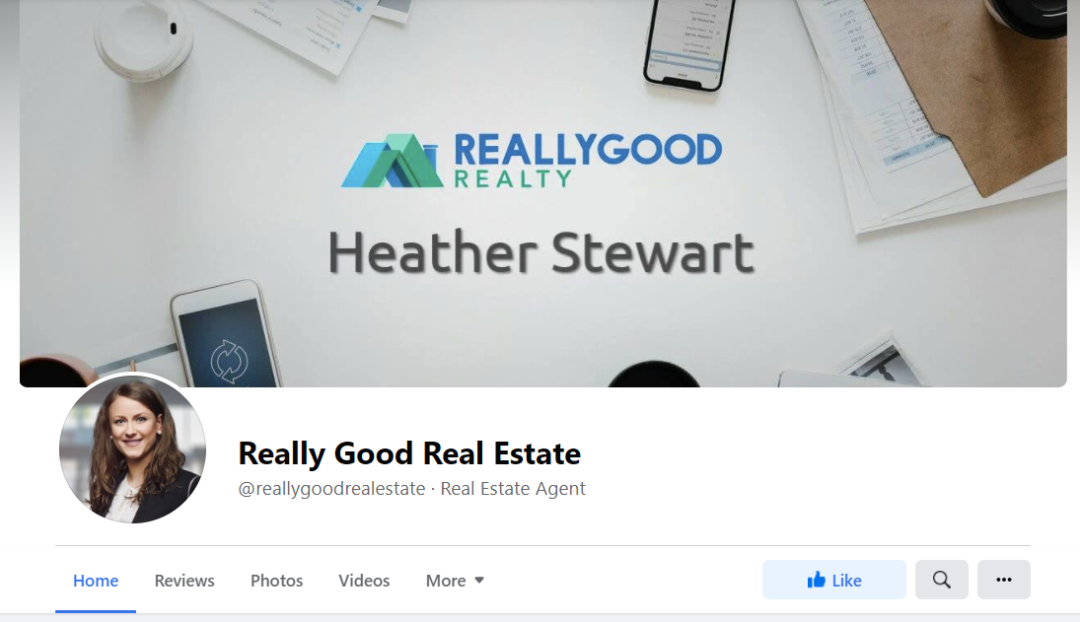
Facebook does have some restrictions on Cover Photos:
- “Cover photos can’t be deceptive, misleading, infringe on anyone else’s copyright or be in violation of the Pages Terms.”
- “You may not encourage people to upload your cover photo to their personal timelines.”
- “You may not encourage people to upload your cover photo to their personal timelines.”
- Cover photos are best sized at 820 pixels x 312 pixels
7) Add an action button to your page
To include a single-action button on your page for mobile Facebook users, click the “+ Add a Button” button. We recommend using a variation of the “Contact Us” button — with the phone number option activated. This allows people to call you directly from their Facebook app while on their phones. And let’s be honest, who doesn’t want a prospect give them a call?

8) Edit your final details
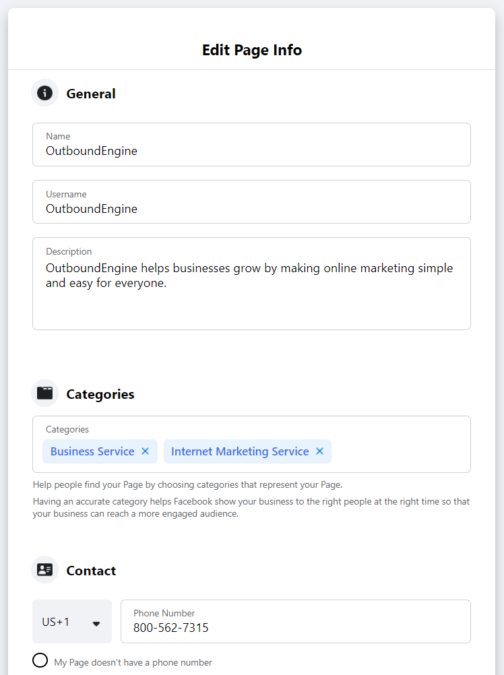
Click on the “Edit Page Info” Tab on the left-hand navigation bar. This will allow you to populate a bit more information than the initial setup process.
Pro-tip: Pay special attention to Description, Contact, and Hours! You want these things to be 100% accurate.
The Description can be a professional bio or an introduction to your team. Be sure to remember that all of the contact information you provide is public-facing.
Finally, be sure to populate your hours of business. This doesn’t necessarily mean what hours you’re available to take walk-ins, as most people are calling businesses before walking in. This is more your hours of operation overall, or when you are taking calls and emails.
9) Refine your settings
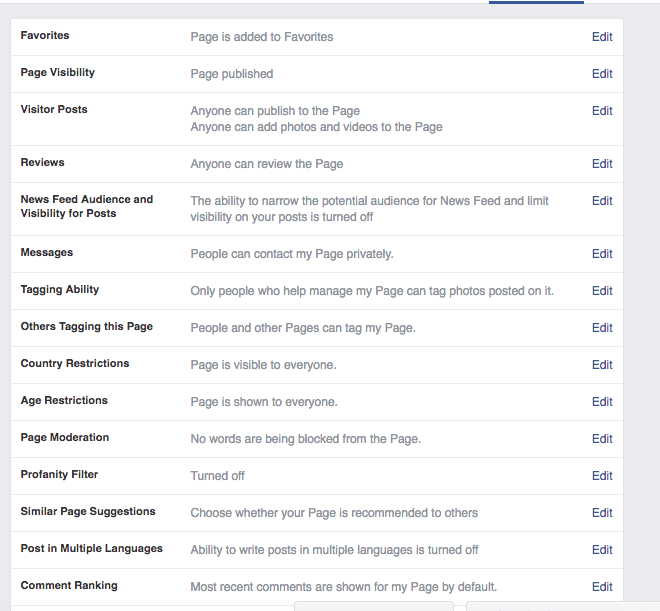
This is an important last step. Click “Settings” on the left hand navigation bar. There are lots of different settings here that are worth looking at, but the most important ones for you to remember are:
- Make sure you can accept reviews
- Make sure your page is published
- Make sure you can accept private messages
10) Share some posts to your Business Page, or make a few original posts
Posts that do well on Facebook engage your audience — uploaded photos and videos, or posts that ask questions of your followers. Photos in particular tend to do really well — these can include listings, business mantras, photos with clients, or photos showcasing your team.
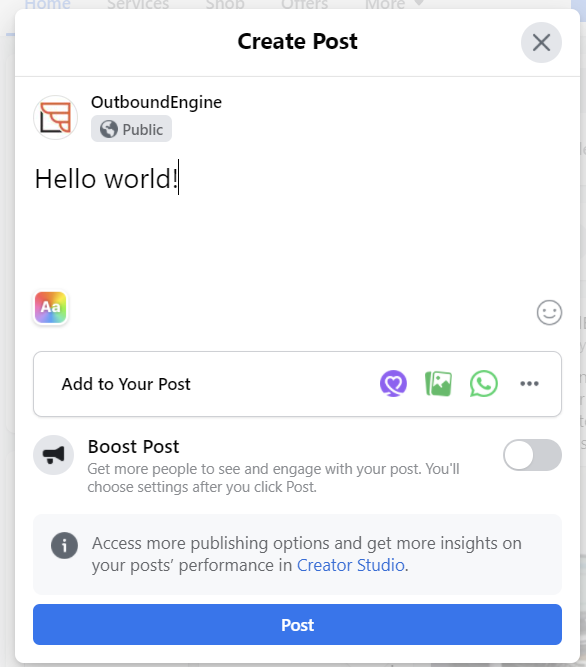
The area to make a new post is at the top of the page — just click “create post” to get started. You can enter text, a photo, or a web address and click on “Post” to post it (don’t click Boost Post unless you already know what that means!).
Here are some best practices to keep in mind when posting to Facebook:
- Don’t over-post. 2-3 posts a week will do the trick — if you’re a client of OutboundEngine, one of your own posts a week in addition to all of the fantastic content we post for you is more than enough.
- Post relatable content. Not everyone wants to see your latest house listings (or auto policy offerings) — they want to read things that are relevant and interesting directly to them as your consumer. Help, don’t sell.
- Photos really do help you gain traction! Facebook users love to like and comment on photos. Overall, the most engaged posts across Facebook are photo posts. They can be images with text, photos of listings, or even photos of you having fun (if that’s part of your brand).
- Don’t post anything divisive! Politics and religion can alienate potential clients looking for your services.
11) Invite your Facebook friends to “Like” your Business Page
This is easy to do! You want your connections to follow your business online, right? Once you’ve posted some content to your page, go to the three dots button, then click on the “Invite Friends” option from the drop-down menu.
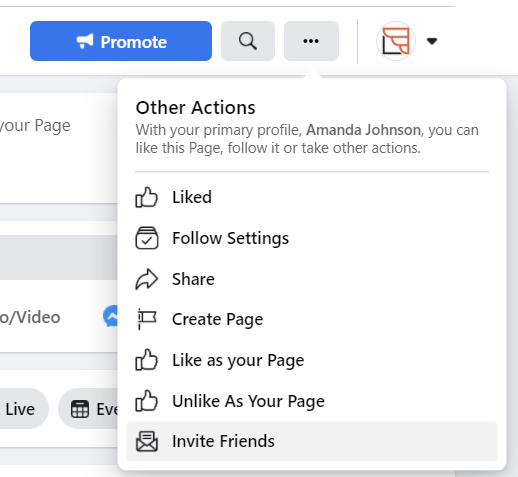
You should invite anyone who you want keeping up with your business — including friends and family. This doesn’t force them to get your posts in their feed but allows them to opt in to your online business communications.
12) Keep your page current
Now that you’ve created your business page, keep it updated! If someone stumbles across your page and it isn’t current with recent posts and information, they will likely assume you are out of business. All it takes is logging in once a week to check your notifications, connect with new clients and schedule a post or two.
Wrap-up
And there you have it — everything you need to set up and manage your Facebook Business Page!
If it sounds like more than you’re ready to take on, we’re always here to handle the hard stuff for you. Learn more here.
Download the Email Marketing Roadmap and go in-depth on why email marketing is one of the most cost-effective and high ROI routes in your marketing plan.


![Toni Kroos là ai? [ sự thật về tiểu sử đầy đủ Toni Kroos ]](https://evbn.org/wp-content/uploads/New-Project-6635-1671934592.jpg)


