How to Fix ‘IO Error: The Network Adapter Could not Establish the Connection’ on Oracle SQL?
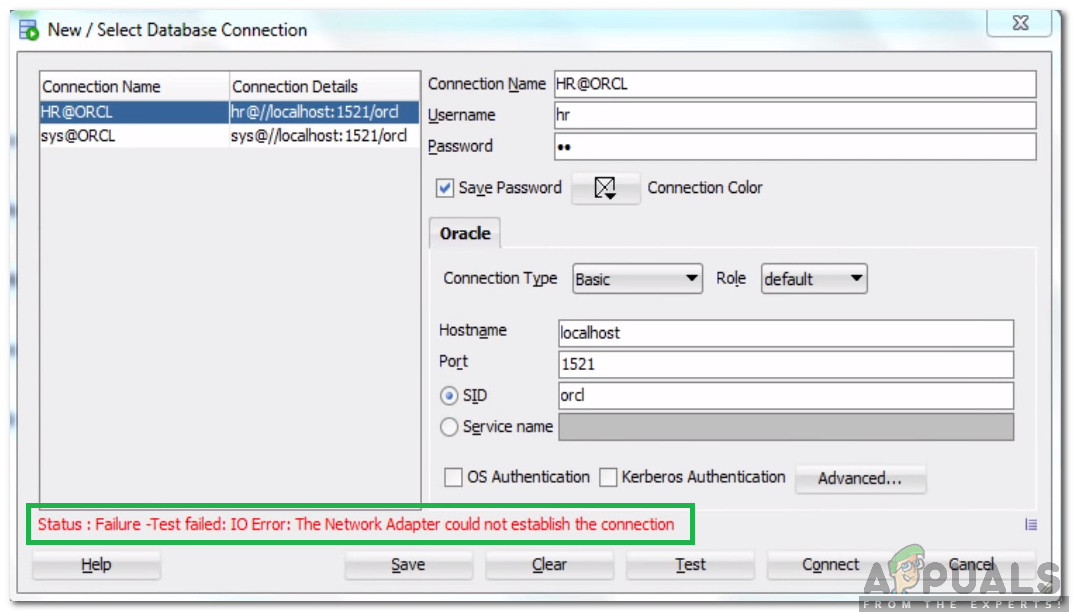
Oracle SQL is an Integrated Development Environment that was created for working on Oracle Databases with SQL. This product is developed and provided by Oracle corporation for free and it is based on the Java Development Kit. Quite recently, there have been many reports of an “IO Error: The Network Adapter Could Not Establish The Connection” Error while testing a database connection.
What Causes the “The Network Adapter Could Not Establish The Connection” Error?
After receiving numerous reports from multiple users, we decided to investigate the issue and devised a set of solutions to fix it completely. Also, we looked into the reasons due to which this error is triggered and listed them as follows.
- Incorrect Details: Make sure that the connection details have been entered properly. The Hostname, Port, Username, and password need to be entered correctly in order to establish the connection. If any of these values aren’t entered properly, the error might be triggered.
- Disabled Service: It is very important that the listener service has been started in the background for the application to work properly, If it hasn’t been started or is disabled, this error might be triggered.
Now that you have a basic understanding of the nature of the problem, we will move on towards the solutions. Make sure to implement these in the specific way in which they are presented to avoid conflict.
Solution 1: Checking Details
It is important that the correct details have been entered for the connection. Sometimes, the details entered don’t match the server configurations and the error is triggered. Therefore, in this step, we will be checking and entering the details again. For that:
- Download and install Notepad++ from here.
- Navigate to the following address.
DB Home: C:/app/Username/product/11.2.0(version might differ)/dbhome_1/Network/Admin

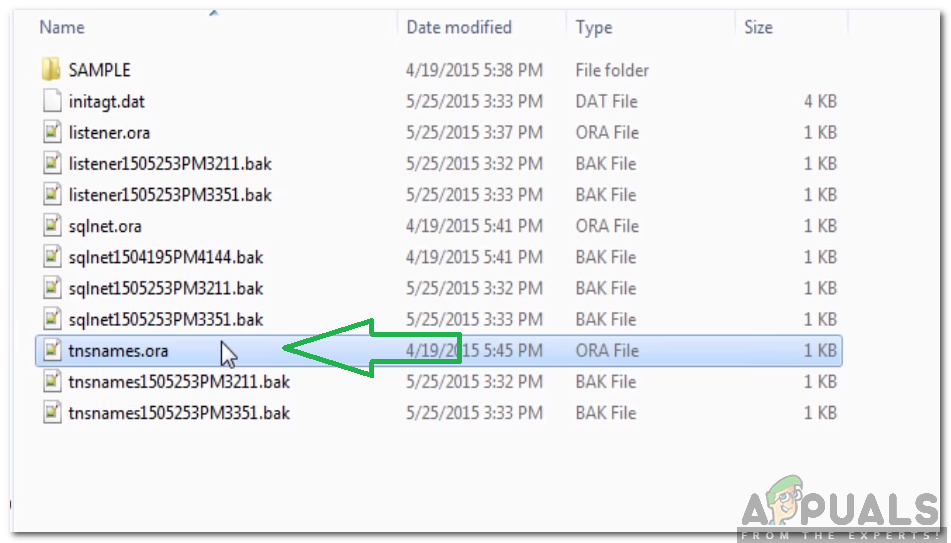
- Right-click on the “tnsnames.ora” file and select “Open With Notepad ++” option.
- Under the “ORCL=” heading, note the “Port” and the “Host” details.
- Also, note the “Service Name“.
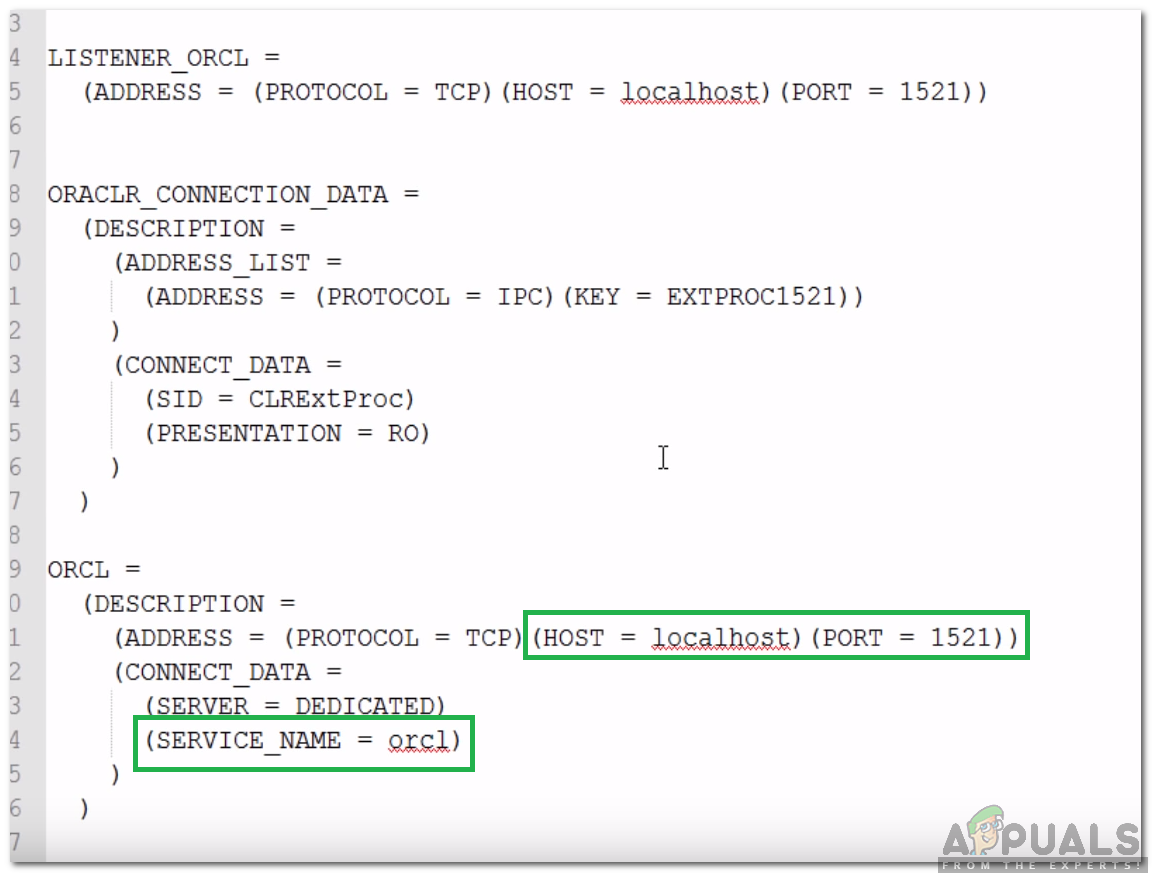
- Enter these details while establishing the network connection and click on “Test“.
- Check to see if the issue is solved.
Solution 2: Starting Listener Service
It is possible that the listener service hasn’t been started. This service is required by the application in order to establish a connection. Therefore, in this step, we will be starting the service by entering a command in the Command prompt. For that:
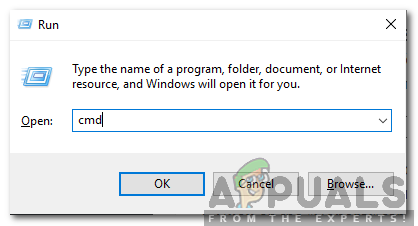
- Press “Windows” + “R” to open the Run prompt.
- Type in “Cmd” and press “Shift” + “Ctrl” + “Enter” to provide adminsitrative privileges.
- Type in the following command to check if the service is started.
lsnrctl status
- If the result is similar to the image below, it means that the service hasn’t been started.
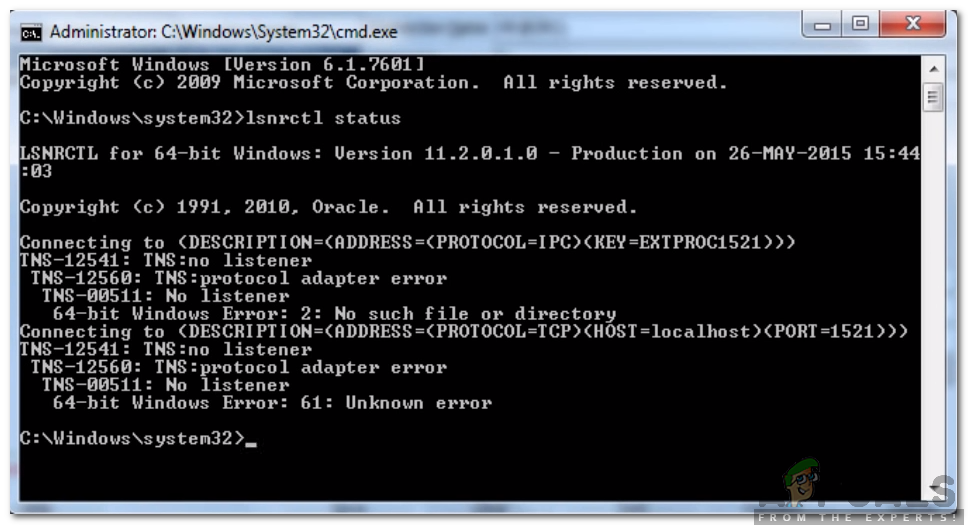
- Enter the following command to start the service manually.
lsnrctl start

- Now that the listener service has been started, open the application and check to see if a new connection can be established.


![Toni Kroos là ai? [ sự thật về tiểu sử đầy đủ Toni Kroos ]](https://evbn.org/wp-content/uploads/New-Project-6635-1671934592.jpg)


