How To Build A Log Store
Mục Lục
Ad – This post is in collaboration with Ryobi. All opinions and thoughts are of course our own!
This summer, we’re giving ourselves a push to improve our outdoor space and make it a more usable and pleasant space to be in.
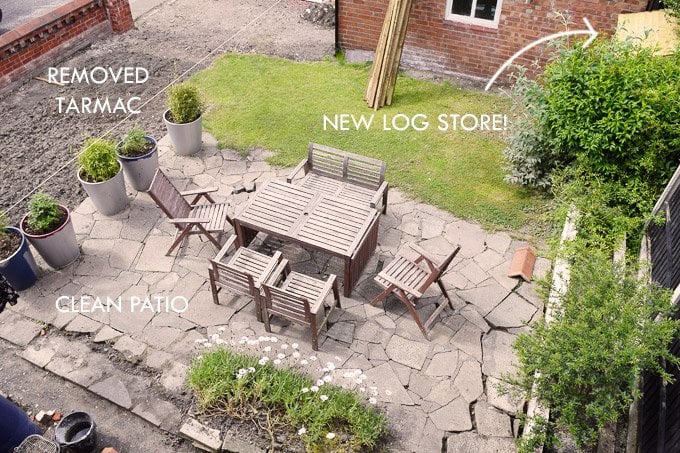
We’ve taken up some of the tarmac that covered most of the garden (more on that soon), we’ve cleaned the patio and now we’ve just finished building a log store, too!
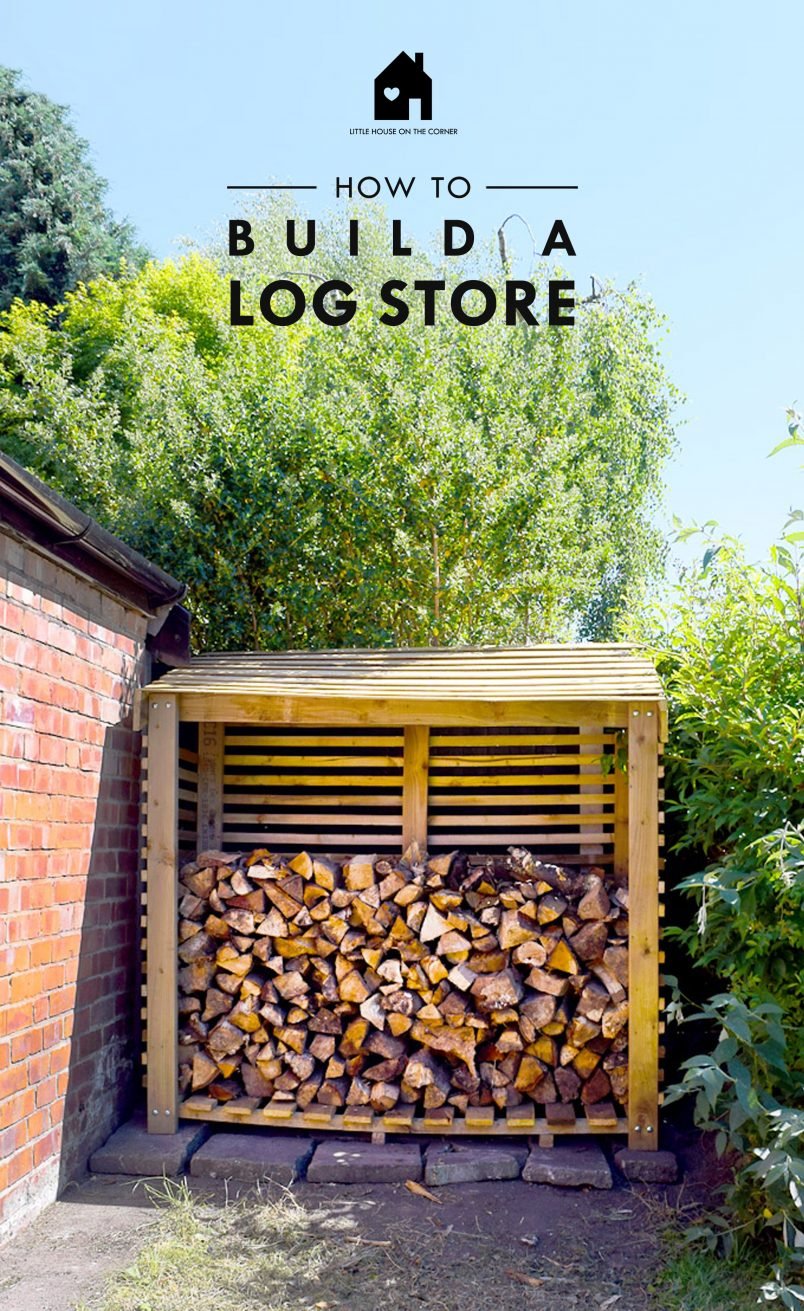
We’d looked at a few ready-made log stores, but the only ones we could find were fairly expensive, not as big as we would have liked and some of them were a bit flimsy. We knew we couldn’t store the wood in the big bags they came in and whilst the colder weather is hopefully still away off, it was definitely about time to get some proper storage sorted.
The most complicated bit about this project is calculating the supplies that you need, but there’s nothing stopping you making your own, as we’ve done it for you!

Our log store is about 1.8m x 1.8m which means that it’s big enough to hold all of the wood we need for a winter.
As much as possible, we planned our log store around standard available lengths of wood. This way we could avoid too many offcuts and waste and also save money. We’ve also set out all of the gaps so that they are the width of another panel which means that instead of having to measure, you can just use a batten as a placeholder to keep an equal distance.
But before you start…
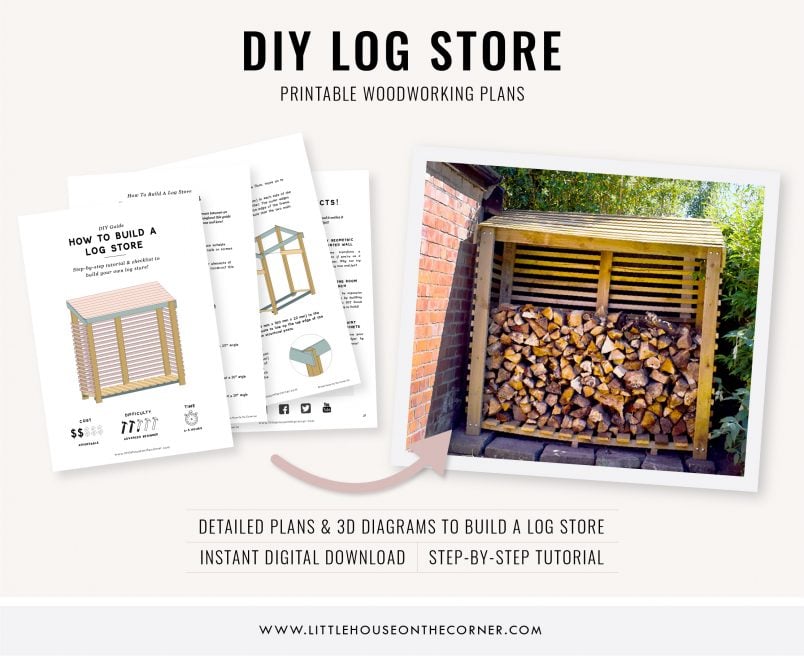
To make building this log store even easier, we’ve created a detailed downloadable tutorial with checklist, supply & cutting list and 3d colour-coded diagrams to make assembling this log store as easy as possible. It also comes with a bonus design option that includes a practical kindling shelf!
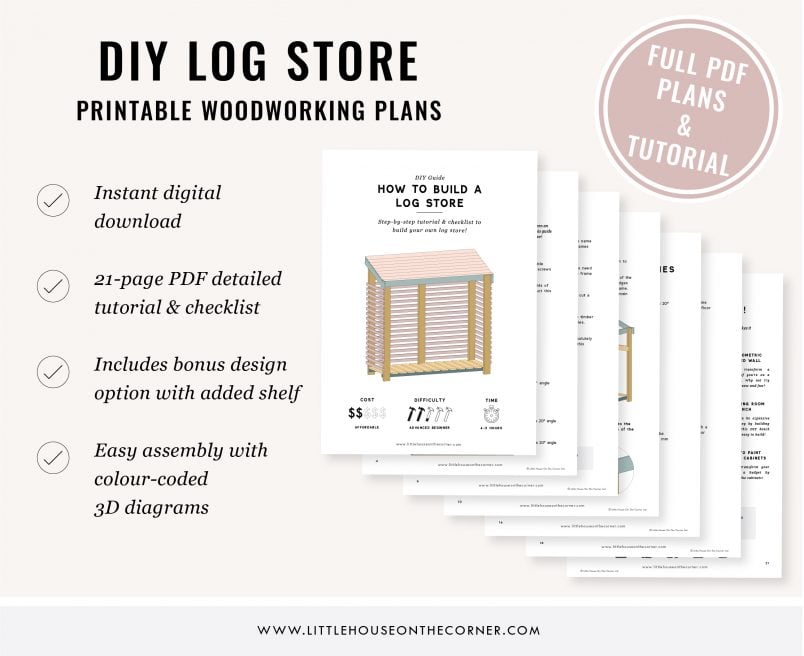
This is what you will need if you want to build a log store:
This post contains affiliate links. We only recommend products we love and think that you will, too! Read our full disclaimer here.
All wood we used is tanalised sawn timber. It’s fairly rough but cheap and perfect for outdoor use. All materials for this project came £90, which is less than we’d seen any log store available for. (With timber prices currently at an all-time high, expect to pay more for your timber at the moment).
Supplies:
- Main Structure (47x100mm): 3 x 1.77 m lengths (for the back), 2 x 1.567 m lengths (for the front), tops trimmed at a 20° angle – which is the pitch of the roof
- Roof Structure (22x100mm): 2 x 1.756 m lengths (for front and back), 2 x 0.855m lengths (for sides, front and back trimmed at 20° angle)
- Floor Structure (50x47mm): 2 x 1.756 m lengths (for front and back)
- Floor (22x100mm): 2 x 0.556 m lengths (for sides), 1 x 0.603 m length (for middle), 10 x 0.65 m lengths (for all other pieces)
- Roof Covering: 9 x 1.8 m Featheredge Boards
- Cladding (38x19mm): 32 x 0.669 m lengths (for sides), 20 x 1.718 m lengths (for back)
- Bolts & Nuts: 10 x M8 100mm bolts, nut & washer, 10 x M8 125mm bolt and nut (we used 150mm because we couldn’t find 125mm)
- Lots and lots of nails
Tools:
- Clamps
- Mitre saw
- Cordless drill and drill bit
- Hammer
- Nailer
 Turn on your JavaScript to view content
This is how to build a log store:
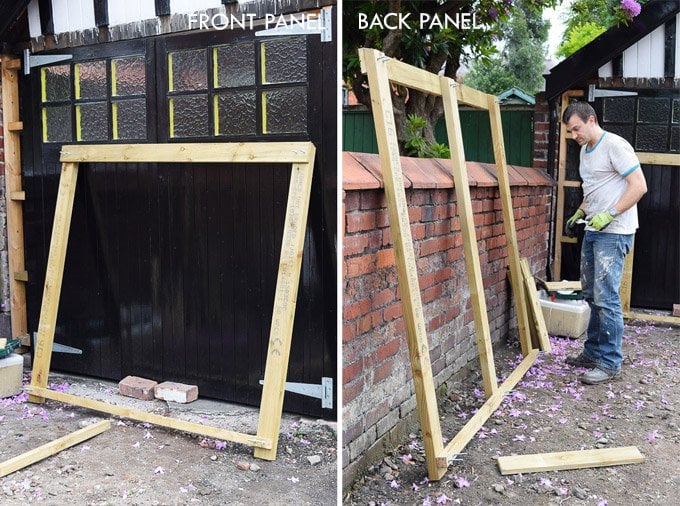
1. Build the front and back frames of the log store.
Start with the front frame of the log store and lay out the two side posts, one of the floor structure pieces and one of the long roof structure pieces.
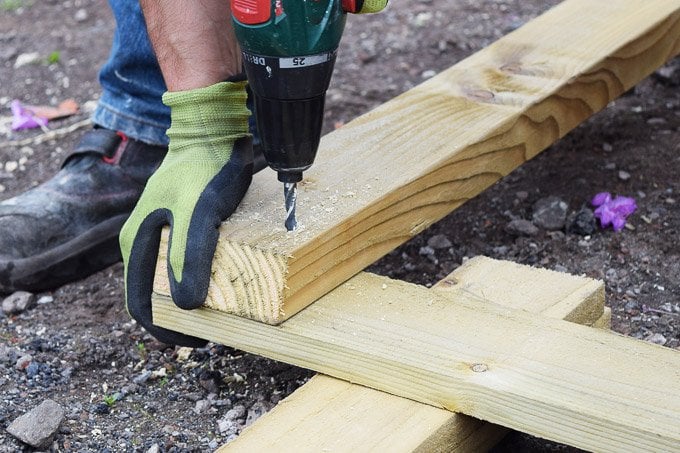
Drill two holes through the top and bottom of each main post. The top two holes should be 50mm from the top of the post (half the width of the roof structure beam), the bottom two holes have to be 75mm from the bottom of the post (half the width of the floor structure beam + 50mm distance from the floor).
Once you’ve drilled the holes, line up the floor and roof structure pieces and drill all the way through. Make sure they line up perfectly – you want them to finish completely flush with each other.
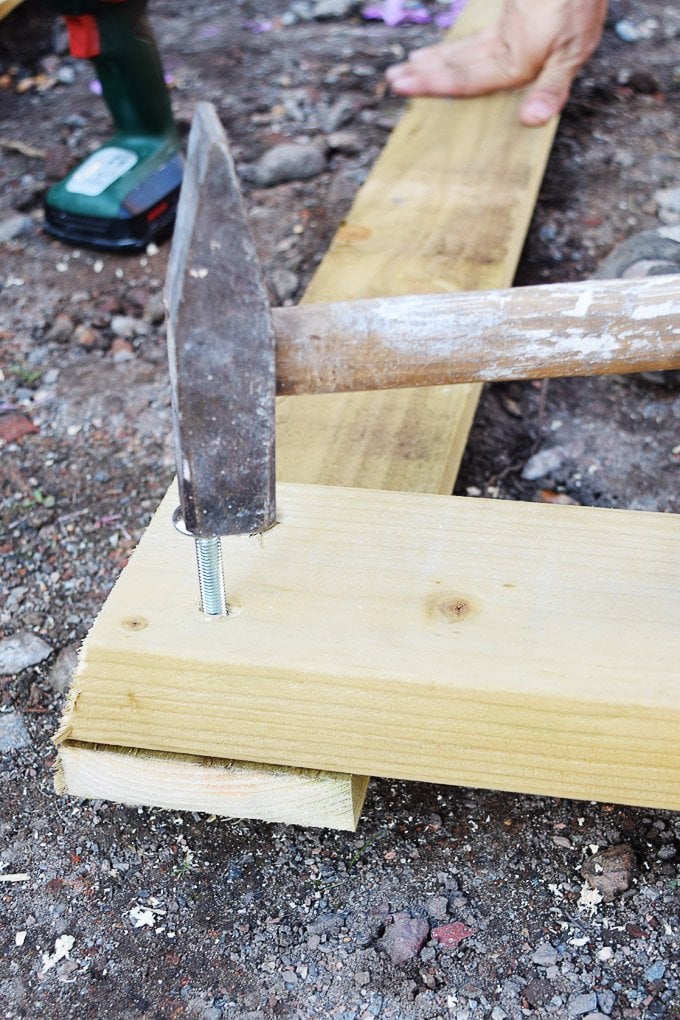
Then add the bolts (you’ll need the shorter ones at the top and the longer ones for the thicker wood at the bottom) and tighten everything. Repeat the process with the second post on the other side of the frame.
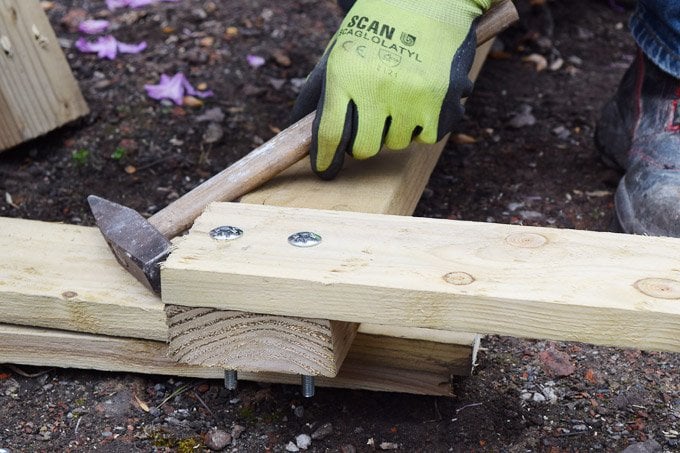
Then do the same for the second (back) frame of the log store. It’s exactly the same, except that you have an additional post in the centre. Make sure that the slants on the top of the posts face in the same direction.
2. Attach the two short floorboards to the outer sides of the first frame with your nailer.
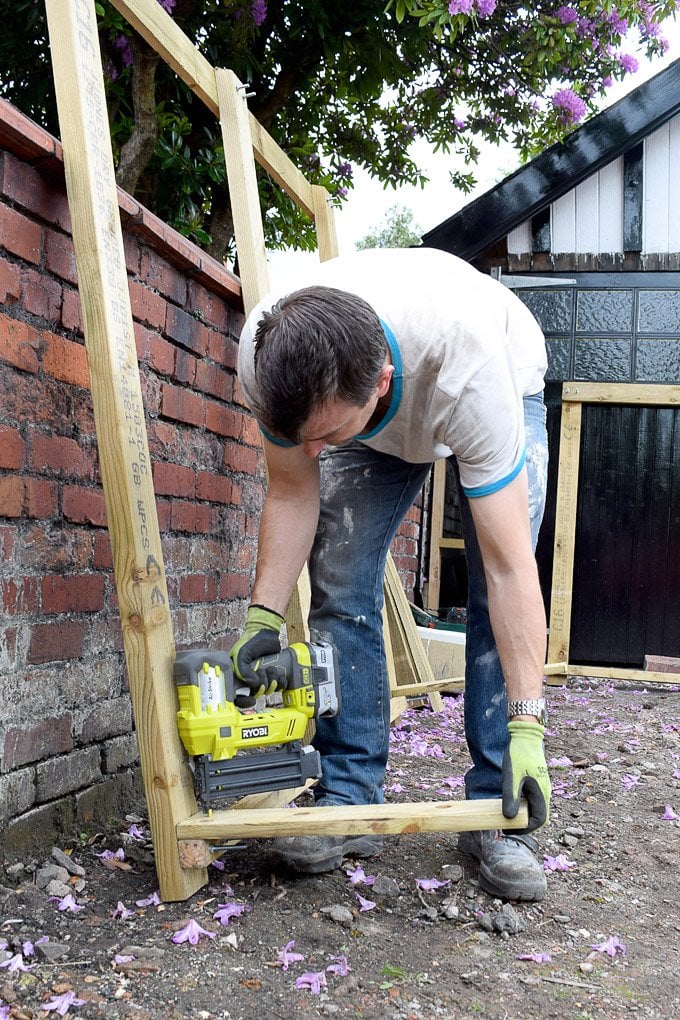
Then line up the second frame so it’s congruent to the first and nail the other end of the floorboard to the second frame.
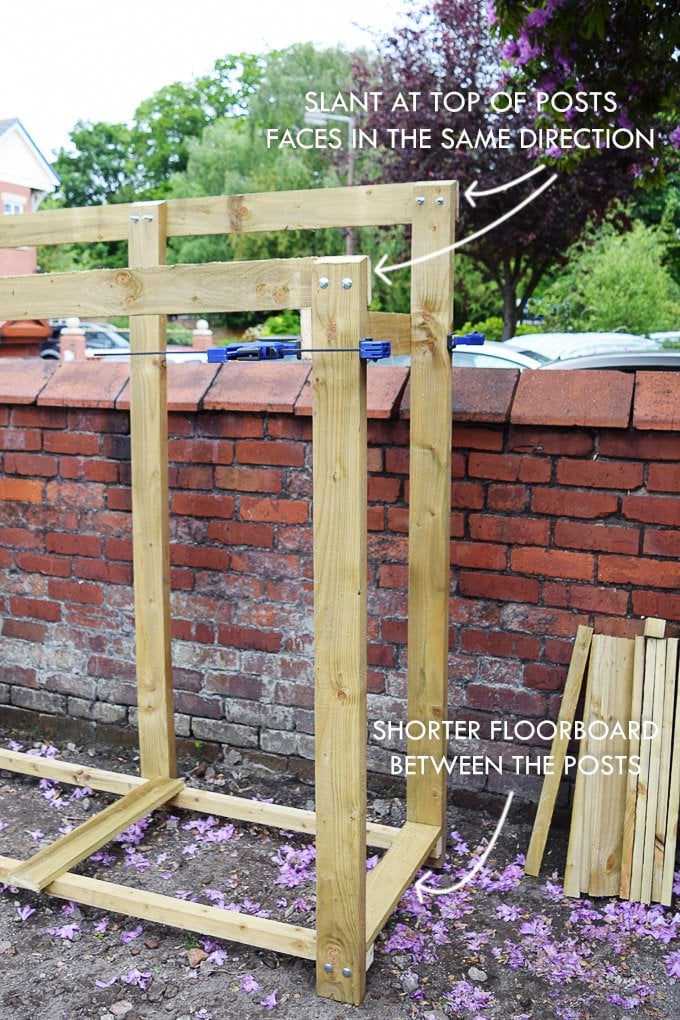
3. To make sure that the top of your frames are parallel to each other, clamp one of the not yet used (standard length) floor pieces to the top of the frames. The outer edges of the floorboard should finish exactly with the edge of the frame.

Once it’s clamped into place, it’ll hold your two frame pieces in place and allow you to attach the sides of the roof which you can just nail to the frame.
The roof has a slight overhang to the back and a slightly larger overhang to the front. To get both sides of the roof structure timber to line up perfectly, use a leftover piece of wood to help you line up the edges. We used a leftover piece of 50 mm wood as a guide – we rested it against the edge of the back frame and then lined up the edge of the roof timber with it.
4. Now it’s time to attach the floor.
Lay the boards on the base with a piece of the cladding battens between each. You’re just using them to keep an equal distance between each floorboard and will remove them later.
The outer two floor pieces are the shortest, as they fit between the posts, the middle one is a bit shorter than the others as it fits in front of the middle back post and all of the others are the full width of the log store. Once you’ve set out the boards, nail them down using your nailer and remove the pieces of timber between the floorboards.
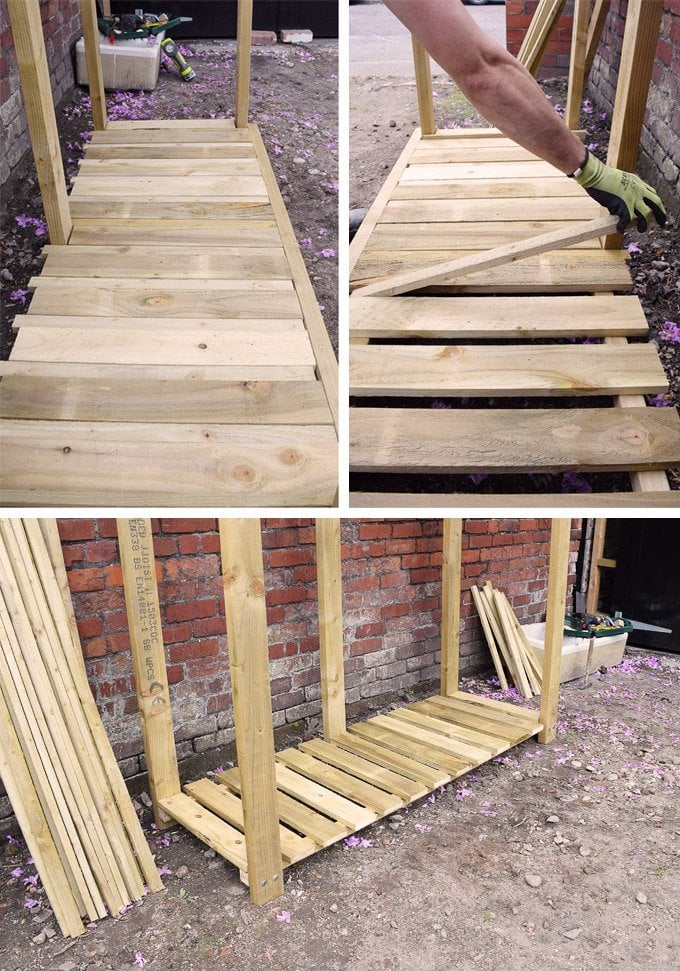
5. Then it’s just a matter of attaching the cladding battens to the outside of the frame. Again, using an additional batten as a guide to keep an equal distance between each row, work your way around the log store, nailing the battens in place one at a time.
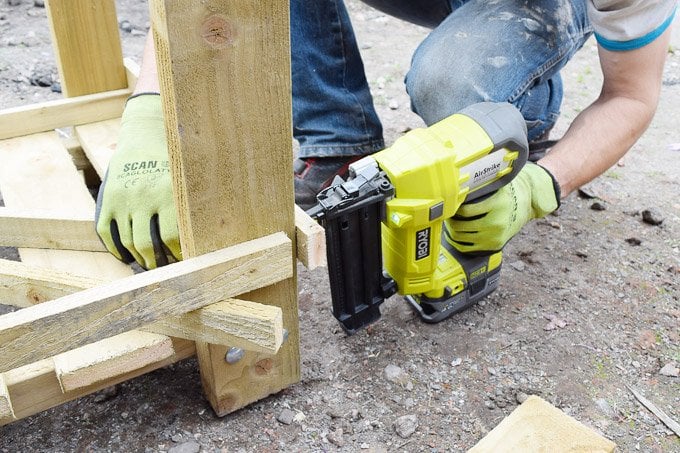
We started our first row 38mm (one batten width) from the bottom. Once the first row was in place, things progressed really quickly. Check at regular intervals to make sure that everything is still level.
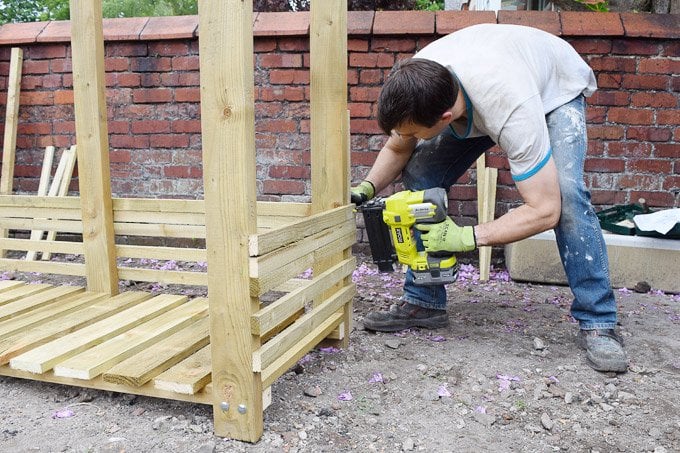
If we’d had to nail everything by hand it would have taken forever, but with the help of our new nailer, it only took a few seconds per row.
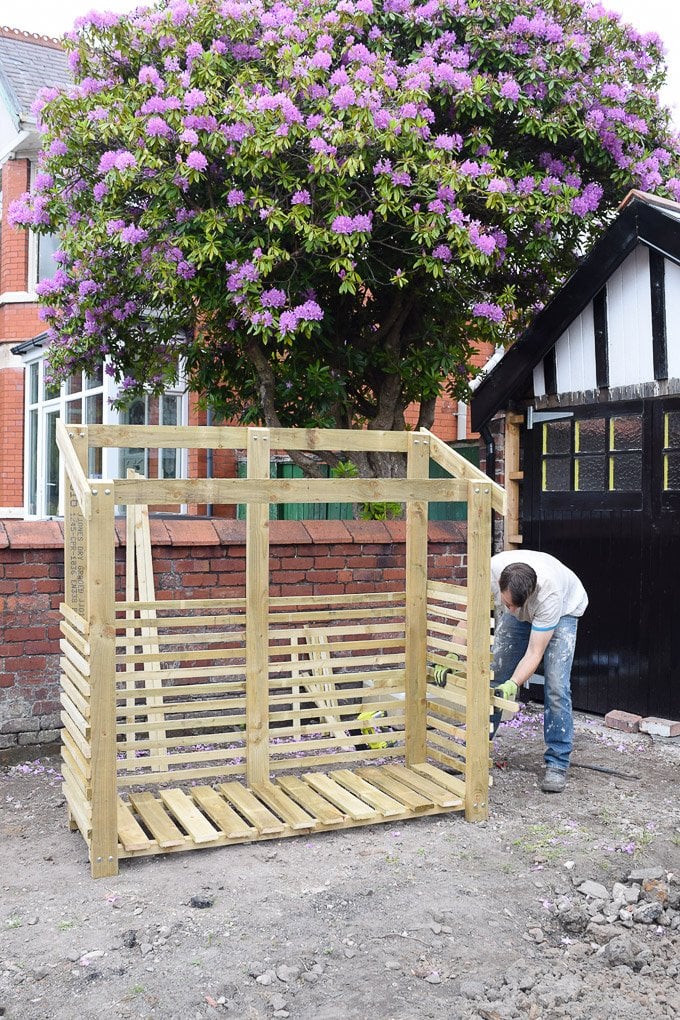
6. The last step is to nail down your roof. We used feather boards for this as they were not only the cheapest option, they also have a slightly tapered profile which works perfectly on the roof. Lay out the boards across the roof with the narrower edge facing downwards.
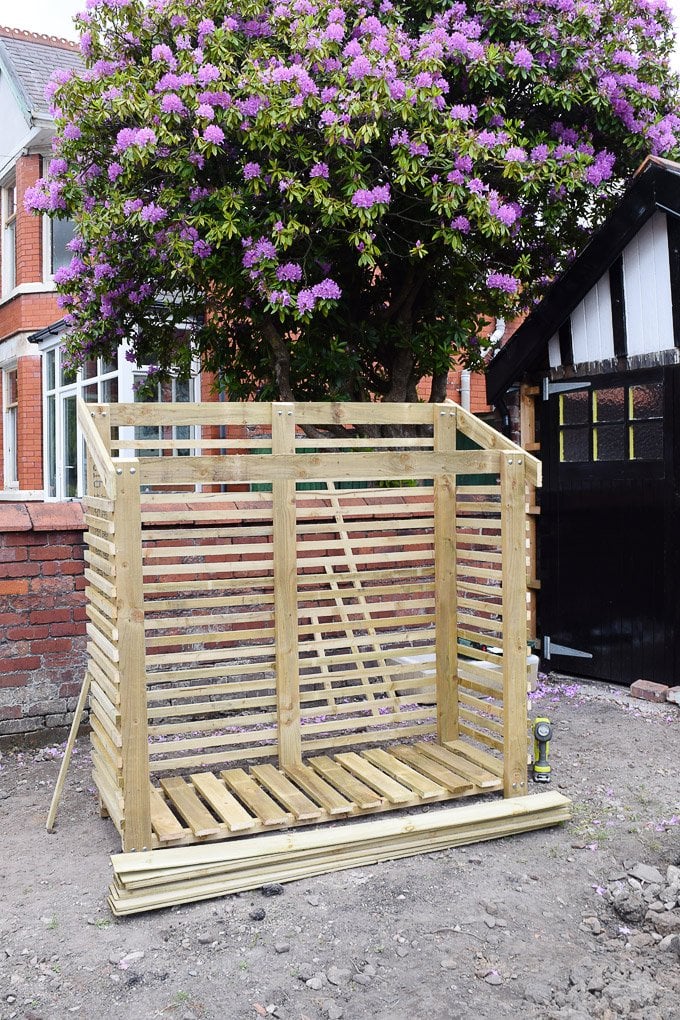
The very front board and the very last board have to line up with the ends of the side roof structure pieces. If you’re using the same measurements as us, each board will overlap the other by 2.9 cm.
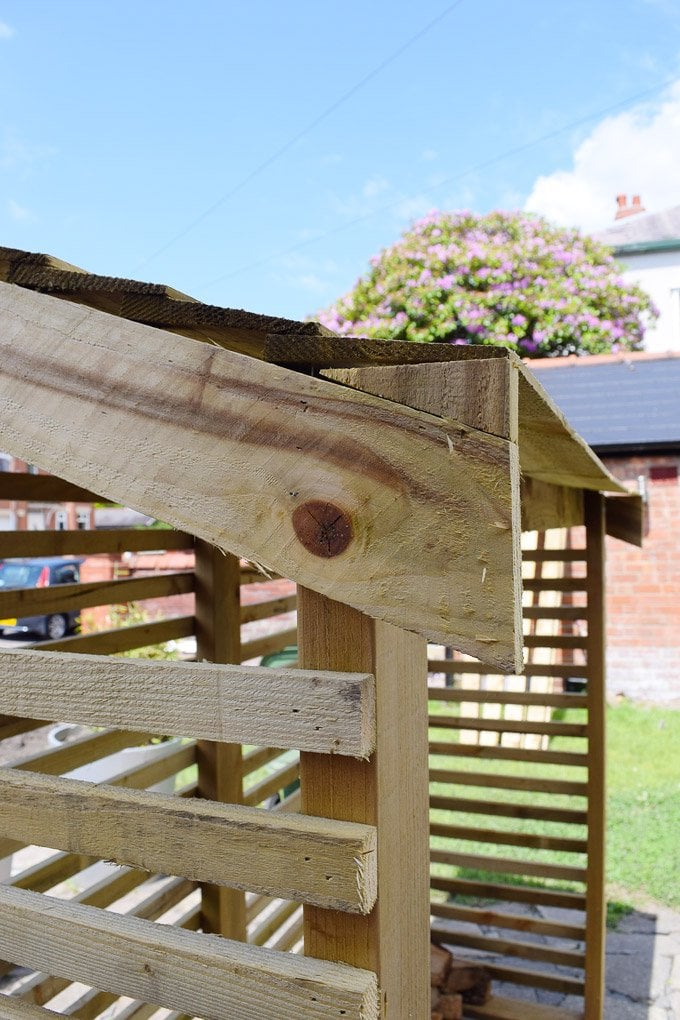
As you can see in our picture, you’ll have to add a small piece of wood to the bottom roof panel to give you the angle you need. We used an offcut of the wood that we had from cutting the angle on the side pieces of the roof structure.
Now all that’s left to do is fill the log store with your logs!
This project may sound complicated as it seems like there are a lot of steps, but it’s actually really straightforward and easy to build. All in all, it probably took us about 4 hours to build (which included about an hour of cutting as we did some of it ourselves).
It actually took us longer to remove all of the weeds and dirt from the corner of the garden where we decided to place the log store!
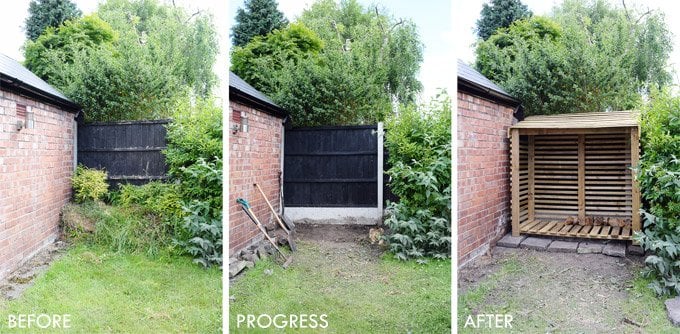
It’s important to store your firewood correctly and our new log store will hopefully help us to do so.
Firewood has to be stored so that there is plenty of airflow around the wood, this means that you shouldn’t stack logs or stand the log store too close to a wall (leave a 5-10 cm gap) and also stack the wood so that air can circulate between and around it.
You also shouldn’t cover the wood with any tarpaulin or similar as it can cause condensation to build and allow mould to develop.
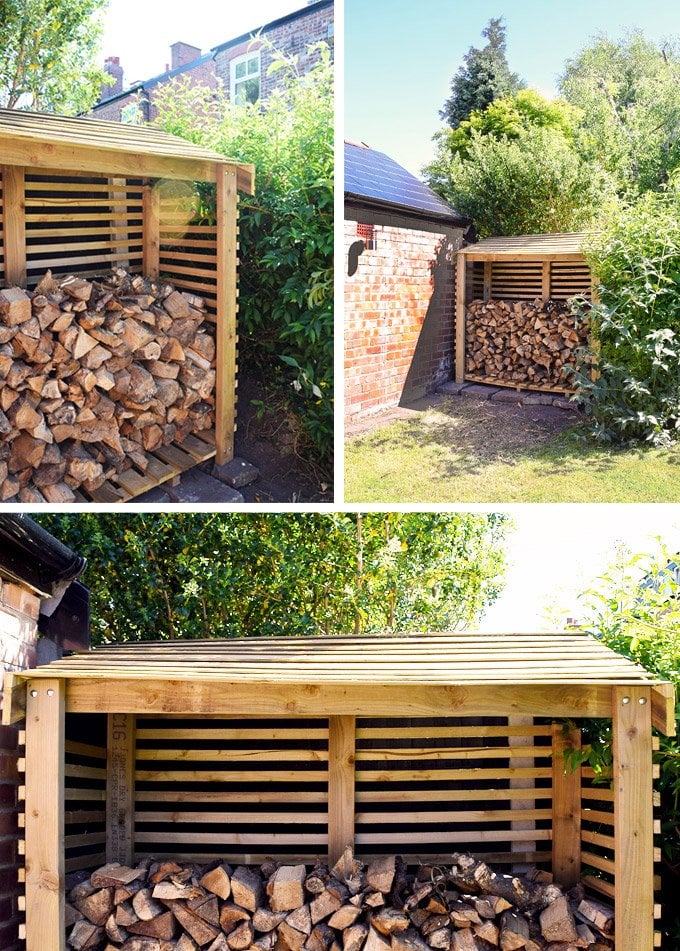
We’re really happy with how our log store turned out and it fits perfectly in the little previously unused and weed-covered area next to our garage (which looks like we planned it, but is a total coincidence).
We still love our wood burning stove and it’s still one of our favourite home improvements, especially as it helps us stay nice and toasty in winter. How do you stay warm in winter? Do you have a wood burning stove or another type of fireplace? How do you store your firewood?
Don’t forget that you can get your detailed DIY log store woodworking plans by clicking the button below!


![Toni Kroos là ai? [ sự thật về tiểu sử đầy đủ Toni Kroos ]](https://evbn.org/wp-content/uploads/New-Project-6635-1671934592.jpg)


