
Elementor Blog Template: Create Your Own Custom Blog Formats – Mad Lemmings
Ever wanted to fully customize the layout of your blog posts?
Now Elementor Pro 2.0 features a blog post templating system you can use to easily and quickly build your own.
In the video below I walk you through all the steps and show you exactly how you can do it.
Below the video is some brief steps and outlines in case you want the quick version.
Mục Lục
How To Create An Elementor Blog Template
There are a few ways you can go once you have the plugin,
- Use a pre-built Elementor template
- Customize an Elementor blog template
- Build your own from scratch
Personally, I recommend you use their templates as a starting point and then go from there. It is a lot faster to work that way, and you will create the blog post layout you want in far less time.
1. The first step to creating a new template is to go to the Elementor > My Templates

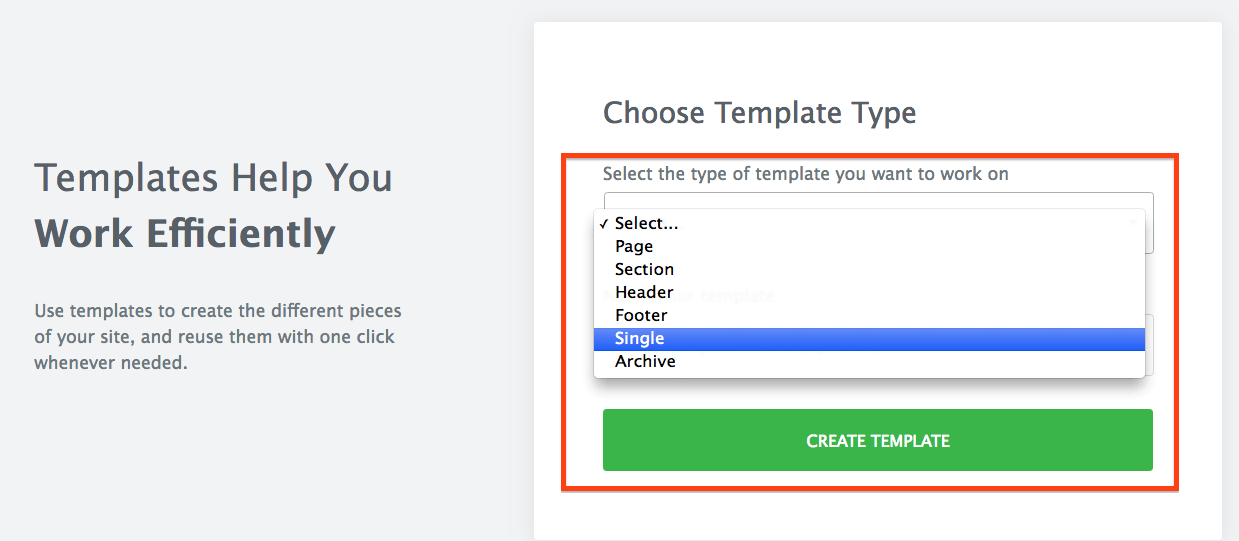
2. Now, Elementor will show you a new templates page where you can create your new Blog Post Template:

3. Choose a Template Type and then name your template
4. Choose a pre-built template or simply create your own (close that window). I recommend using one of the pre-built ones as a starting point:

Once the template is loaded, it is exactly like anything else in Elementor. You can add, change or remove Elementor Widgets.
New Blog Post Widgets
The only big difference is that the templates they use have widgets you will need to display the blog post content. You can see some of them in the image below. So, if you don’t use a template, you can add them manually.

The main ones you will need are the
- Post Title
- Post Content
- Featured Image
But, there are also things like comments, Facebook comments and post excerpts in case you need them.
New Blog Post Properties
Another thing to be aware of is the new blog post properties you can use within normal Elementor Widgets.
Say, for example, you wanted to create your own custom title for the blog post. You can use a standard Elementor Heading and then simply tell Elementor to use the Blog Post Title in that heading. That way, it is always using the current posts heading. Otherwise, you will just have your normal heading (and words) in every post, which is probably not what you want.
Here is an example of how to get to that property in a standard heading. Simply click on Dynamic (very small) word above the text area in the heading widget:

Then, you will get a list of WordPress properties (like blog post title etc) that you can use to put in the Text area automatically:

Publishing & Display Conditions For Templates
Once you are done with your template, you can decide (almost) exactly where it will be used. It depends on the type of template of course, but in this case we are focused on blog templates.
So, you press Publish and then choose from the list of “conditions”. If you are creating a single blog post template, you can pick All Posts.
If you plan on having different kinds of content, you can either create a template per format or per category, depending on how you have divided things up.

And voila! Your blog posts will now appear exactly as you have designed them.
My only other recommendation is to now tweak it on a live blog post as the preview mode for blog posts is now as robust as a real life post to check with.
Pin
1
Shares


![Toni Kroos là ai? [ sự thật về tiểu sử đầy đủ Toni Kroos ]](https://evbn.org/wp-content/uploads/New-Project-6635-1671934592.jpg)


