DIY Reclaimed Wood Ceiling (so cheap, so pretty) – Wildfire Interiors
shares
I don’t think I’ve been THIS excited about showing y’all a project in a long time. The reclaimed wood ceiling in our kitchen and dining room is finished and it is just SO GOOD.
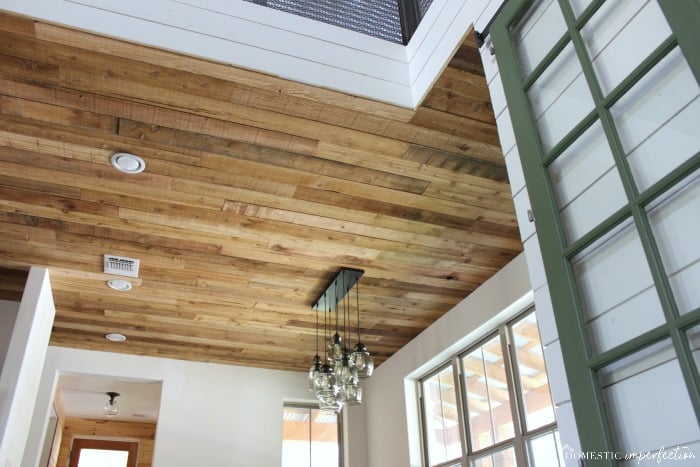
It’s cozy and warm and I just love it. The house feels so much less like an unfinished white box and more like the home I have always pictured in my head. Also, the whole thing only cost $322. That’s a deal in my book.
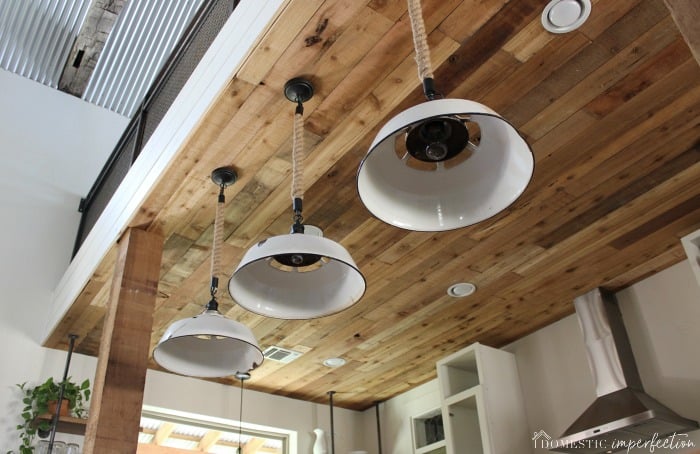
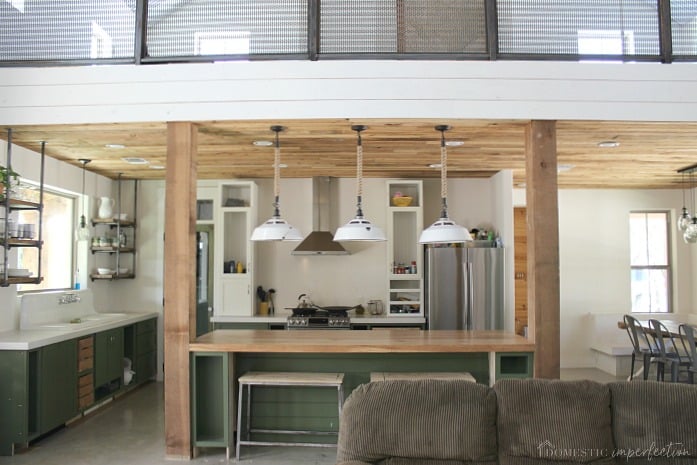
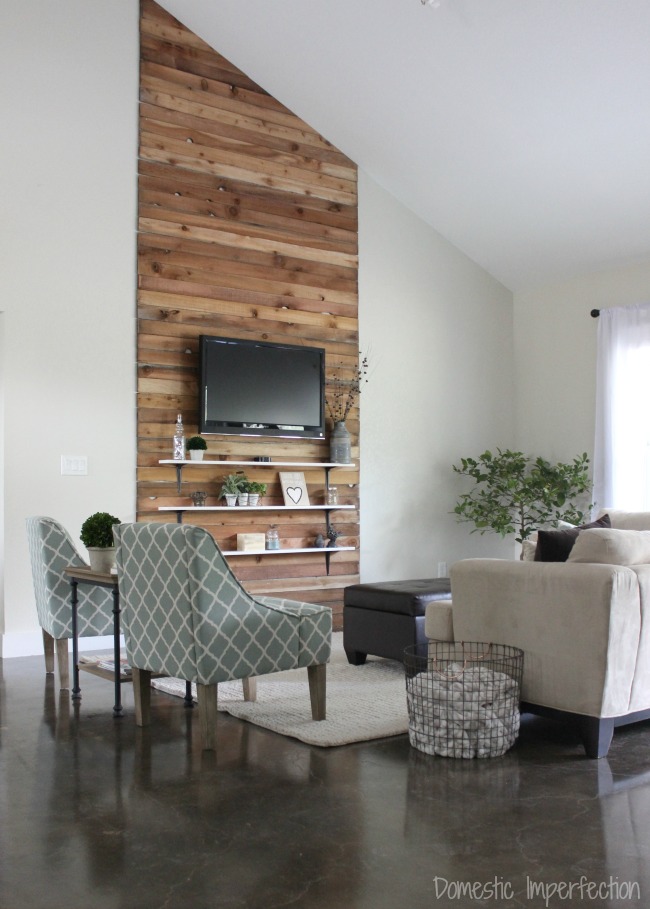
A wood ceiling in the kitchen and dining room was on the “must have” list from the second Adam and I started sketching out floorplans for this house. We’ve been casually looking for 500 sq ft or reclaimed barn wood for a very long time, but have come up emptyhanded. Reclaimed wood is super popular now (especially in our area…thanks a lot Fixer Upper) thus it is in high demand and very expensive. So a few weeks ago, Adam and I were sitting around talking about what our next project was going to be, and we decided to forget old barn wood and just do the ceiling with new stuff. So the next day we loaded up the kids and the trailer, drove into San Antonio in the pouring rain, and picked up some cast-off cedar fence pickets from a place called Pecos Fence Company. This is the same place we got the boards to do the feature wall in my brother and sister-in-law’s house…anyone remember that post?
These are just cheap fence pickets and not exactly top quality wood, so there are knots and the boards aren’t perfectly square (just like actual reclaimed wood). Adam and I decided that in order to make the gaps and knots not stand out the ceiling underneath had to be black, and we could either paint it or staple up black paper. Since painting ceilings literally one of the least fun things to do ever, black paper it was. We used roofing paper and bought 500 feet for $14. Here is a closeup of the biggest knot in the ceiling to show you what the paper looks like underneath.
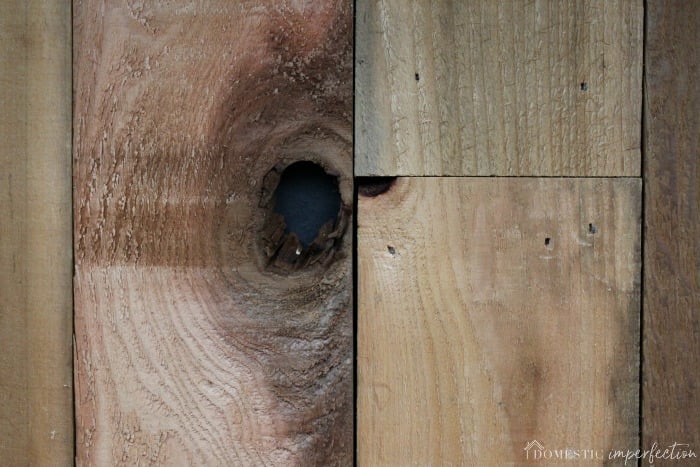
The paper is pretty thick and you *should* attach it all to the ceiling with a stapler before adding wood on top. We personally own two staplers….neither of which we could find when we needed them. We might have loaned them to someone or left them somewhere or lost them forever in the messy garage…either way there were no staplers to be found. So instead of going and buying another one, Adam had the great idea to use thumbtacks instead. I’m not sure if I’m using the word “great’ sarcastically or not, because while it did work, it also really, really didn’t. So just buy the stapler. Don’t be cheap. Don’t be like us.
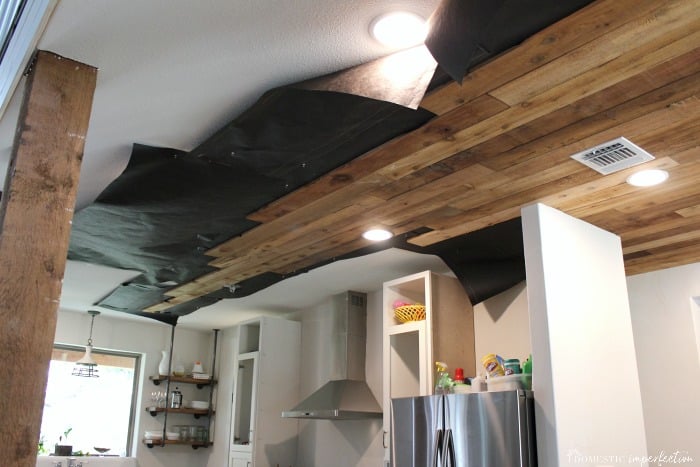
Anyway, I’m not quite sure what else to say about the project…we cut boards, used the nail gun to attach them to the ceiling, and got a ton of sawdust in our eyes. There are a lot of canned lights, pendant lights, and vents in this area, and Adam spent quite a few days on all the detail work. He’s a good man, despite his cheap thumbtack using ways.

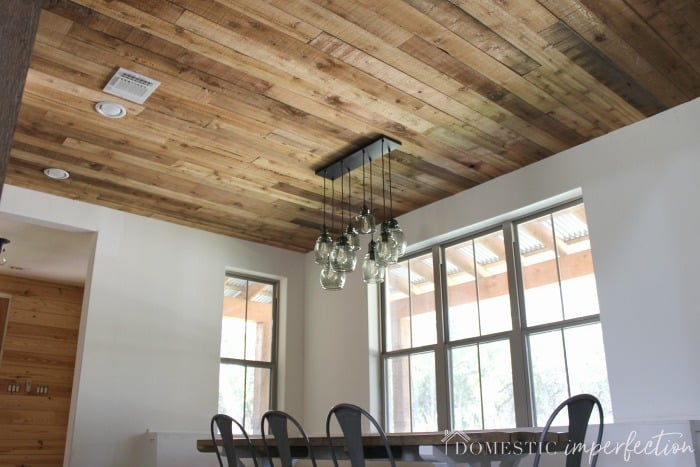
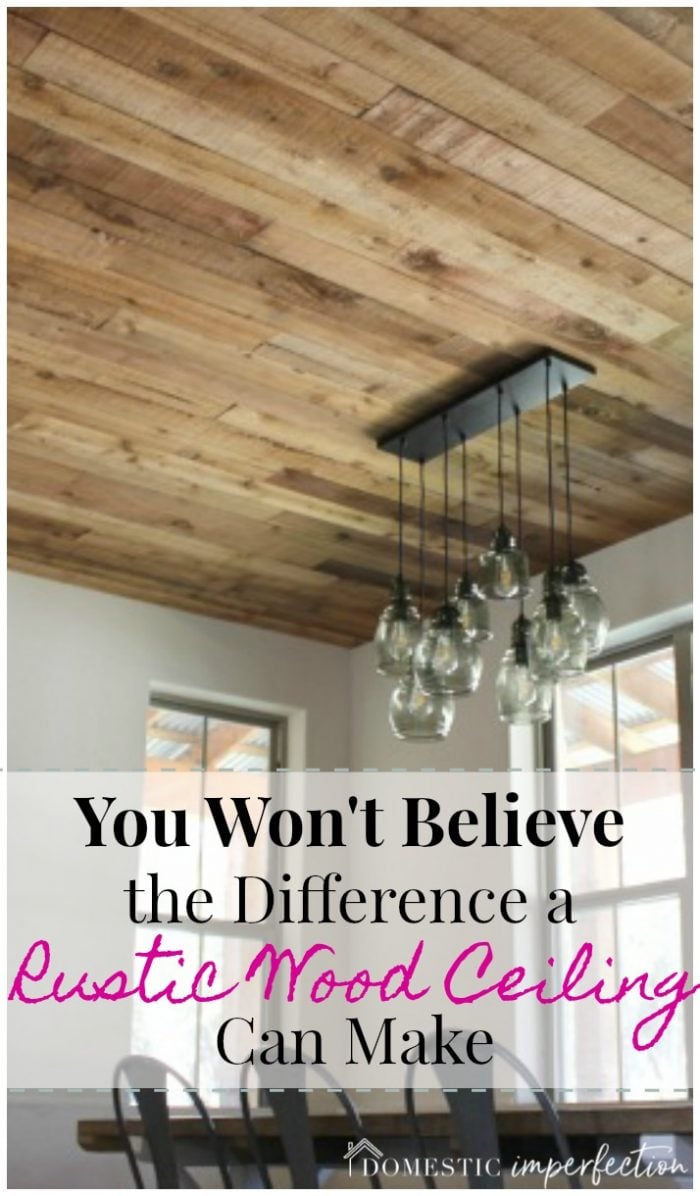
Oh, also! I finally bought a light for over the dining room table. It wasn’t what I originally planned on getting at all, but when I saw it and all its green glass goodness I quickly changed my tune. The original price was $500, but I stalked it for a few months and bought it on sale for the amazing price of $189. The only thing is that they make them for 8,10, and 12 ft ceiling…ours in 9 ft. I bought the one for an 8 ft ceiling (because the 10 ft one was an extra $100), and so it’s slightly shorter than would be ideal. It sure is pretty at night though.
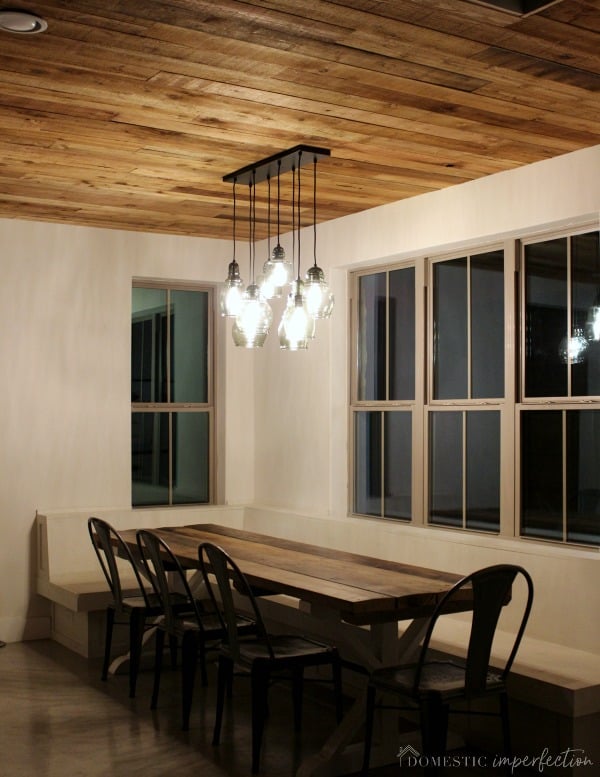
I also replaced the pendant over the sink with a matching pendant. I loved the previous light, but with so many pendants in an open floorplan I felt that at least some of the light fixtures should match.

We also added wood to the ceilings in the office and entryway. Here is a shot of the office (I got in some very odd positions to take photos for this post) and the below photo is my favorite of the whole post.
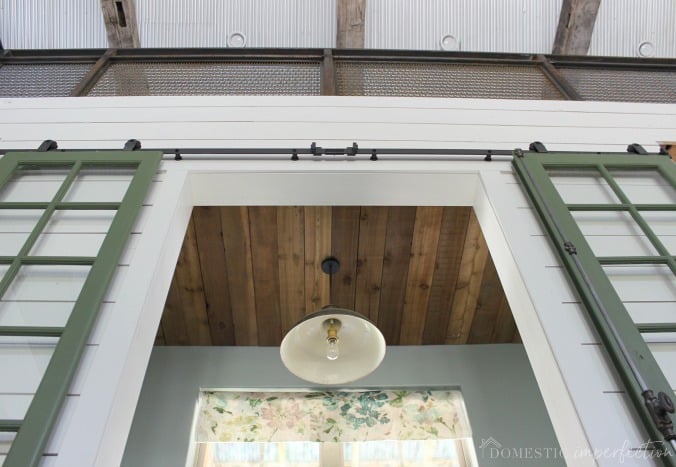
Everything I love is in this shot, the green and blue, shiplap, rustic wood, floral, iron and corrugated tin…
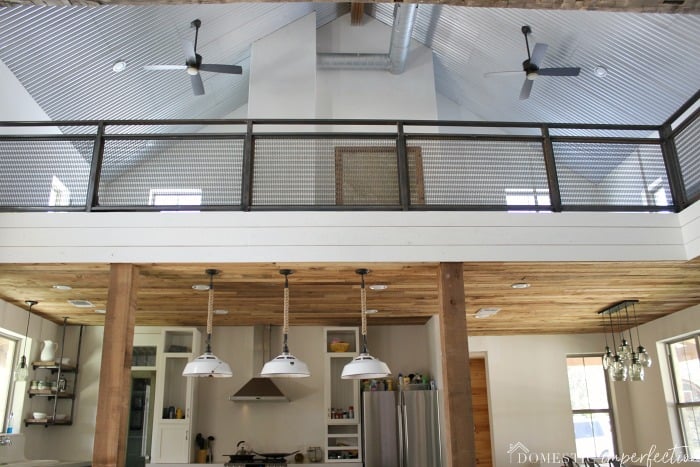
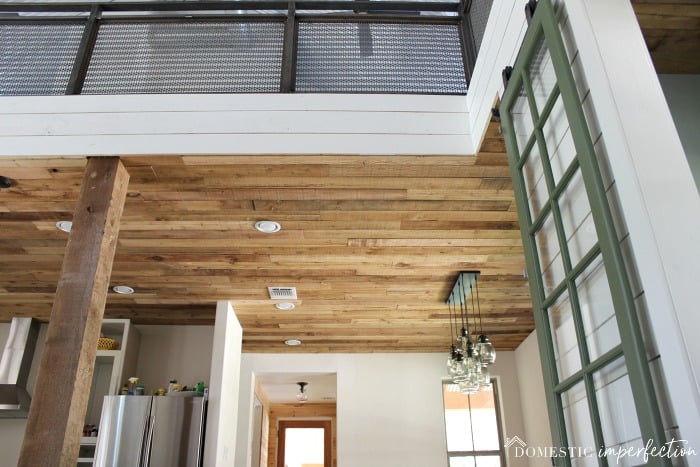
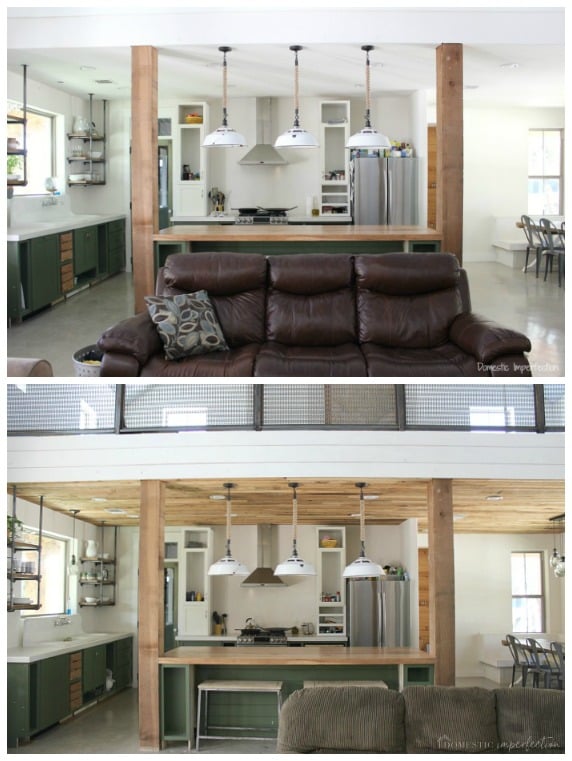
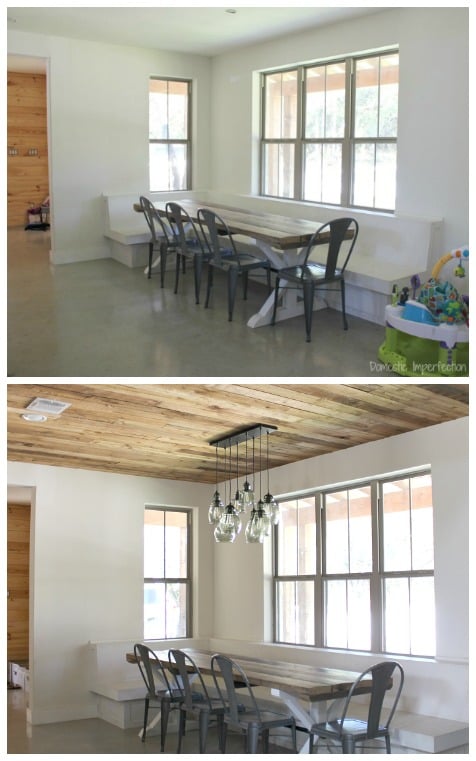
The ceiling isn’t actually 100% finished (nothing ever is), it still needs trim all the way around…but that’s a project for another day. I’ll leave you with a couple before and after shots… it really is crazy how different it feels, especially when you are right underneath it.



SaveSave


![Toni Kroos là ai? [ sự thật về tiểu sử đầy đủ Toni Kroos ]](https://evbn.org/wp-content/uploads/New-Project-6635-1671934592.jpg)


