Connecting Two Docker Containers Over the Same Network – GeeksforGeeks
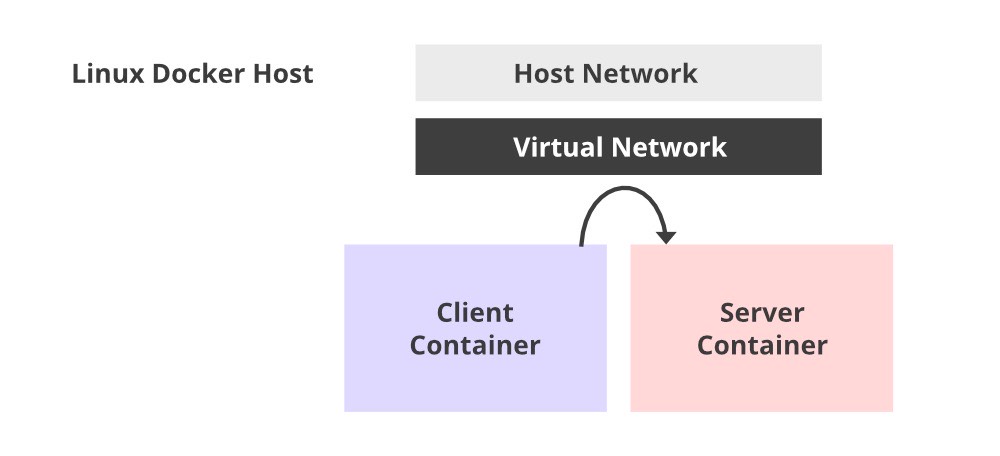
Whenever we expose a container’s port in docker, it creates a network path from the outside of that machine, through the networking layer, and enters that container. In this way, other containers can connect to it by going out to the host, turning around, and coming back in along that path.
Docker offers an extensive set of networking options for controlling exactly how your containers connect to each other and making sure that it is secure and is the same as the way you wanted.

Before we dive into this article, I would recommend you to go through the basics of Docker and Computer Networking in order to get the picture more clear of what exactly is happening behind the scenes.
Communication of Containers:
Despite the isolation, containers frequently need to interact with one another and even with the outside world. This processing of interacting can be achieved by networking between containers. It essentially implies that an application in one container will establish a network connection over a port in another container. In this article, we will learn the basics of linking containers and making them communicate with each other. We will run ubuntu on two different containers, define a port number and let them communicate over a network.
Open the terminal.
Let’s first have a look at the existing networks and see what’s there by default.
docker network ls

We can see that there are 3 networks present by default:
- Bridge is the network used by containers and they don’t specify the preference to be put into any other network. This means a bridge network gives you very basic communication between containers on the same host.
- Host is when you don’t want the containers to have any network isolation. This implies this network can have security concerns.
- None is when your container can have no networking.
Create your own network with the command below:
docker network create learn-networking

In this way, we have created a network named learn-networking. You can give the network any name you wish. Now we will be connecting our containers over this network.
Open two terminals side by side. In one of the terminals type the below command to create one new container named conatiner1 over the network learn-networking.
docker run --rm -ti --net learn-networking --name container1 ubuntu:14.04 bash

Here:
- –rm commands to remove the container as soon as we stop it.
- -ti stands for terminal interactive.
- –net is used to set the network of the container.
- —name is used to specify the name of the container. Here the name of the container is container1.
Now on the other terminal create a new container named container2 over the same network learn-networking.
docker run --rm -ti --net learn-networking --name container2 ubuntu:14.04 bash
Now we have two containers running, container1 and container2.

Also, if you open your Docker Desktop and go to the Containers section, you’ll see two containers that we just created running.
Now we’ll specify a port number that container2 will listen to. So for this, the terminal where container2 is running, write the command
nc -lp 1234
This command says, netcat listen port 1234. You can specify any port number here.
On the terminal where container1 is running, connect it to container2 via port 1234 by writing the following command
nc container2 1234

After this, both the container are connected via port number 1234 on network learn-networking.
Type anything on terminal 1 and it will be replicated on terminal 2. This means sharing of data between two containers over a network has started.
Note: For sharing data and making the containers communicate with each other, they must be on the same network.

My Personal Notes
arrow_drop_up


![Toni Kroos là ai? [ sự thật về tiểu sử đầy đủ Toni Kroos ]](https://evbn.org/wp-content/uploads/New-Project-6635-1671934592.jpg)


