
Build a Blog in 5 Minutes with Hexo
Mục Lục
Build a Blog in 5 Minutes with Hexo
I’m not kidding. You can build a blog in literally 5 minutes using Hexo.

In this story, you will learn the basics of the Hexo framework and will build yourself a blog in less than 5 minutes.
Note
Even though Hexo is simple, a self-built React website would usually perform better and be more customizable. You can think of Hexo as the WordPress of React ecosystem. That of course doesn’t mean that Hexo is bad. Many blogs are made using Hexo, and they work pretty well!
Let’s start!
What is Hexo?
Hexo is a fast, simple and powerful blog framework. It parses your posts with Markdown or another render engine and generates static files with a beautiful theme. All of these just take seconds.
Hexo is an awesome tool for building blogs. It generates static files and lets you build custom themes or use the existing community-made ones.
Hexo Features
Blazing Fast
Incredible generating speed powered by Node.js. Hundreds of files take only seconds to build.
Markdown Support
All features of GitHub Flavored Markdown are supported, including most Octopress plugins.
One-Command Deployment
You only need one command to deploy your site to GitHub Pages, Heroku or other platforms.
Plugins
Features powerful APIs for limitless extensibility. Various plugins are available to support most template engines (EJS, Pug, Nunjucks, and many others). Easily integrate with existing NPM packages (Babel, PostCSS, Less/Sass, etc).
Building our blog
We’ve talked about Hexo and its features. It’s now time to build our blog!
First of all, let’s install Hexo globally.
npm install -g hexo
This will basically install Hexo on your machine and you will be able to use it whenever you want.
After that, we have to generate a new Hexo blog.
hexo init <your-blog-name>
This command creates a new blog with the name you enter. I named my blog alimblog , but you can of course name your blog however you want.
Now we have to generate the static files to be able to start our blog.
cd <your-blog-name>
hexo generate
This command will basically generate static HTML, CSS and JavaScript files for you.
And that’s it. We can now start our blog server and see how it looks like!
hexo server
This command will serve your blog on http://localhost:4000/ for you.
If you now visit that URL, you will see your blog up and running!
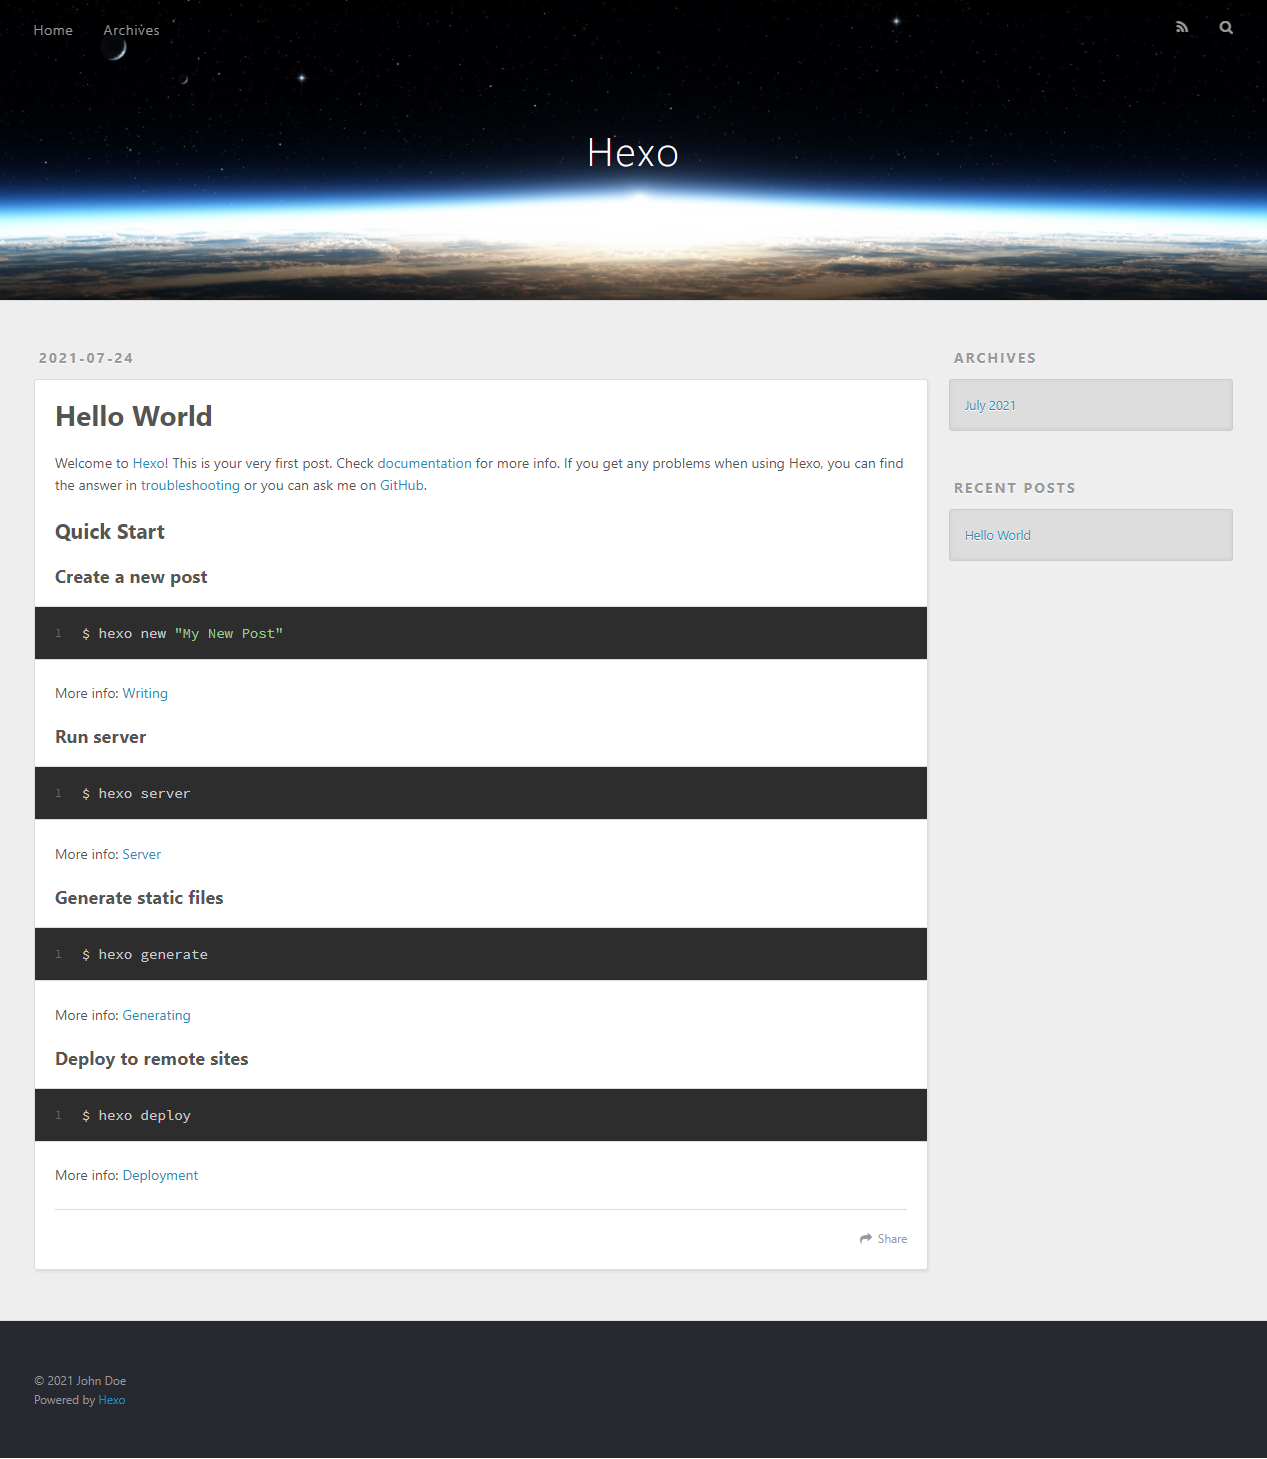 Our blog
I mean, it looks quite cool in my opinion. And it took less than 5 minutes to make!
Customizing our blog
Our blog looks cool, but it’s not perfect. Let’s customize it a bit to make it ready to deploy.
Open the _config.yml file. This file contains all the data of your blog. You can change stuff like title , author and more to anything you want!
After customizing our blog configuration, we can install a better-looking theme to make our blog even cooler.
Note
Installing a theme is totally optional. If you like the default theme, feel free to use it.
There is a pretty cool theme called Quite. I like it, so I will be showing you how to use it in your project.
You can see all available themes at https://hexo.io/themes. And their installation process is usually the same. Make sure to read the instructions of the theme you are installing properly.
Installing a theme
Installing a theme is actually pretty simple. You just have to clone the theme you want to the themes/folder and add it to your _config.yml file.
git clone cd themesgit clone https://github.com/QiaoBug/hexo-theme-quiet.git
This command will install the theme to the themes folder.
After installing the theme, go to your _config.yml file and add this line under the Extensions part of the file.
theme: hexo-theme-quiet
And voilà, now you have a beautiful theme installed!
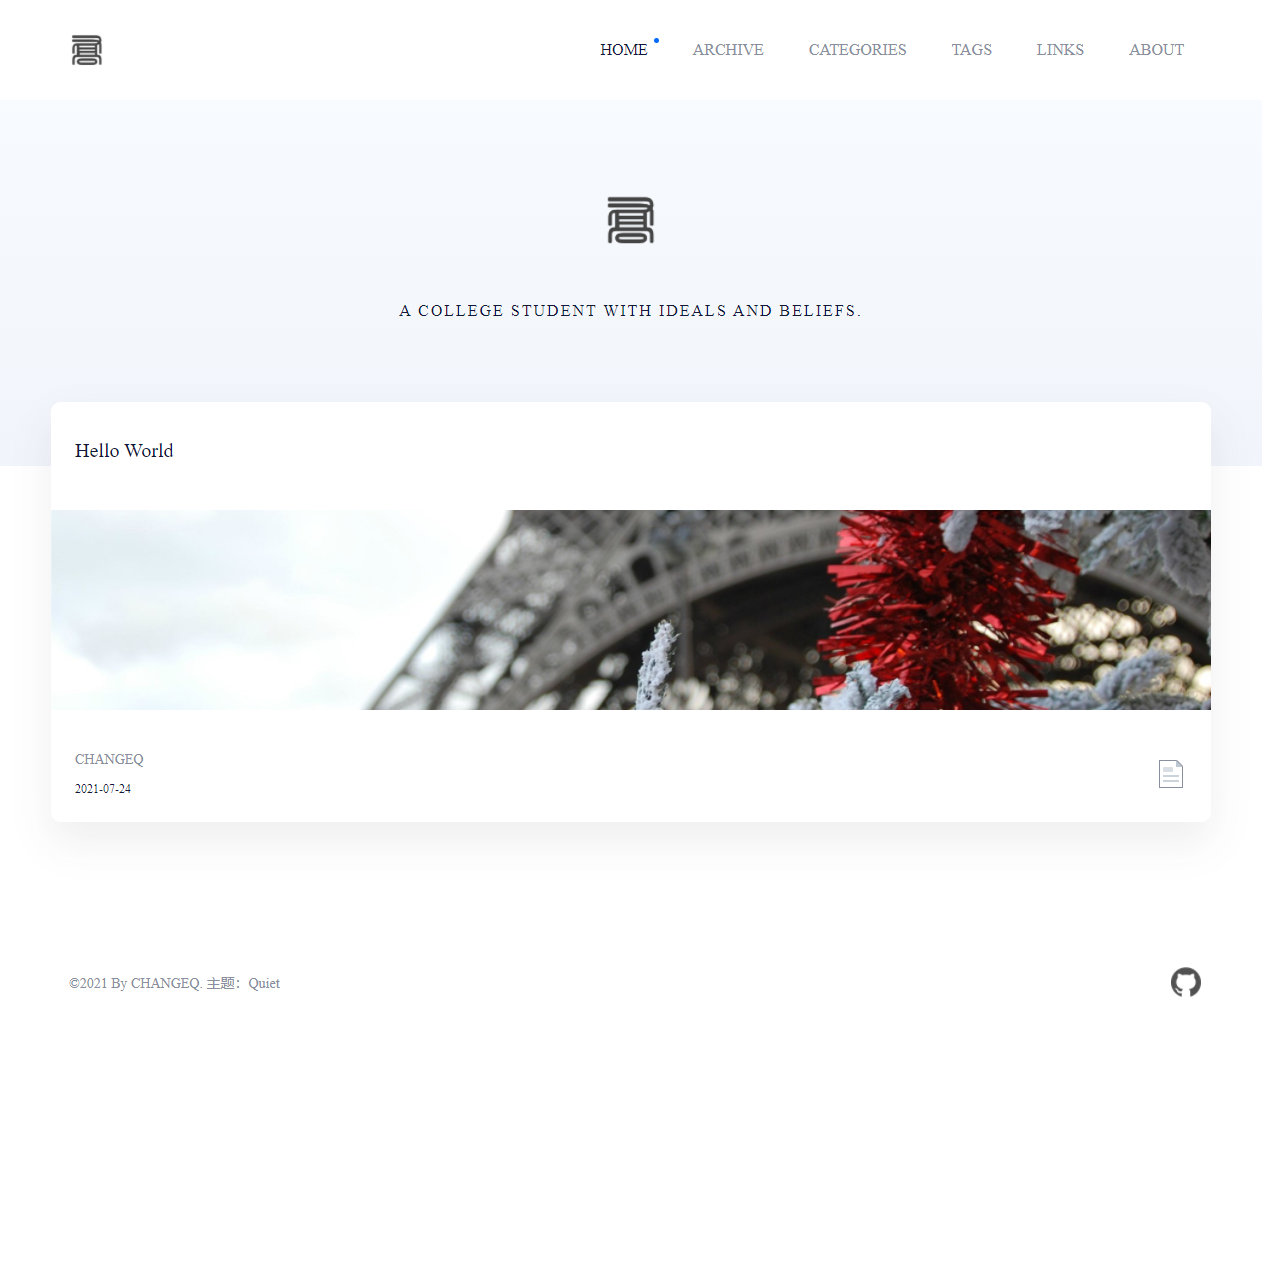 Our blog with the new theme installed
Note: A lot of configuration data will be changed because of the theme. But don’t worry. Just go to the _config.yml in the themes/hexo-theme-quiet folder and edit it however you want.
Conclusion
I really like Hexo, and really recommend trying it out.
I hope this story helped you and you’ve learned something new about Hexo.


![Toni Kroos là ai? [ sự thật về tiểu sử đầy đủ Toni Kroos ]](https://evbn.org/wp-content/uploads/New-Project-6635-1671934592.jpg)


