
9 Cupcake Decorating Tips (plus Vanilla Buttercream Recipe!)
Cupcakes: the original individual dessert. Easy to make, absolutely delicious and limitless flavours: there’s something for everyone when it comes to cupcakes! But how to you get the icing in the bag? How do you keep it from coming out the other end? Read on for my top 9 cupcake decorating tips!

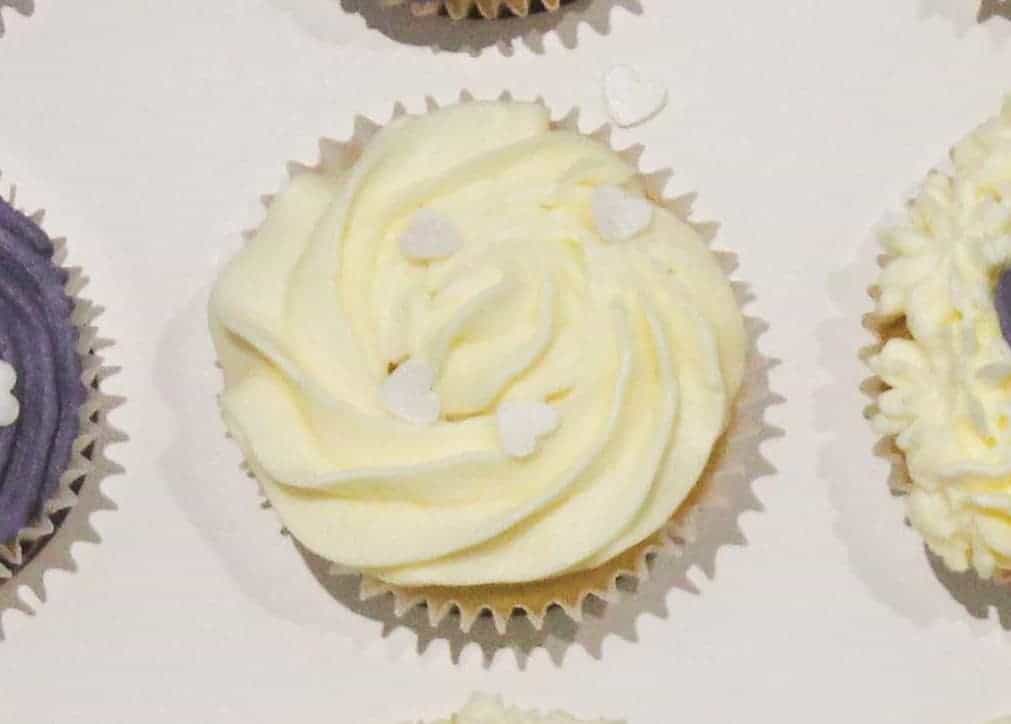
Is there anything as cute as a perfectly decorated cupcake? I don’t think so! But how do you get to that point, where the cupcakes look neat and adorable? Like everything, setting up properly before you begin piping is key. Here’s how to do that!
9 Cupcake Decorating Tips
Hack 1: Stop the icing coming out of the tip when filling.
Once your nozzle is secured in your piping bag, push some of your piping bag into the nozzle before adding icing. This will create a block in the tip so the icing doesn’t come out until later when you squeeze the bag.
Hack 2: Add Icing with bag over cup.
After securing your nozzle into your piping bag, put it in a cup and fold about half of the bag opening over the cup, then add the icing.


Hack 3: Wrap Icing in cling film before adding to bag for easier clean up!
Lay a piece of cling film on your counter, about 8”-10” long. Place some icing in the centre with a spatula. Fold over cling film edges to enclose icing in the wrap. Tie off one end. Insert into piping bag.
Hack 4: Secure the bag with an elastic band.
Pro bakers and cake decorators make just twisting the end go the bag and piping look so effortless, but if you want to make things easier twist the piping bag and secured the end with an elastic band – much easier!
Hack 5: Which hand to use?
Use your dominant hand to hold and squeeze the piping bag. Use your other hand to guide the cupcake.
Hack 6: Move the cupcake when decorating – not your body!
You’d think this would be obvious but I had to learn the hard way! Use your non-dominant hand to rotate your cupcake when decorating.
Hack 7: Use a coupler!
What is a coupler? A coupler is a device (which looks a bit like a piping tip) which you insert into your piping bag. Then you can secure the tip you’re using over the bag and coupler, and easily change nozzles without having to get messy!
Hack 8: Don’t over fill!
A little goes a long way when piping! Be careful that you don’t overfill the bag. It will come out the wrong end. It’s also easier on your piping hand – too much icing in the bag is harder to control and will make your hand tired.
Hack 9: Practice makes perfect!
My final and most important cupcake decorating tip. Before piping onto the cupcake, practice your piping on a chopping board. This will help you warm up and grasp a feel for how much pressure to use on the piping bag.
How to store Cupcakes
- Cooked, cooled completely, but not iced: 3-4 days in an airtight container at room temperature. Frost within 2 days for best results.
- Iced Cupcakes: 3-4 days in an airtight container at room temperature. The fridge will dry them out.
- Icing: Store in an air tight container in the fridge. Use within 24 hours.
- Freezing, unfrosted: Wrap individually in cling film. Place in an airtight container or airtight freezer bag. Use within 3 months.
- Can you freeze iced cupcakes? Yes! First, place your iced cupcakes on a plate, and place in the freezer for about an hour or two, until the frosting is frozen. Then wrap individually in cling film and place in a sturdy airtight container. Use within 3 months.
Related Posts:
Have you made this recipe? I’d love to know! Share it with me on Instagram, Facebook, Pinterest, or leave a star rating below!

How to Make Fluffy Buttercream Frosting
A quick and easy Vanilla Buttercream recipe – perfect for cake and cupcake decorating!
Pin
Prep Time:
10
minutes
Total Time:
10
minutes
Servings:
6
” cake
Equipment
-
▢
mixing bowl
-
▢
Electric Hand Mixer
-
▢
Spoon or Spatula
Ingredients
-
▢
350
g
unsalted butter
room temperature
-
▢
650
g
Icing sugar
sifted
-
▢
1.5
tsp
vanilla essence
-
▢
4
tbsp
double cream
Instructions
-
Add butter to a large bowl and whisk on a low speed for 1 minute. Then add half of the icing sugar and whisk on a medium speed for 3 minutes.
-
Add the remaining icing sugar, vanilla essence, and double cream. Whisk for 3-5 minutes or until spreadable.
-
Use as desired!
Video
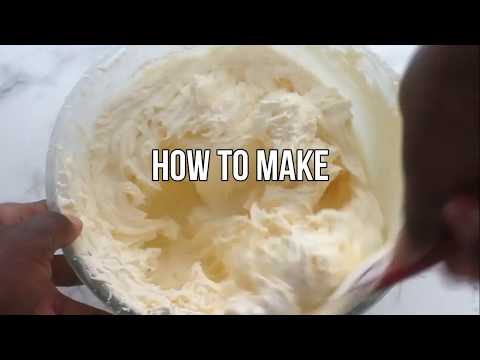
Watch this video on YouTube
Notes
*amount added depends on how bold you’d like it to be – more food colouring will make the colour darker. If it’s too dark, add more buttercream.
[embedyt] https://youtu.be/STTPyt5Wvcc[/embedyt]


![Toni Kroos là ai? [ sự thật về tiểu sử đầy đủ Toni Kroos ]](https://evbn.org/wp-content/uploads/New-Project-6635-1671934592.jpg)


