
$50 Easy DIY Walkway Idea
This post may contain affiliate links, which means I may receive a small commission if you make a purchase after clicking on my links. All opinions are my own.
Here is a low-budget and easy DIY walkway idea – I’m proud to say that I did it all myself!

I wanted a new walkway for the front of my house that I could do 100% myself.
I didn’t want to mess with pouring concrete so I decided on a stepping stone (aka paver) and gravel approach instead.
Here’s how our walkway looked when it was complete. I’ve gotten so many compliments on it already!
Here’s how I removed the broken old concrete walkway in the front of our house and replaced it with this lovely stepping stone and pea gravel walkway.
Mục Lục
Remove The Old Walkway & Prep

The first owners of our house use landscaping timbers as a form and poured a concrete walkway in the front of the house.
Over time (and with delivery trucks driving over it again and again) the concrete cracked and was coming up in pieces.
First I used a sledgehammer to break up the old concrete even more into manageable pieces.
I was amazing at how easy it was to break it up (my first time using a sledgehammer).
Then we threw the pieces into the back of my husband’s truck and hauled it off to the dump.
I then used a garden rake to remove any large rocks and get a relatively smooth dirt layer for the new walkway.
It doesn’t have to be perfectly level since you’ll use leveling sand but get it as level as you can in this step. This will save you time and money later!
Measure To Determine How Many Stones To Buy
If you are laying out a new walkway then you can plan around the size of the stepping stones.
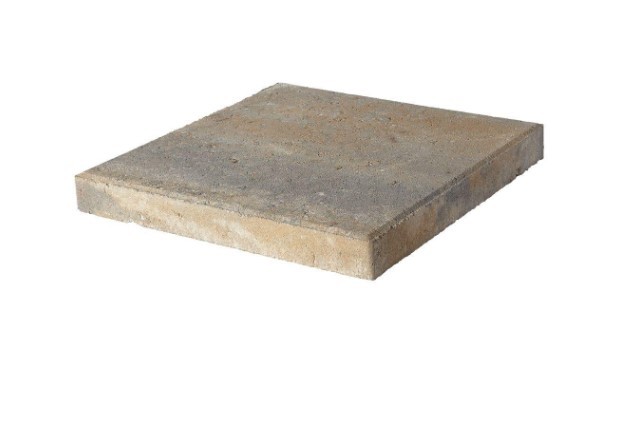
I used these cheap 16 inch x 16 inch Pavestone Stepping Stones for my project.
Laid down two at a time they are the perfect width for a walkway.
We had the space for five rows but you could make it shorter or longer as needed.
Lay Down a Weed Barrier
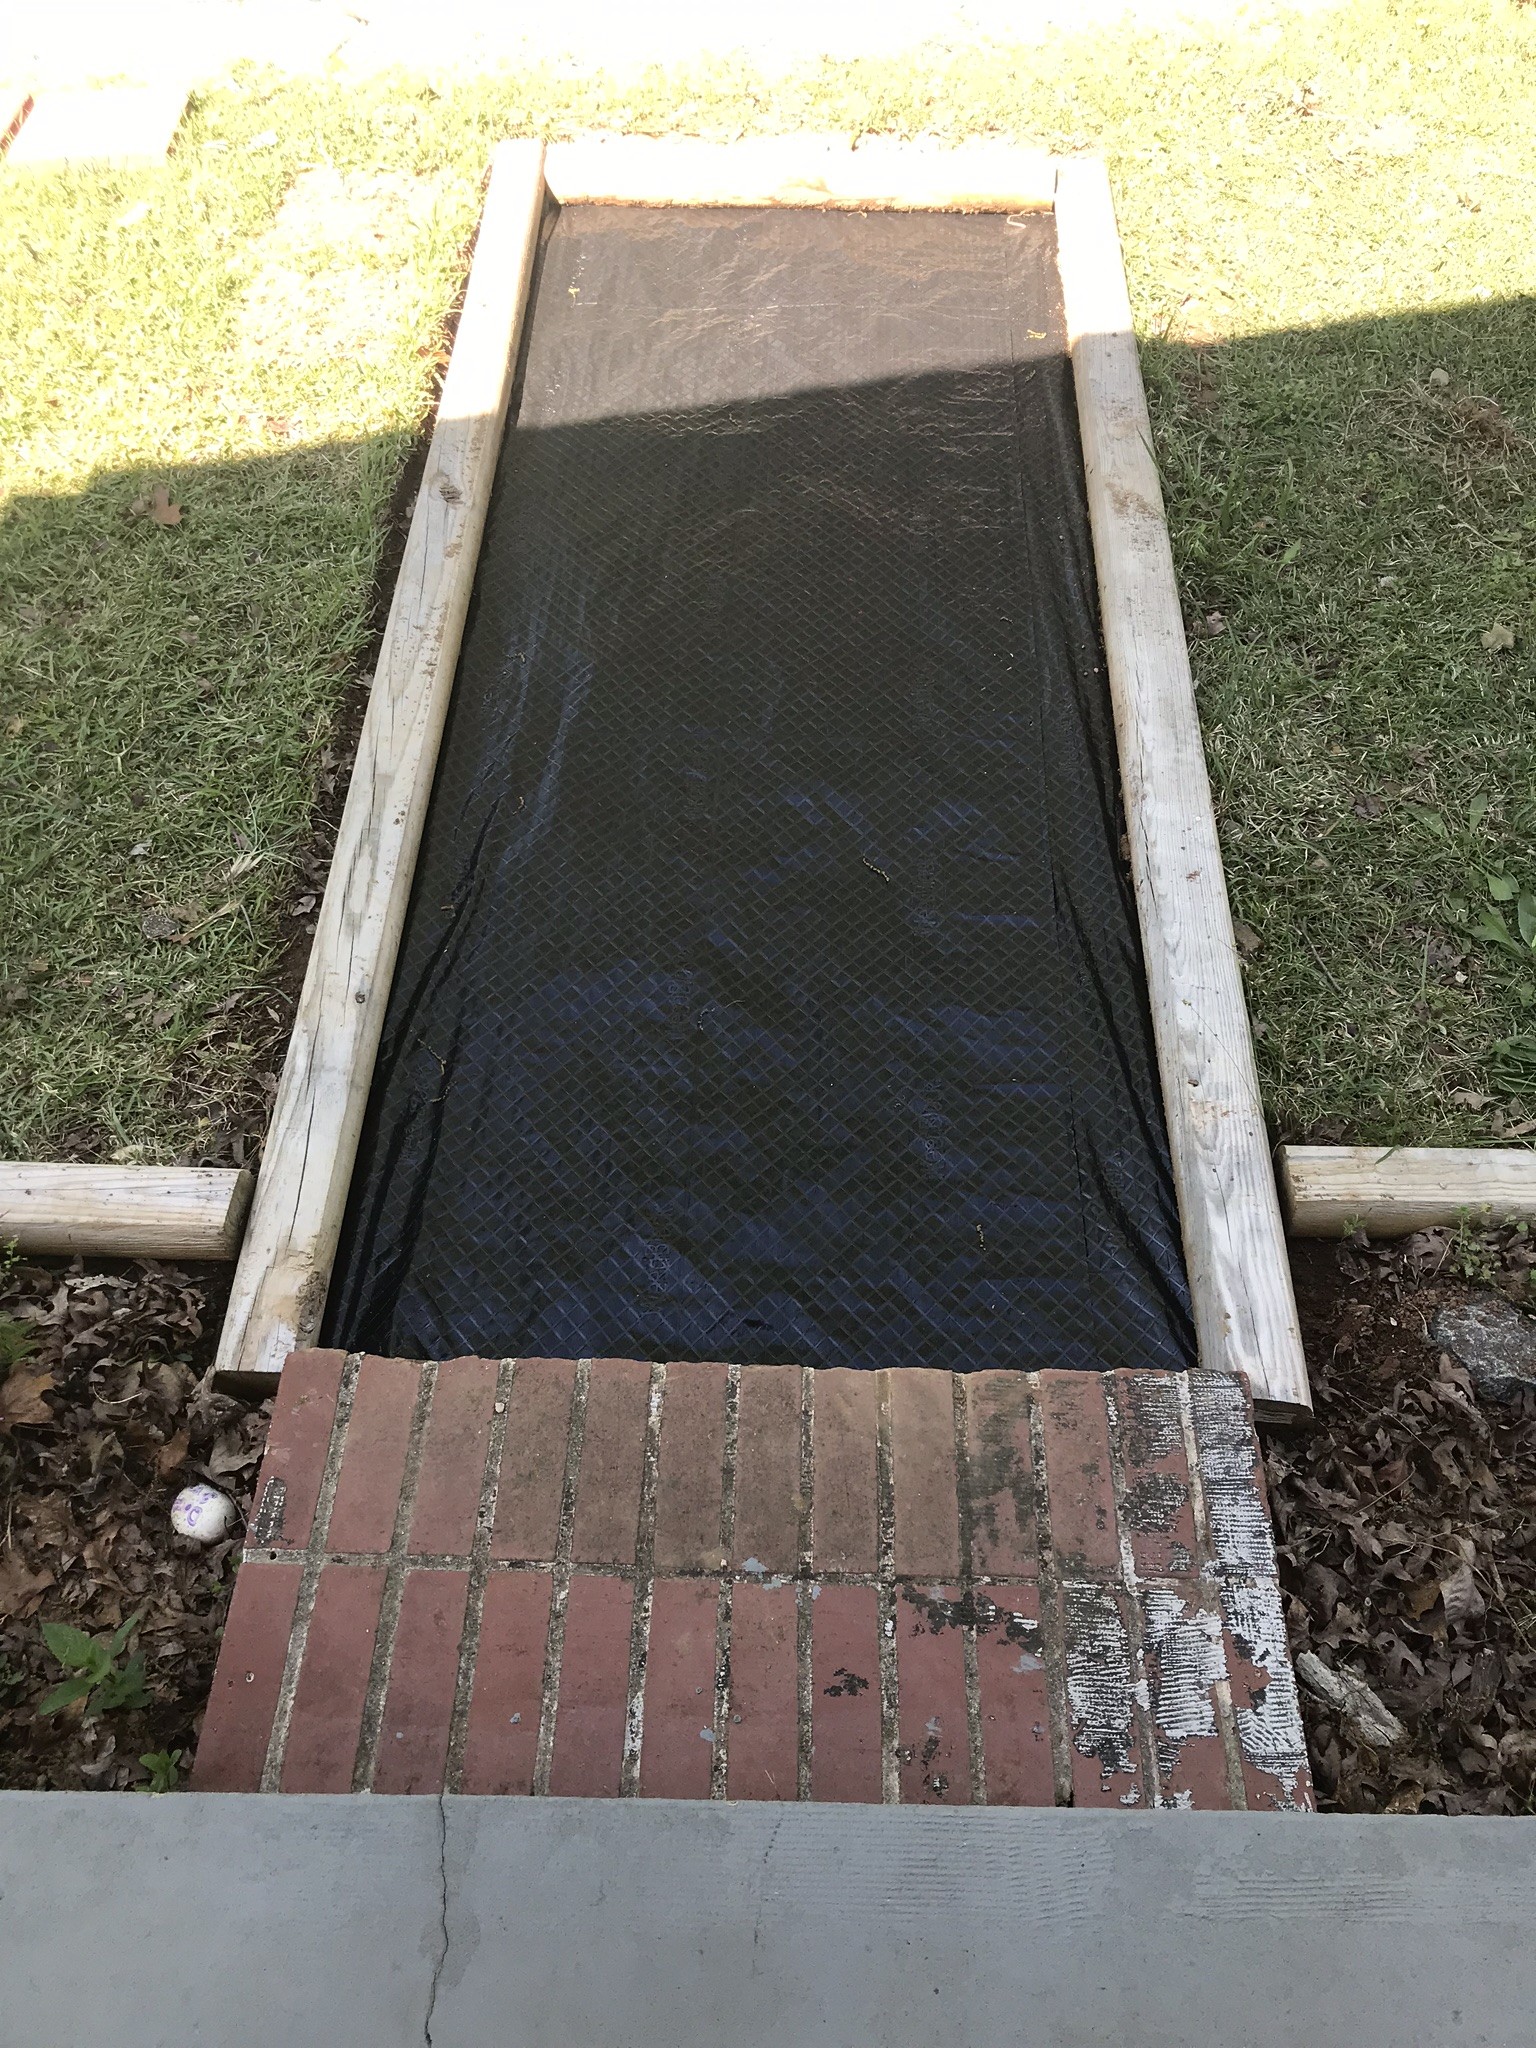
The next step was to put down some weed fabric to make sure I never had to pull weeds out from between the stepping stones and gravel.
I made sure it went underneath the landscaping timbers and secured it with fabric staples.
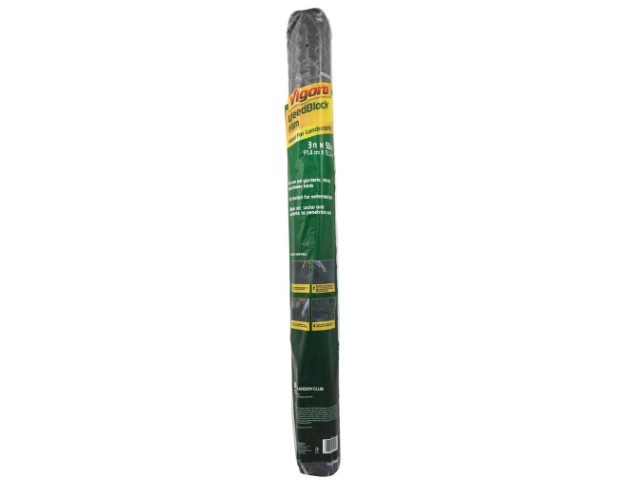
Here is the weed fabric I used for the project which is very affordable at Home Depot.
If you have any small pieces of weed fabric left over from your garden you can absolutely use those!
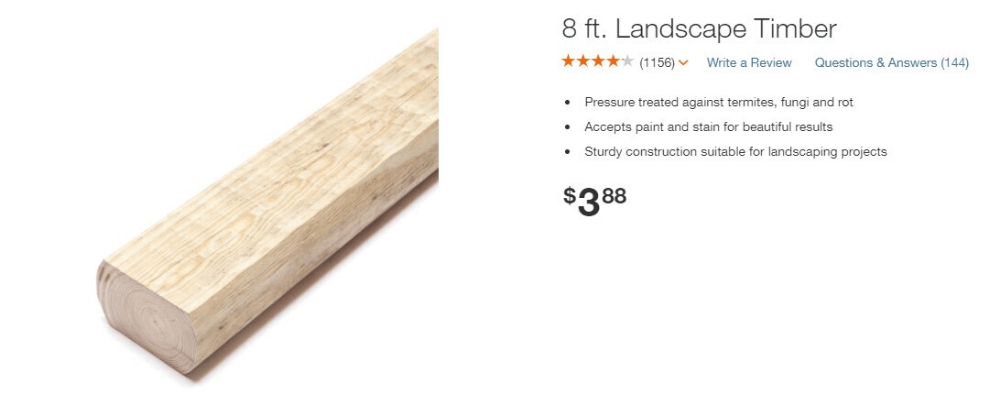
We already had the landscape timbers in place for this project.
But if you need a form for your walkway,these landscape timbers from Home Depot are surprisingly cheap!
Easy DIY Walkway: Level The Area With Sand
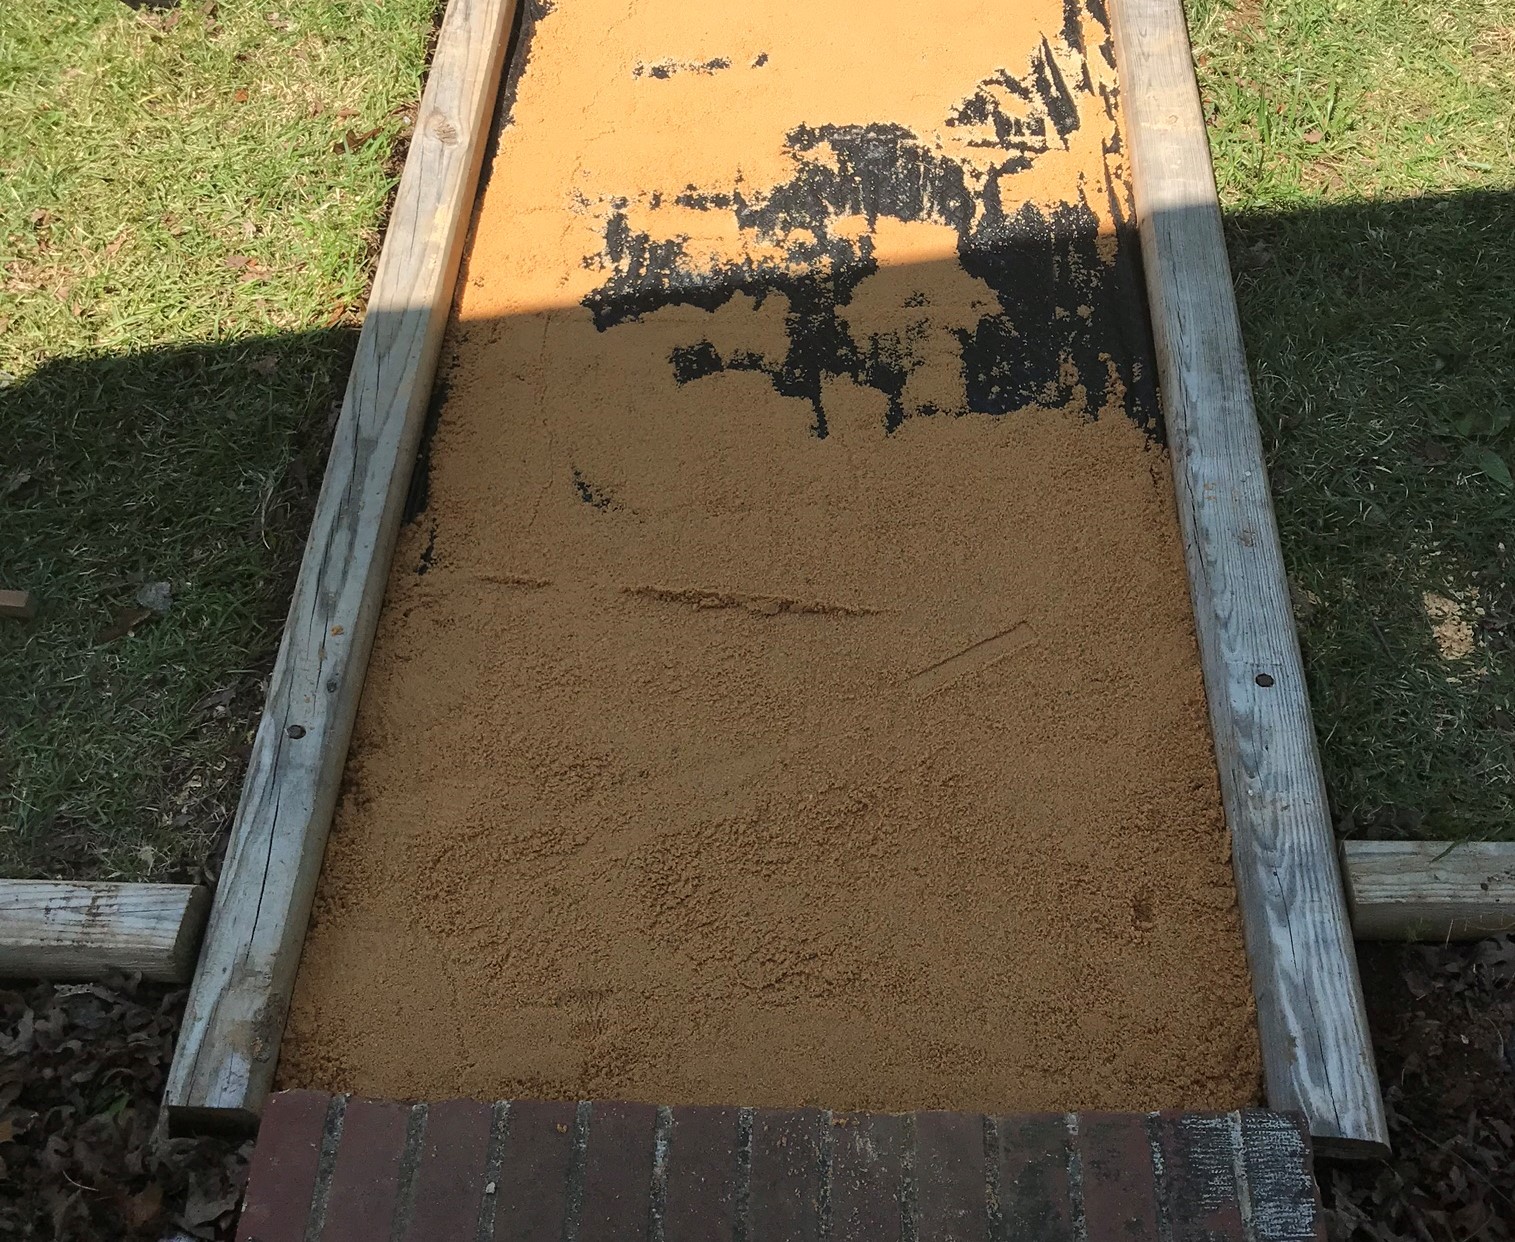
Next I put down a bag of leveling sand and used it to create a flat surface for setting down the stones.
This is an important step so the stones don’t end up wobbly and unsafe to walk on!
You may need more than one bag depending on how uneven your surface is.
Use a piece of wood or level and drag it along the surface to make it flat.
If there are craters fill them in with sand and drag your level across again until no more craters appear.
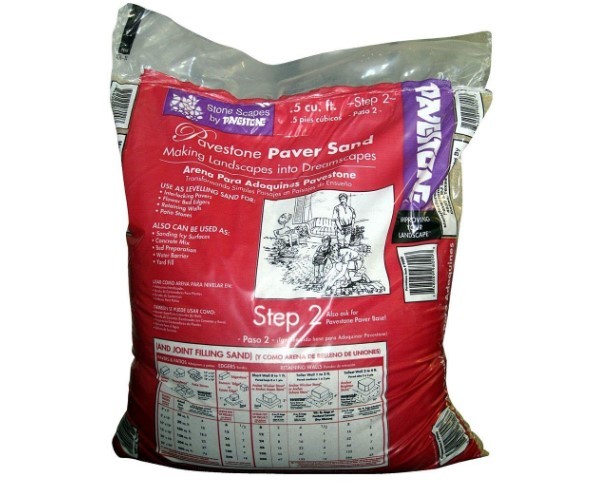
Be sure to use this cheap paver leveling sand as opposed to more expensive play sand!
Lay Out Your Stepping Stones
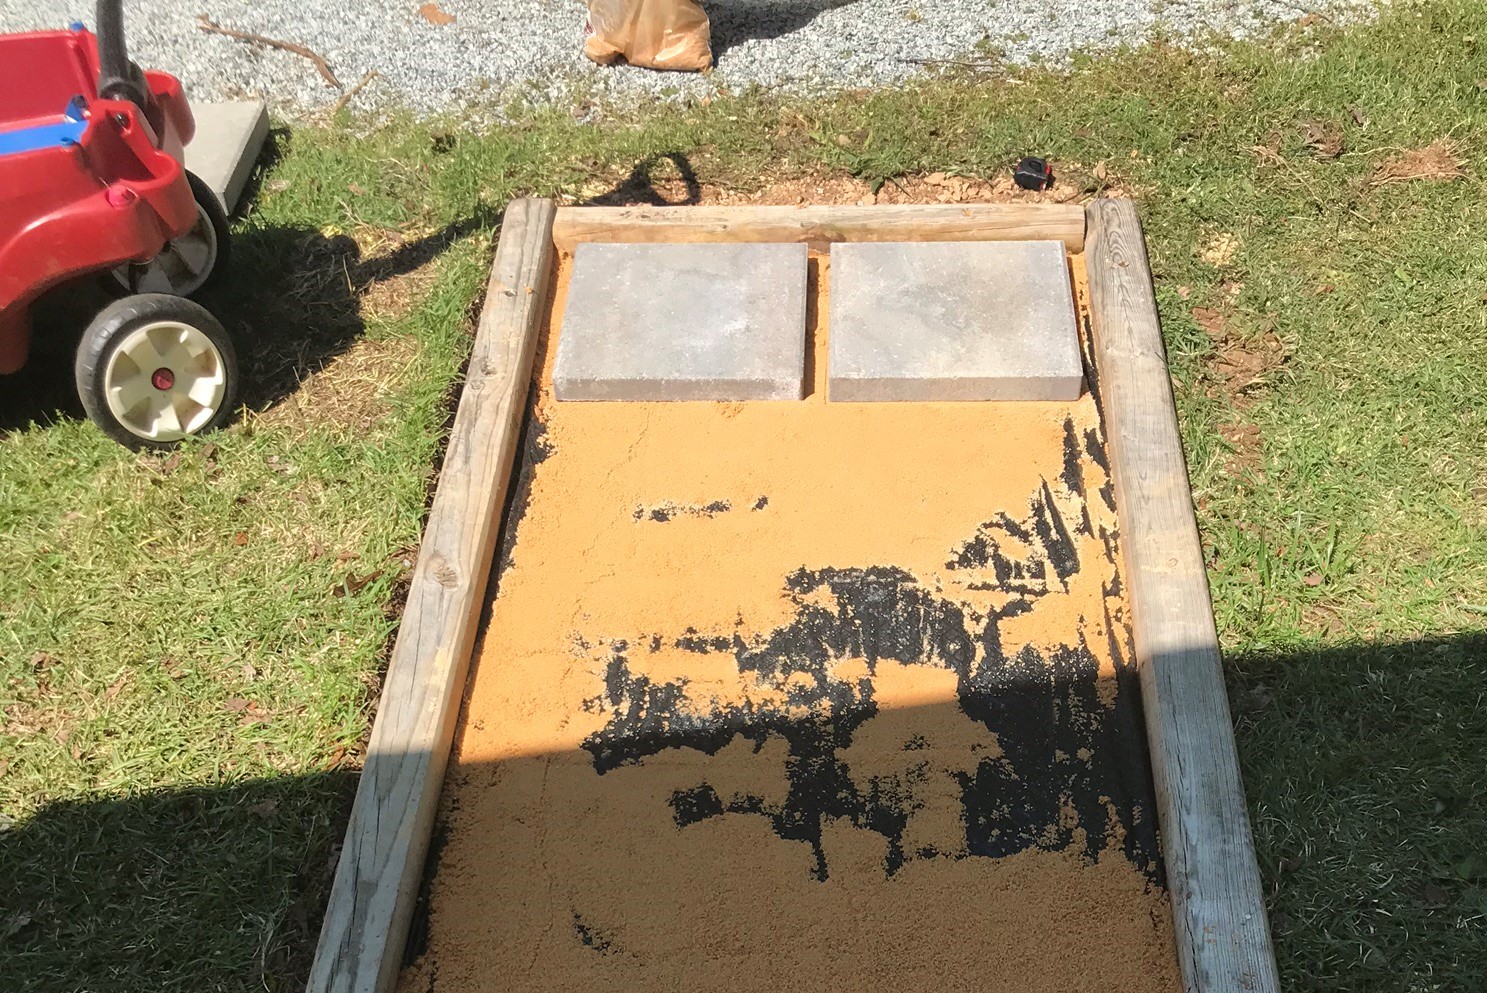
Next lay your stone out exactly where you want them. I left about 2 inches of space around each one.
Once you put the gravel in there is no moving them around!
Test them for levelness by stepping on them and making sure they don’t wobble or shift at all.
Distribute Gravel Around Pavers
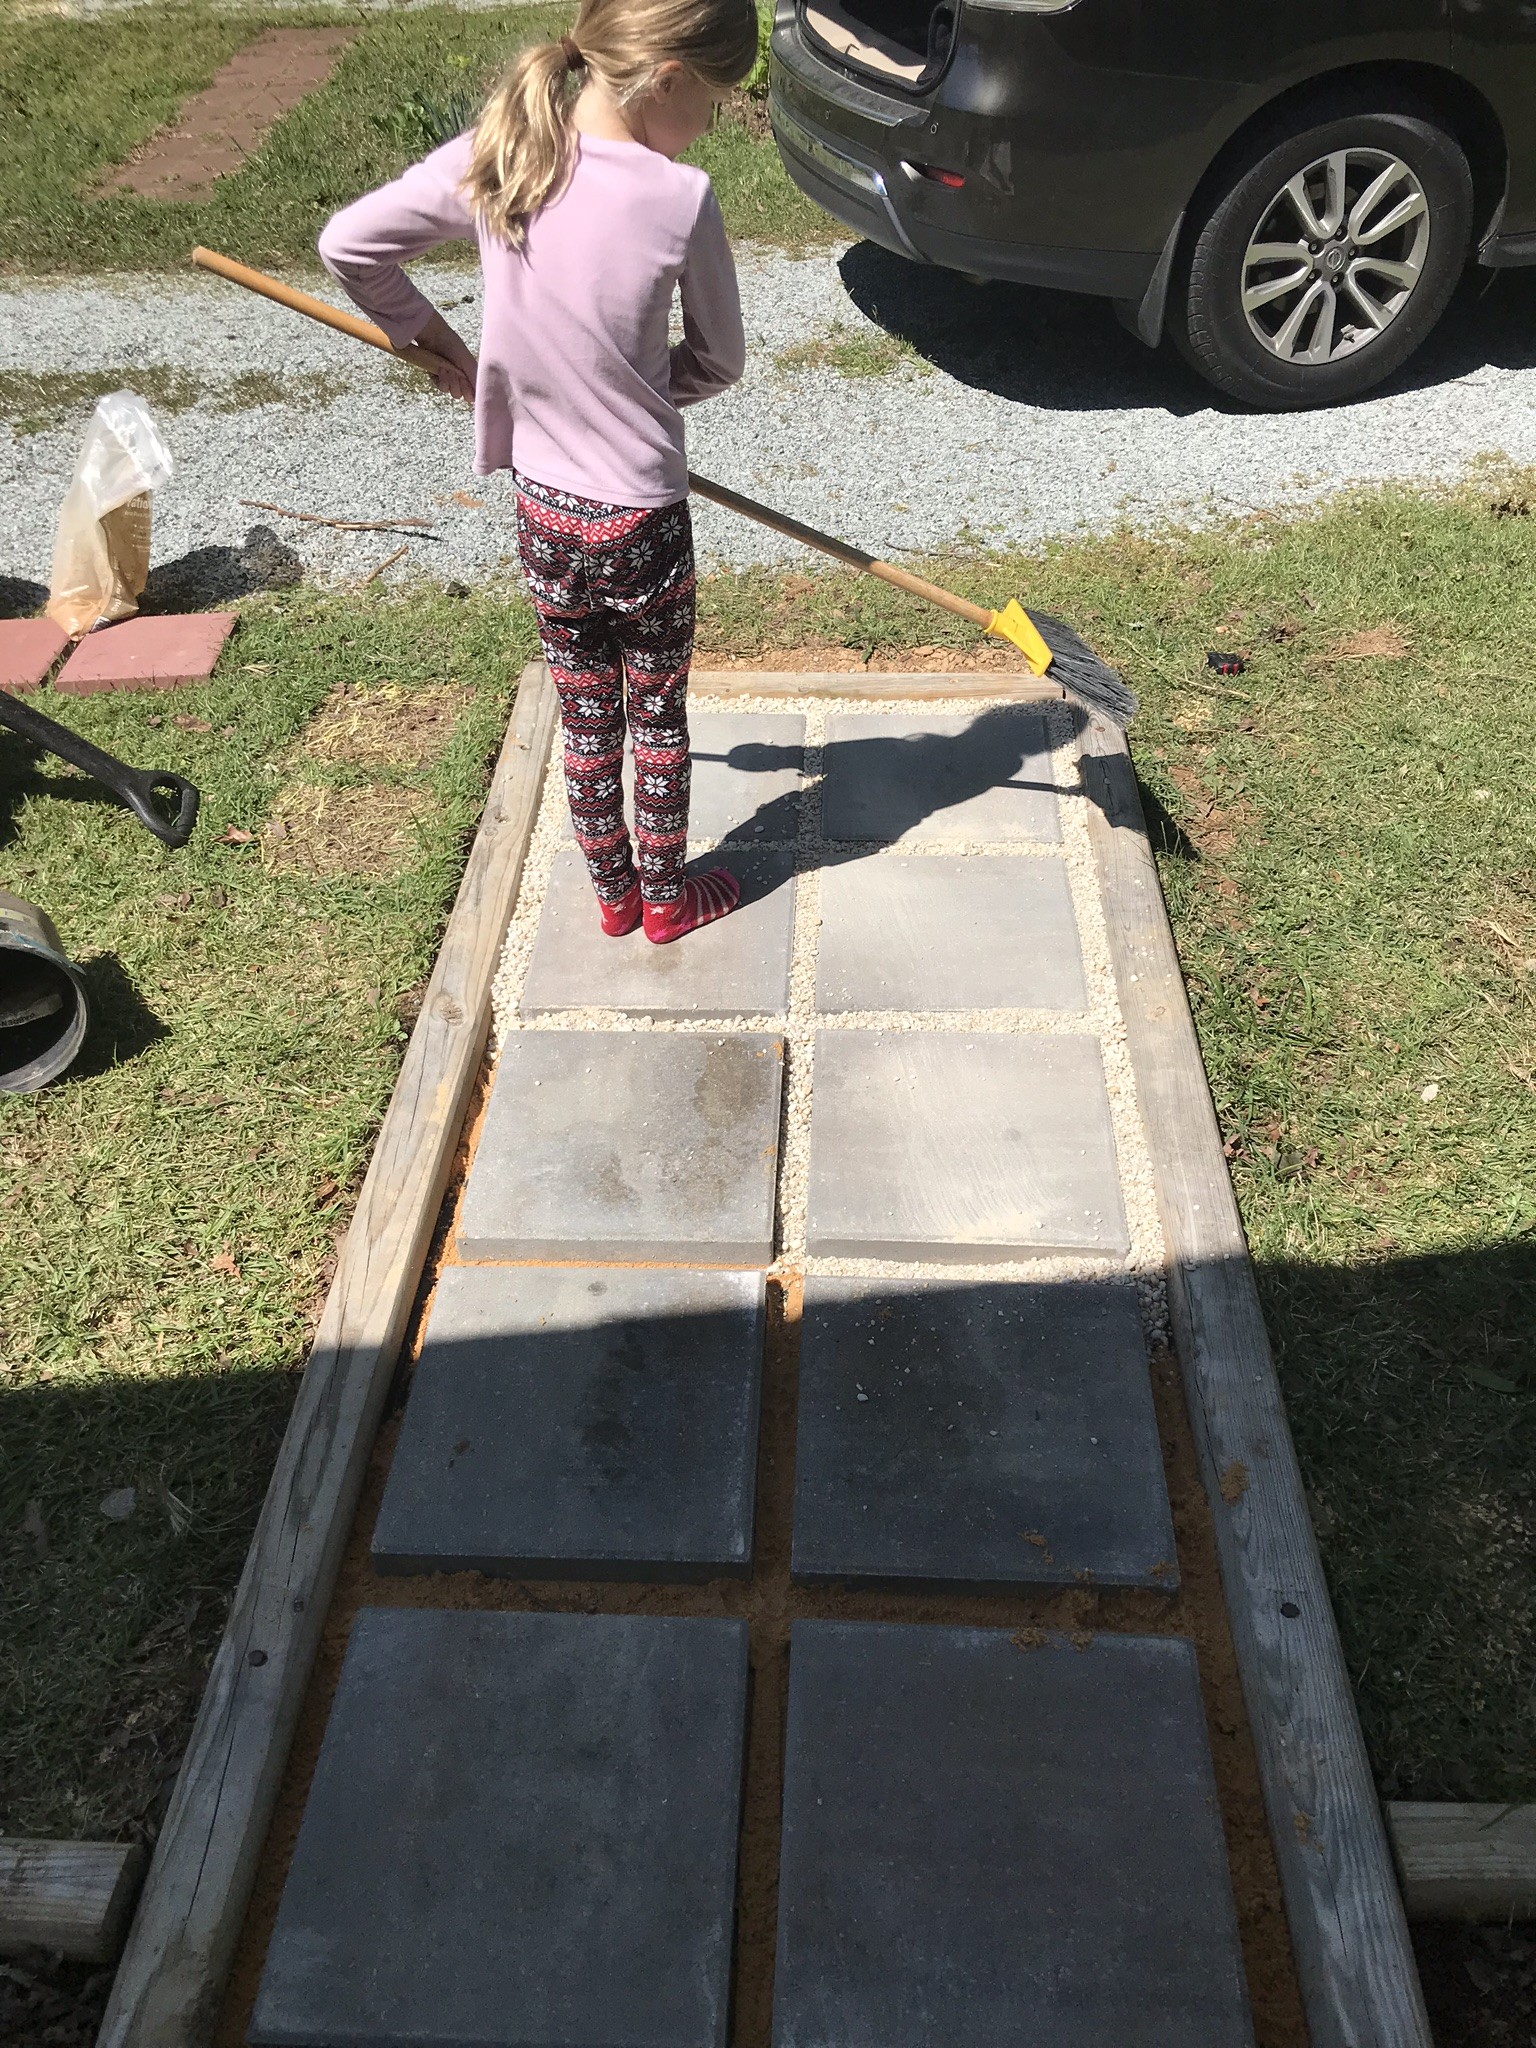
Now comes the most fun part of this project – spreading the gravel out.
To put the gravel down I dumped little piles on each stone.
Then my daughter used a broom to brush them into the spaces between the stones.
When we needed more to fill in the spaces I just dumped more on the stone and let her broom it in.
I did help a bit since it was a very zen experience which I needed a this point!
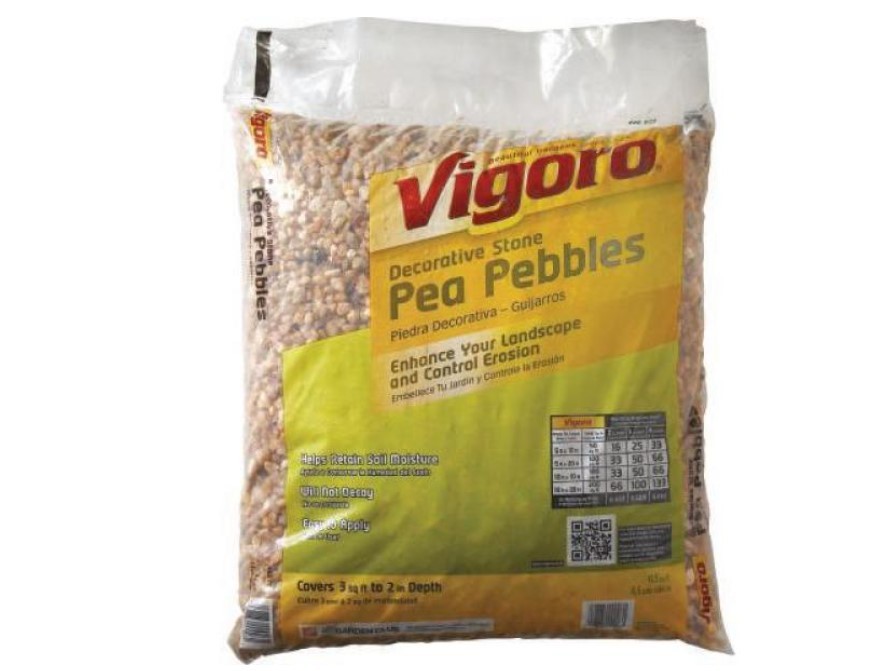
We used two bags of this pea gravel from Home Depot.
It may look dark or muddy in the bag but it will look great after you hose it down.
Easy DIY Walkway Cost Breakdown
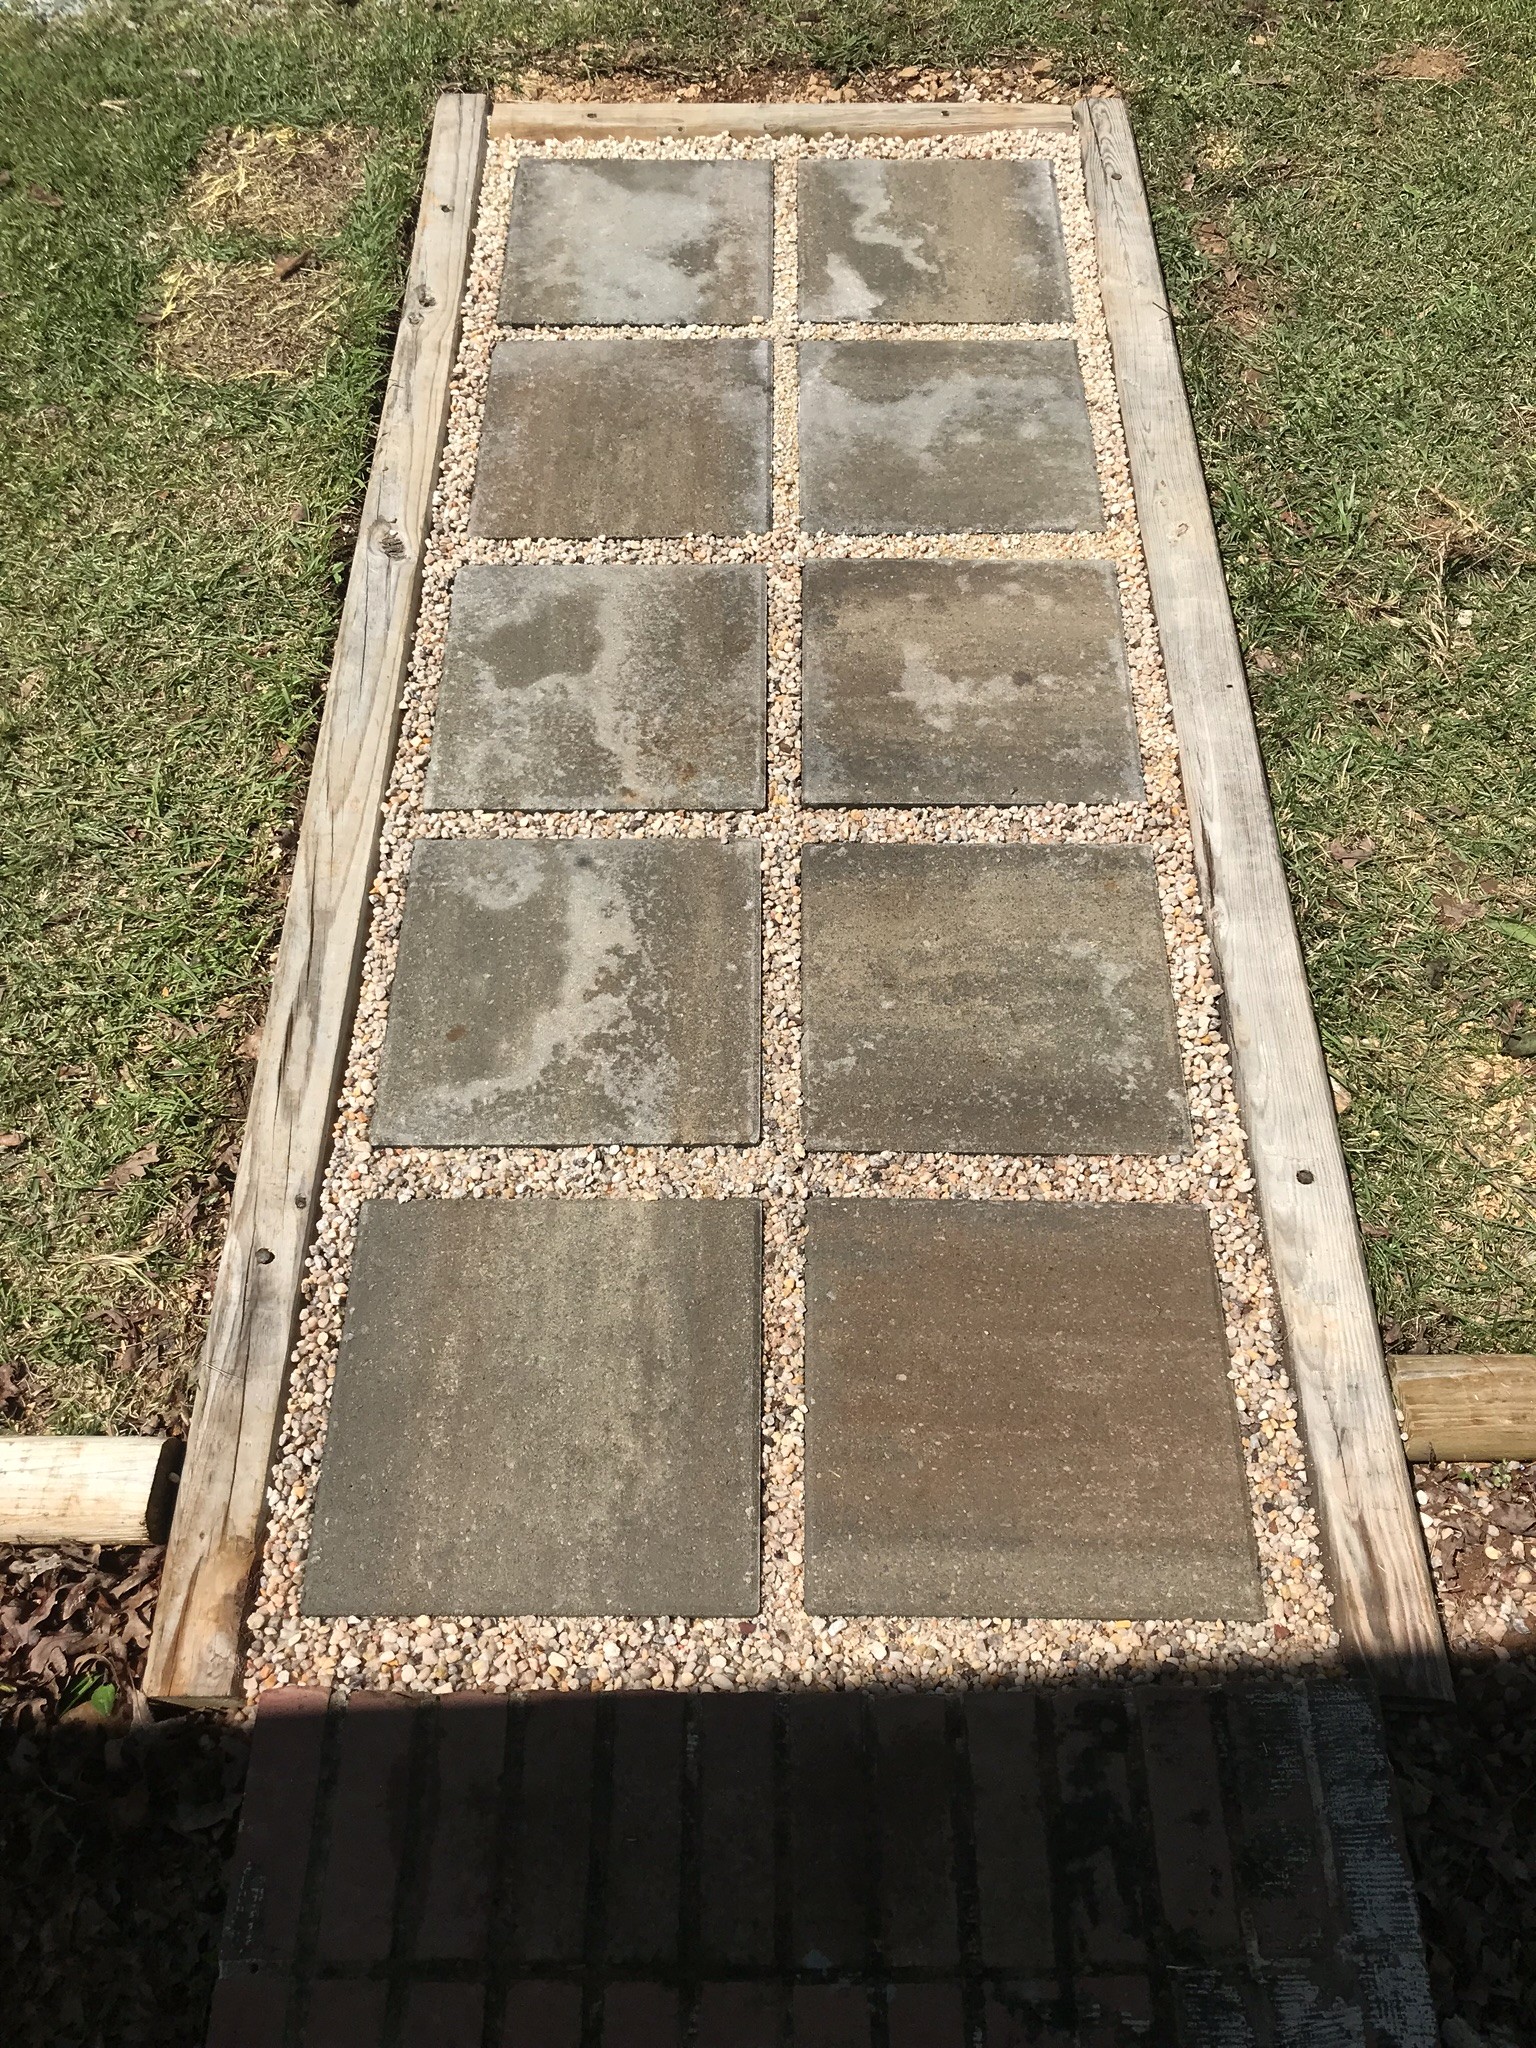
And here is the completed project! I was so happy with how it turned out and so far it is holding up well.
The only maintenance I’ve had to do is adding a bit more gravel where some sank beneath the landscaping timber in one section.
Here is a cost breakdown for this project (prices without tax):
- Ten stepping stones: $38.90
- One bag of leveling sand: $4.38
- Two bags pea gravel: $7.36
- Landscaping weed fabric: $12.98
- Three landscaping timbers: $11.64
Since we already had the weed fabric and landscaping timbers for this project our out-of-pocket cost was $50.24.
If you need all of the supplies for this project is will cost about $75.
Plus I love that if the delivery truck drives over a stone and breaks it all I have to do is replace that one stone.
It’s not free but it is a LOT cheap than hiring someone to pour a concrete walkway for you!
And it has so much more character than a concrete walkway, don’t you think?
Any questions about this cheap and easy DIY walkway idea?
Please leave a comment below or send me a message on The Frugal South Facebook page.
Here are some other easy DIY projects you may like:


![Toni Kroos là ai? [ sự thật về tiểu sử đầy đủ Toni Kroos ]](https://evbn.org/wp-content/uploads/New-Project-6635-1671934592.jpg)


