13 DIY Server Rack Plans – How To Build A Server Shelf
Making a server rack doesn’t require a higher level of experience or professionalism, all you need to do is to understand the concept of the rack, gather the necessary tools and materials and start building following a guide.
Talking about guides, we have included 13 DIY server rack plans in this article, feel free to choose anyone that seems appealing and start building. There’s no need to spend so much money on a server rack when you can build one yourself.
1. DIY Soundproof Server Cabinet
To make this amazing soundproof server cabinet the first step is to take care of the noise coming from the fan with the following methods; through the software, the firmware, or by replacing the fan with near silence equal size of a 6’×25s.
2. DIY Home Server Rack Build
The first step here is to build the assembly for the rack using the guide provided in the server racks bought with screws and drills. After the assembly, attach the horizontal panels which will hold the server and you’re good to go.
3. DIY Plywood Server Rack
This is made from plywood, screws, pocket hole jig, tape measure, compound miter saw, and table saw. Start by cutting the pieces of plywood needed then assemble the two side pieces and hold them together with screws. After this, drill pocket holes on the horizontal pieces then attach them to the side pieces and you’re good to go.
See also: 22 DIY Audio Rack Projects
4. DIY Server Rack Plans
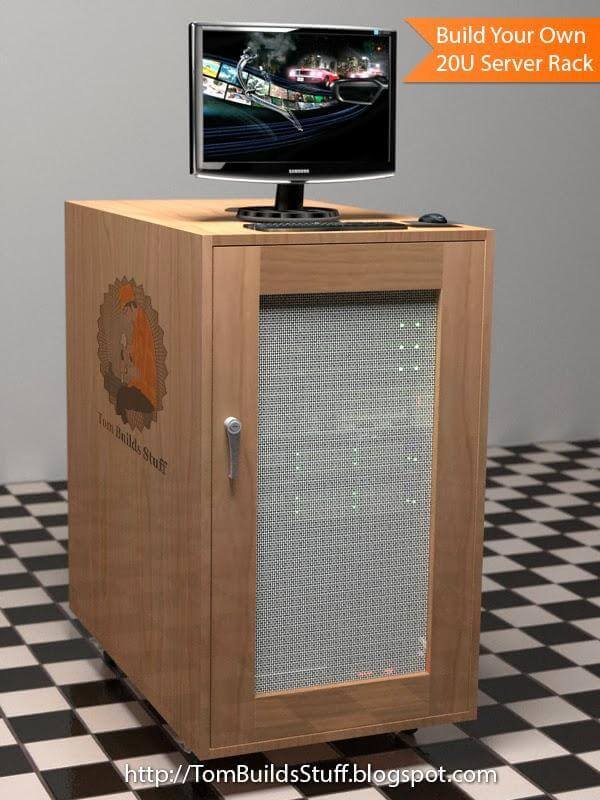
To build this rack, you will need rack rail, 2×4 studs, 1×4 poplar boards, 4×8 sheet of birch plywood, aluminum window screen, drill, circular saw, pilot hole bits, square, clamps, miter box, plywood edge banding, hardware cloth and 1 roll of filter foam. Start by cutting all the pieces for the rack then attach the side pieces to the rail. After this, attach horizontal width boards. Then, assemble the rack server depth and you’re good to go.
Click for more details
5. The $70 IKEA Mini Server Rack
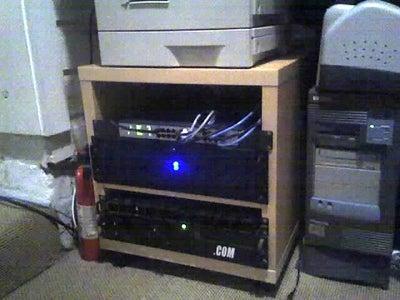
This requires a level of experience or a little skill in connection because there is a strong bond between the server and the rack you’re building. The materials used include two corral-bedside tables, metal rails, epoxy, nuts, and bolts.
Start by removing the shelves of the tables and make them into a long tube, then run the rail through the length of the tube. After this, measure and cut the rail to size and assemble the top and bottom of the rack.
Click for more details
6. DIY Server Cabinet
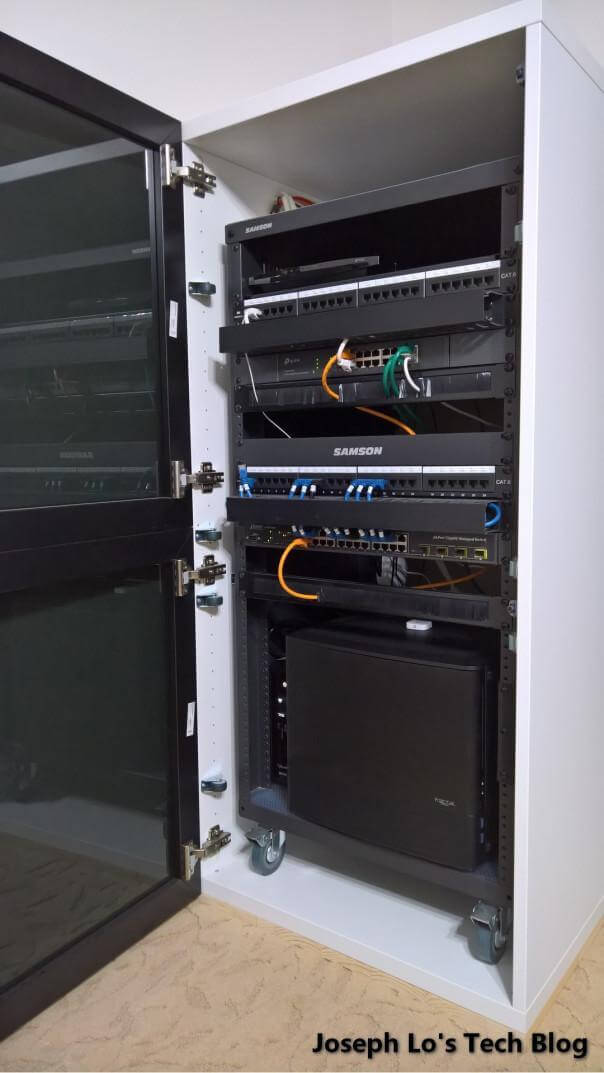
Start by making a plan for what you want to build then gather the materials needed for it. After the plan and the materials are ready, get Stuva and Besta frame, then disassemble them on the pine board. After this, assemble the back pieces and join other parts of the rack together with metal hinges.
Click for more details
7. DIY Home Rack Build
The materials needed for this DIY home server rack include rack studs, cable management, old tiles, zip ties, and a modular patch panel. The modular patch panel is recommended because it doesn’t require punching down keystones as in the case of the traditional panels. It also came with an HDMI extension.
8. DIY Server Rack Build
This is made from plywood, wood, screws, tape measure, chisel, and hammer. Start by cutting the necessary pieces needed for the project then assemble the top is the rack and attach the legs to it. After this, make the rack sit upright and make holes on each of the legs. Make another table and attach it to the rack.
9. DIY Data Cabinet
This is made from an old refrigerator. It is very easy and inexpensive since you’re not buying anything. All you have to do is to disassemble the refrigerator; remove the back panel and the wiring around the refrigerator. Then remove the door and the feet, and you have your server rack ready.
10. How To Build A Server Rack
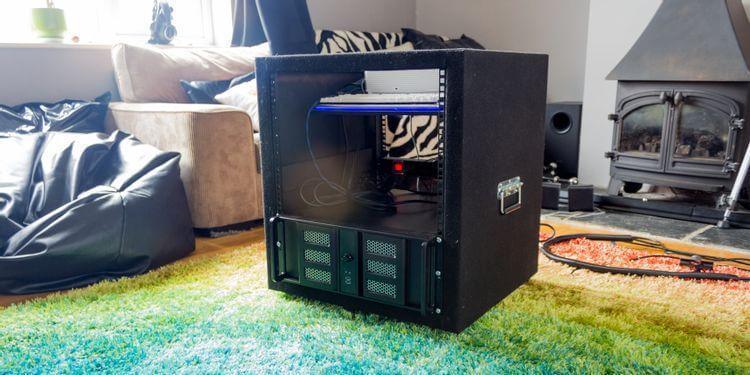
The first step in building this is to determine the basic design you want for your rack, after gathering the materials and start constructing. The materials used include a jigsaw, MDF, rack rails, Kreg jig, and screws.
Click for more details
11. How To Build a 19″ Server Rack
The materials needed for this DIY 19″ server rack include metal rack rails, bolts, nuts, metal brackets, tape measure, aluminum beam, internal angle connector, window seal tape, posts cap, white sheet of plexiglass, and foot bolts.
Start by making a frame for each with the aluminum beam and attach the foot bolts to the vertical beam. Then, place the window seal tape on the Plexi side of the frame. After this, attach other components of the rack and you’re good to go.
Click for more details
12. How To Build Equipment Rack
The materials needed for this include rack rails, half sheets of ¾” plywood, spray paint, and screws. Cut the plywood to 16 inches which is the depth of the cabinet then cut two pieces for the sides. After this, cut the top and bottom of the rack and join the box together with screws and glue. Then, spray paint the box and stand it upright and you’re good to go.
13. DIY Server Rack | IKEA Hack
To make this, get a black table from IKEA and assemble the table. While doing this, make sure the legs are lined up straight and are screwed in very well. Then, get a hammer and chisel to make holes at the top of the legs then place another table on it and fit them together snugly and you have your rack ready. It is very simple to set up since it doesn’t require any complex tools.
Conclusion
Server racks are very essential in your house or office if your job is related to tech or required lots of network connection. All the projects listed above are free! If you have any questions or contributions regarding this article, feel free to use the comments section below, we respond almost immediately.
Rate this post
Pin
42
42
Shares


![Toni Kroos là ai? [ sự thật về tiểu sử đầy đủ Toni Kroos ]](https://evbn.org/wp-content/uploads/New-Project-6635-1671934592.jpg)


