10 Easy Steps to Create an Instagram Business Account
Instagram gives lots of opportunities for boutiques like yours to get discovered and sell products through the app. However, it can be hard to know where to get started with it.
In this article, we’ll discuss the considerations and requirements you’ll need to begin. Then we will show you how to create the perfect Instagram business account with step-by-step instructions. Let’s jump right in!


Mục Lục
Instagram Business Account or Personal Account – What’s the Difference?
The very first step to getting your boutique set up on Instagram is understanding the difference between a business account and a personal account.
If you’ve ever attempted to create an Instagram account for your business, you might notice that it lacked some pretty essential business features. This is because, by default, accounts created start as personal accounts.
Personal accounts are meant for making posts directed towards family and friends. Business accounts are designed to support business activities that convert Instagram followers into customers.
Take a look at just a few of the most important advantages of business accounts over personal accounts.
-
- View Instagram profile visits, engagement rates, & website clicks.
- Have the ability to run Instagram ads and use the “swipe up” feature.
- Get product tagging abilities needed for Instagram shopping.
- Use it to sell products on Instagram with automated comment selling.
Ready to reap the benefits? Follow these 10 steps!
How to Create An Instagram Business Account

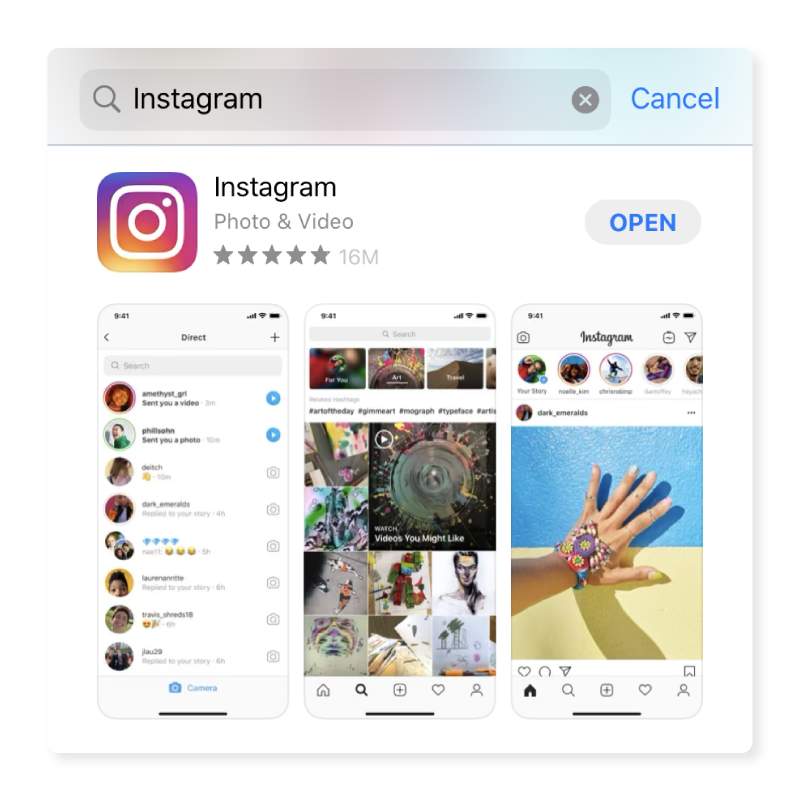
Step 1 – Download the Instagram App
To begin, you’ll need to download the Instagram app on your mobile device.
-
- Download the app for iOS from the App Store.
- Download the app for Android on the Google Play Store.
Step 2 – Create an Account with Your Business Email

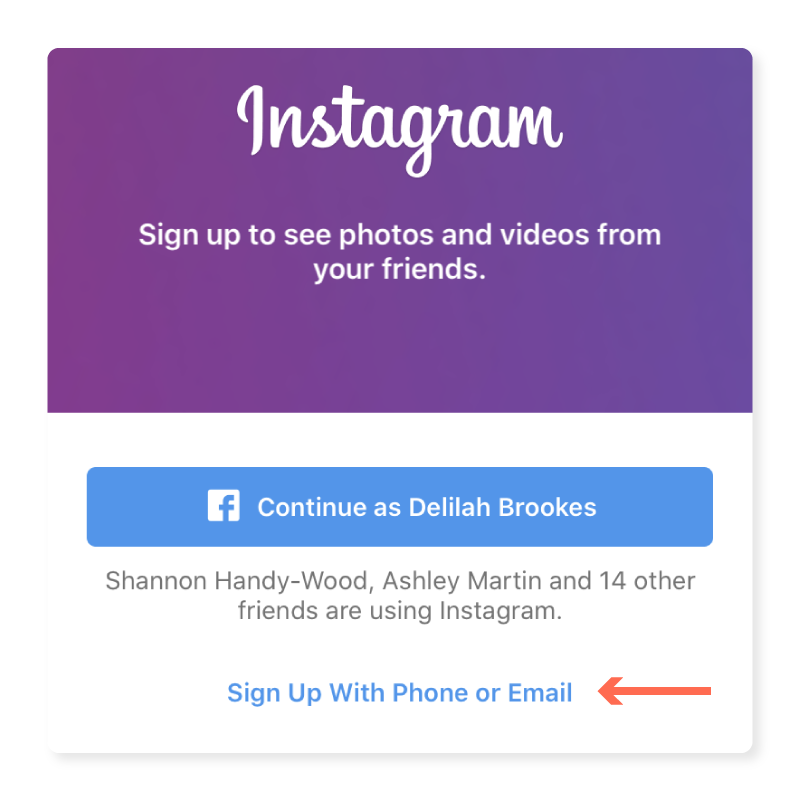
Open the app to enter the Instagram login screen. The first thing it will ask is if you want to sign up for Instagram with your Facebook account or your phone or email. Creating an account using your Facebook profile will carry over your personal information, so use your business’s email address instead.
Click “Sign Up with Phone or Email” and then click “Email”. Enter your email address and click “Next”.

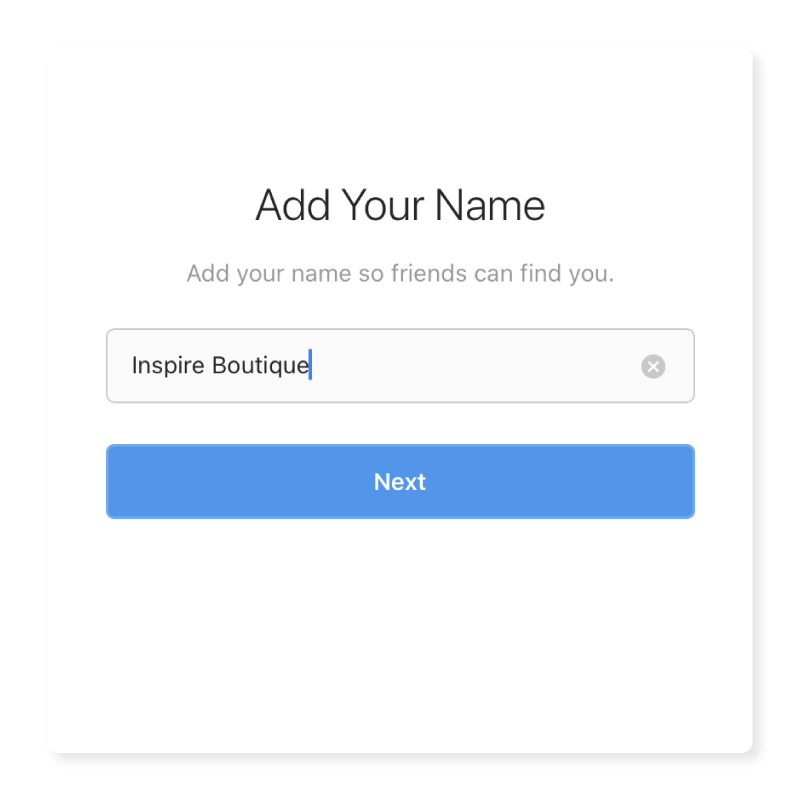
Step 3- Add Basic Profile Details
Now it’s time to fill in some necessary information and set your password. Since you’re making an account for your business, add your boutique’s name under “Add Your Name”.
Click “Next” and create a password. Click “Next” again, and then add a birthday. This information is mandatory, but it is not public. Click “Next” again.

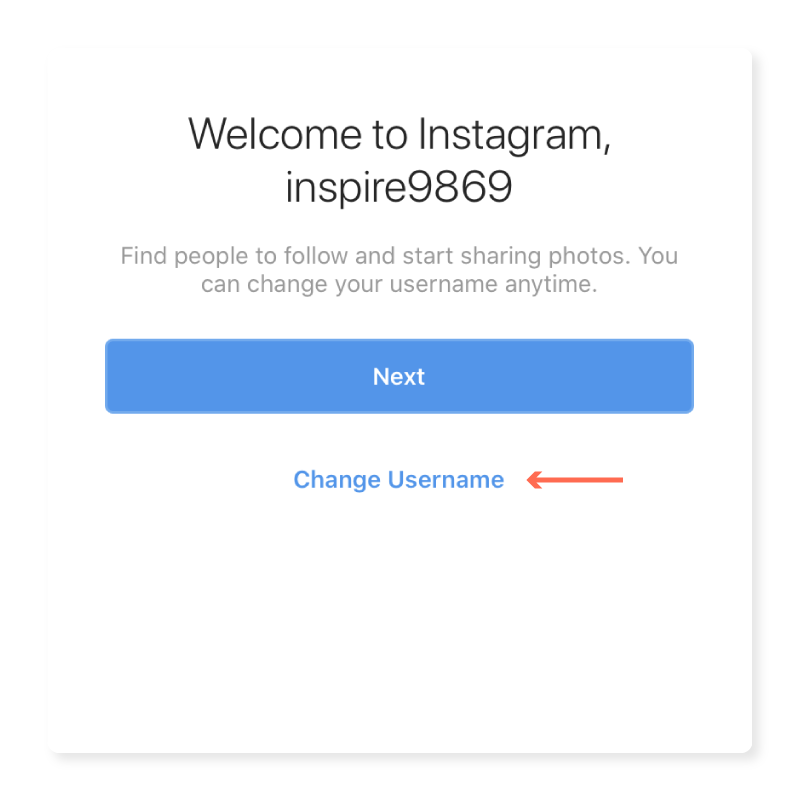
The next page will display your username. Instagram will automatically generate a username for you based on the info you gave it. If it looks a little funny, don’t worry. You can change it by clicking “Change Username”.

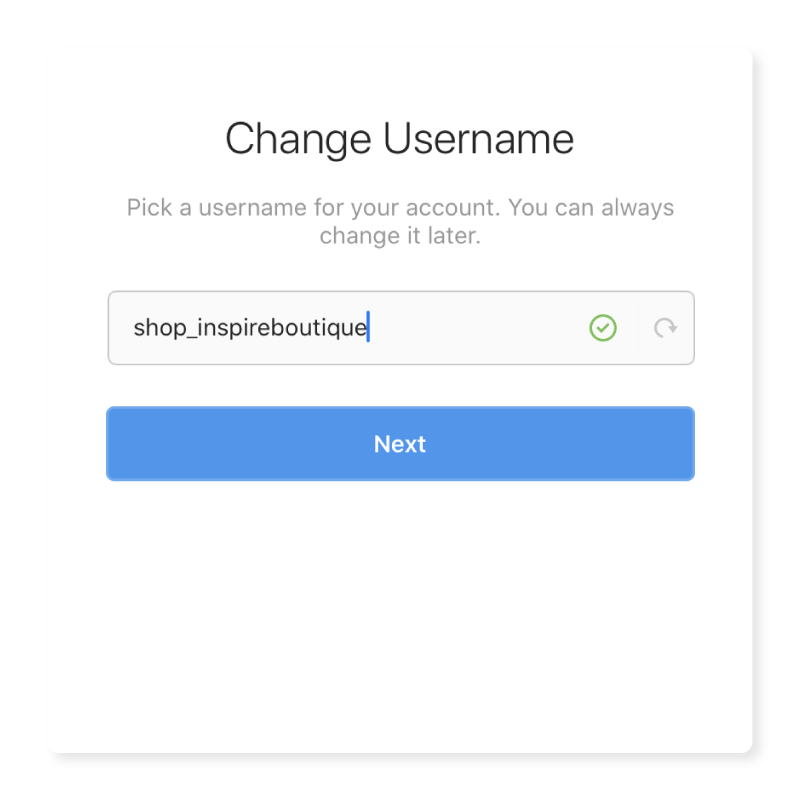
Type in a new name. Ideally, this would be a username that stays consistent across all social platforms. Still, it’s not always easy finding one that isn’t taken. If this happens to you, try out some variations of your boutique’s name.
For example, Inspire Boutique uses shop_inspireboutique, but they could also use shopinspire or inspire_boutique.

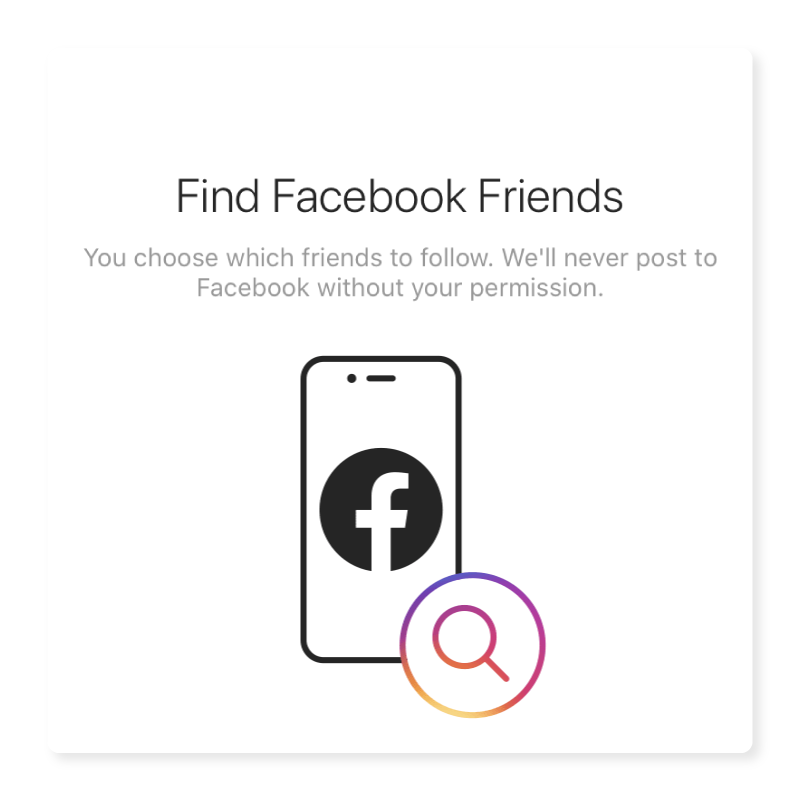
Step 4 – Find Facebook Friends or Add Contacts
You’ll be prompted to add Facebook friends or to find contacts. You can do this now, but we recommend skipping this part until you’ve fully prepared your Instagram account.
You want to have a profile image and a few engaging photos or videos posted when you welcome people to your page. Plus, this won’t be the only opportunity to invite people.

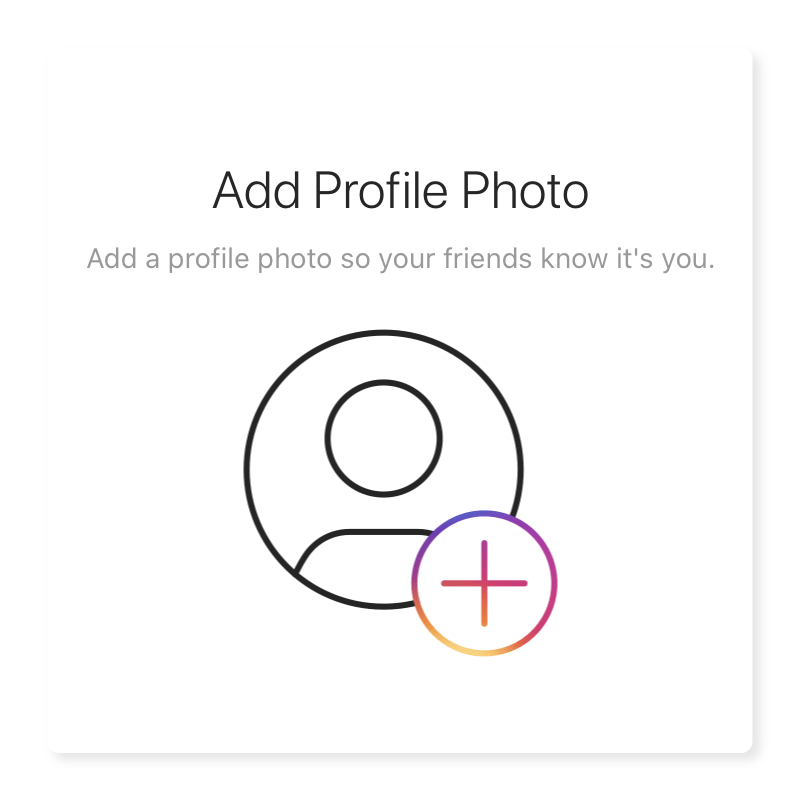
Step 5- Add Your Profile Photo
Your profile image will be the visual that represents your brand across Instagram. As such, we recommend you choose a logo here. Using a logo will make your business page look more professional and trustworthy while also building brand familiarity.
The ideal Instagram profile image size is 110×110. Use these dimension for the best quality profile photo.
Click “Add Photo”. Then you can choose to import the photo from Facebook or select from your camera roll or “library”. Click “Next”.

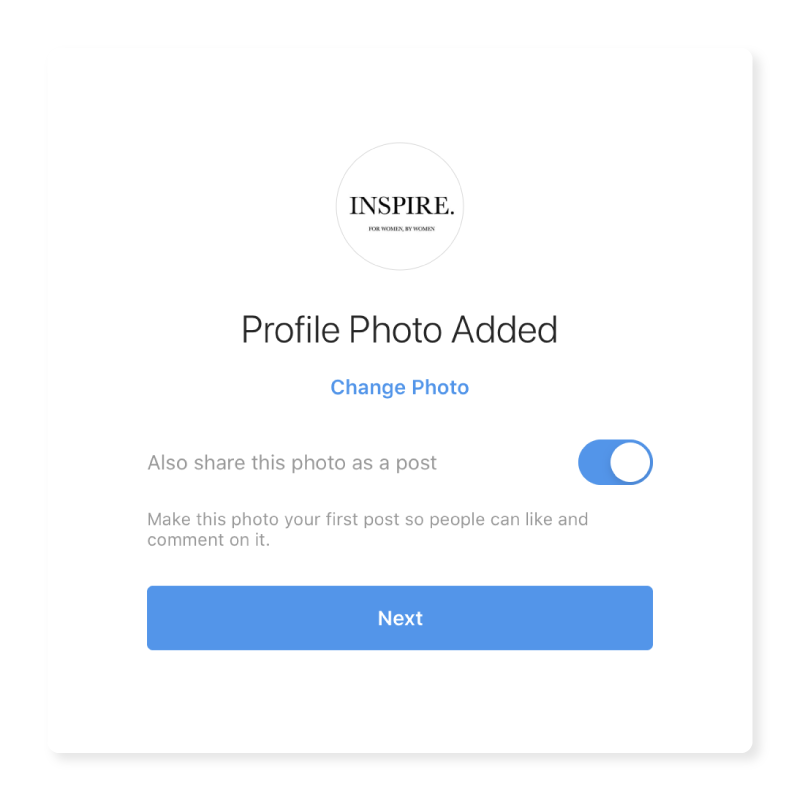
You can preview your profile picture here as well as make any adjustments. Just click “Change Photo” if you want to switch it out.
You’ll also get an option to share your profile picture as a post. Toggle this on or off, depending on your preference. Click “Next” to save changes.
After that, Instagram will give you suggestions for accounts to follow. You do not have to follow any of these if you don’t want to. Click “Next” to skip.

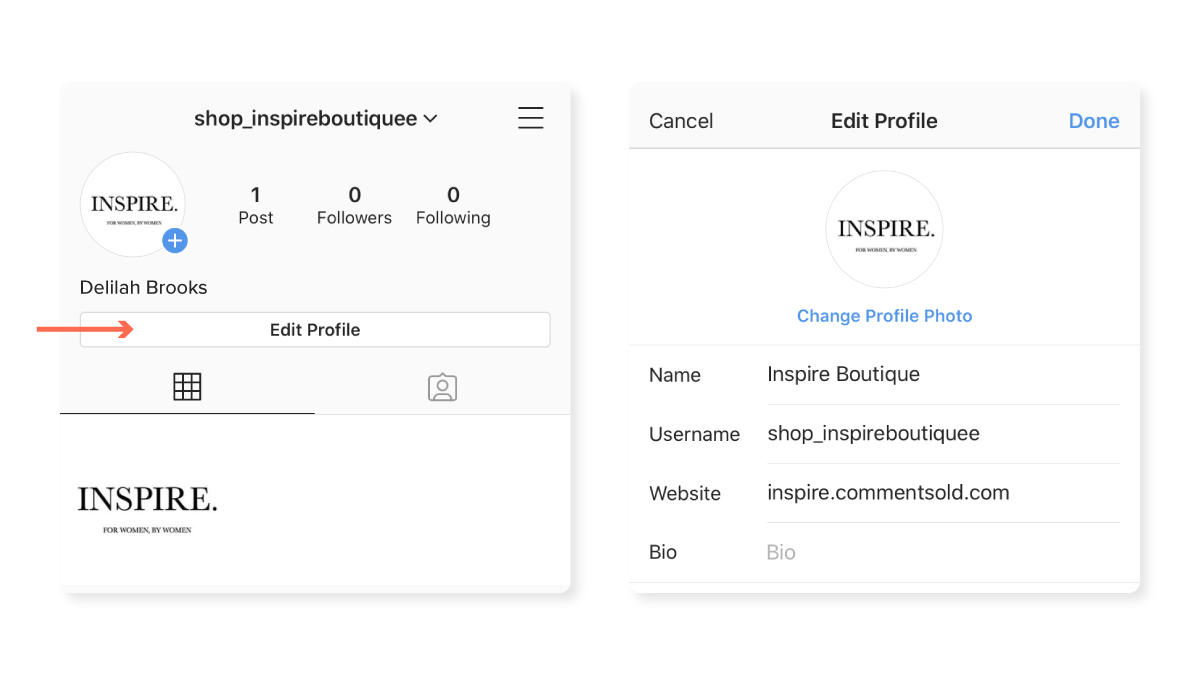
Step 6- Complete Your Profile
Now we’re going to optimize our profile to make us searchable and let customers know what to expect when they shop with us. Click your profile button in the bottom right. Then, tap “Edit Your Profile”.
You’ll be taken to a page where you can fill out more vital details or make last-minute changes to your name and username.
Next, fill out the website section with your URL. If you do not have a website, you can skip over this.
If you use CommentSold to sell on Instagram, this is where you should add your provided shop URL. Customers will register, as well as pay their invoices, here for a quick and easy checkout.
Now, click “Bio” to fill out your Instagram bio. This is the section that can be found under your username, where you can include designated information about your brand.

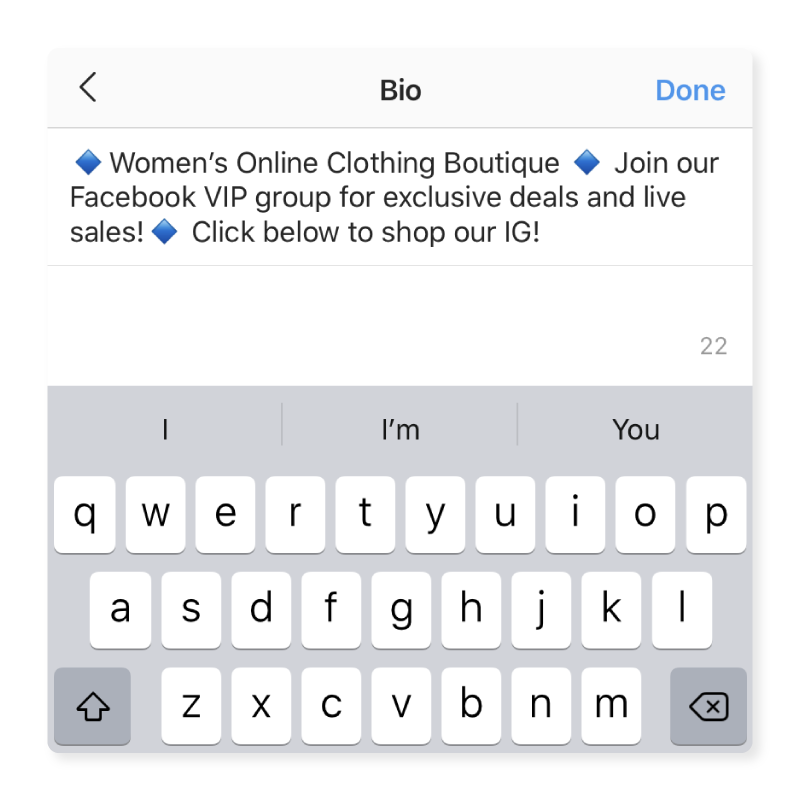
The character limit for this is 150 characters, so make it short and sweet. Point out the most important information here, like how to connect or shop with you.
Whatever link you enter into the website section will will appear directly below your bio. If you use CommentSold, this is where you can remind your shoppers to “click below” to shop and pay their invoices after they comment to claim items.
The bio is also a great place to include keywords you believe your customers would type to find you. In our example above, Inspire has added the words “Women’s Online Clothing Boutique”.
The bio also promotes their Facebook Live Sales and directs followers to their Facebook group for a more engaged and exclusive setting.
Step 7- Switch to Business Account
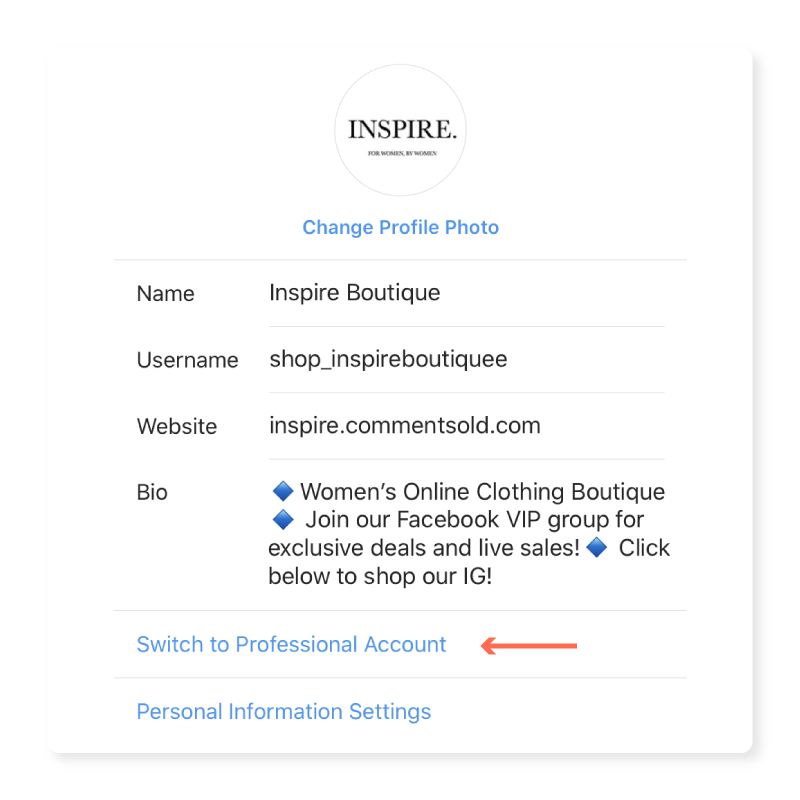
Now to get down to business! Tap “Switch to Professional Account”.
Let Instagram know you’re a business. Click “Next”.
On the next screen, Instagram will tell you a little bit about the tools that Instagram business accounts have to offer. After you’re done swiping through and reading, click “Continue”.

Step 8 – Select Your Business Category
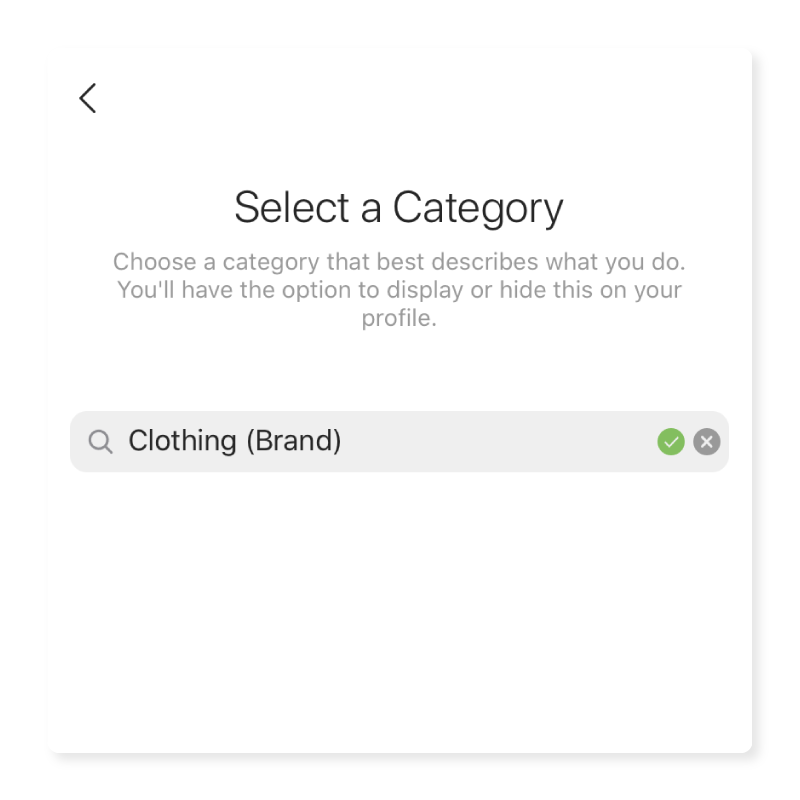
There are a few categories to choose from. Apparel retailers fit under the category “Clothing (Brand)”.

Step 9 – Review Your Contact Information
Give your customers a way to reach you by providing contact information. We recommend entering a customer service email that you frequently check.

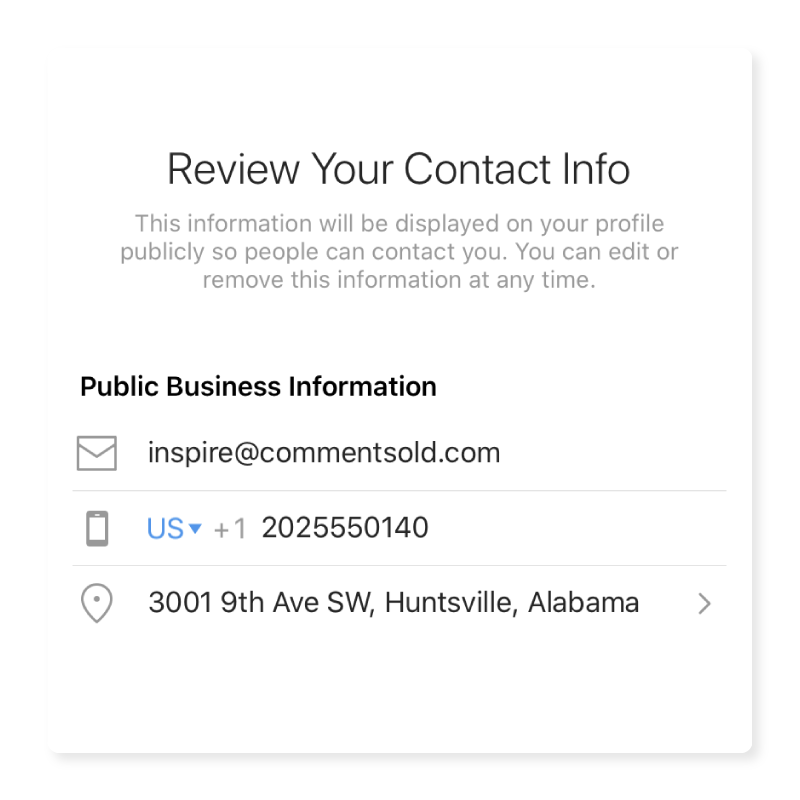
If you own a brick and mortar boutique, enter your address and phone number, so customers have a way to find your storefront’s location and the ability to call.
If you prefer to keep these details private, you can do that too. Just click “Don’t Use My Contact Info”.
Step 10- Connect Your Facebook Page
Connecting your Facebook page to your Instagram page is necessary to use CommentSold. However, this is good practice for any brand.
Always link your social accounts so they can be found more easily whatever platforms customers are on. There’s a massive advantage for your business too. You can post Facebook and Instagram Stories and advertisements across both platforms!

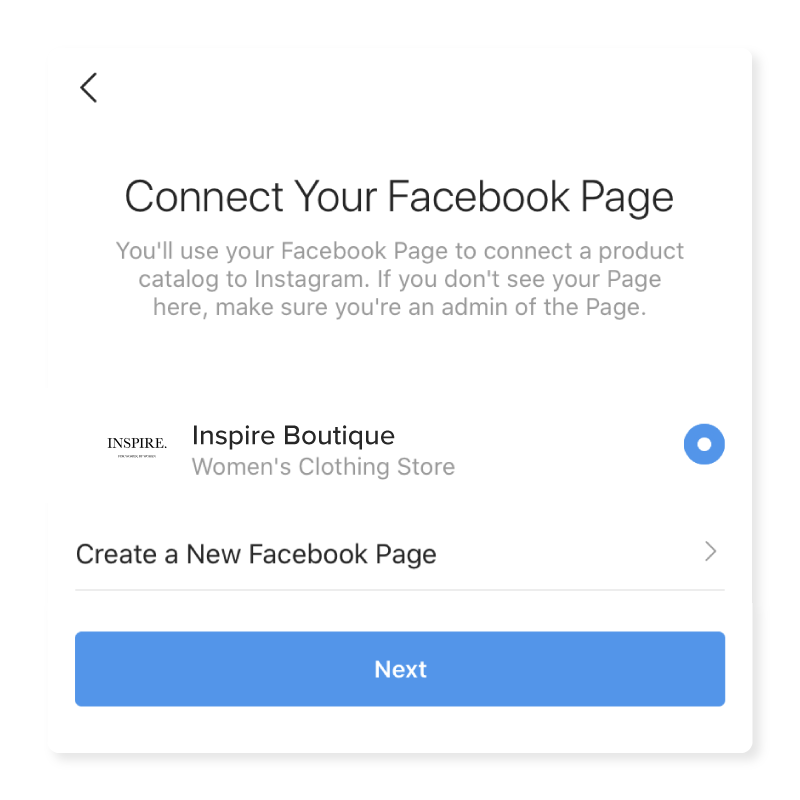
Select the page you want to connect and then click “Next”.
Don’t have a Facebook page? You can create a new one from here, but we don’t recommend it. It’s much easier to create one from a desktop. If you want, you skip this step to connect it after you’ve set up a Facebook business page.
The Takeaway
There you have it! You’ve completed your Instagram business page! From here, Facebook will prompt you to share photos and videos, follow similar accounts to yours to eye the competition, and invite followers. You can do this, or you can skip past these to start posting content and attracting new followers. Happy posting!
Looking to drive results with Instagram? You need a hashtag strategy! Learn all about hashtags and how to use them with How To Drive Results With An Instagram Hashtag Strategy.


![Toni Kroos là ai? [ sự thật về tiểu sử đầy đủ Toni Kroos ]](https://evbn.org/wp-content/uploads/New-Project-6635-1671934592.jpg)


