
How to Create a Repl.it Template
Mục Lục
How to Create a Repl.it Template
A Step-by-Step Guide to Creating a “Hello World” pyTigerGraph Template on Repl.it
 Image from Pixabay
Introduction
Repl.it is an awesome online IDE which is typically my go-to for simultaneous collaborative programming. Amidst its various features, Repl.it offers templates, code a user can select when creating a new program. Previously, only certain users could create templates, but now anyone can create them! This blog will walk through how to create your very first Repl.it template with the example of a pyTigerGraph “hello world” template.
Tutorial
Create a New Repl
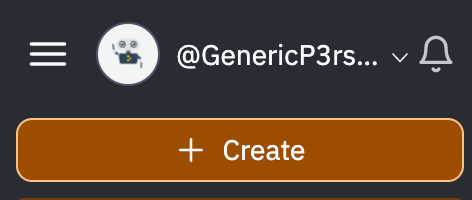
To get started, create a Repl.it account. Once you are logged in, press the “Create” button to create a new Repl.
 Create a New Repl
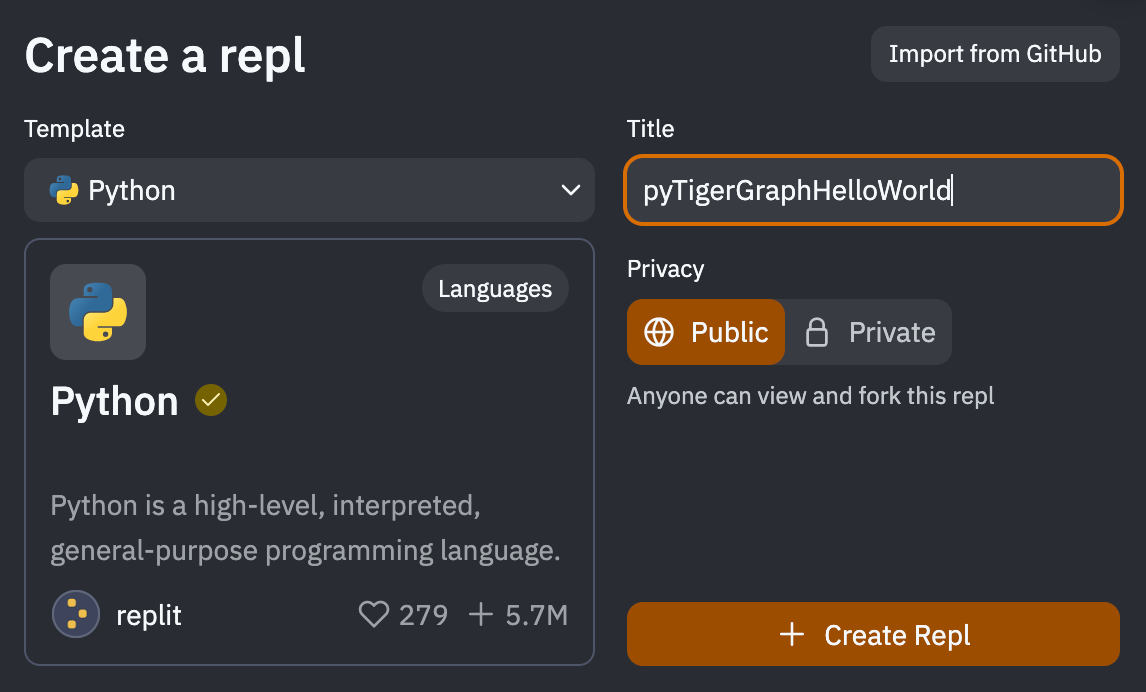
Since I will be using Python for the template, I select Python for the template and then named it pyTigerGraphHelloWorld.
 Select a Template Type and Name the Repl
Create the Template
Next, edit and create the template! I wrote a long README.md file and some simple pyTigerGraph code.
import pyTigerGraph as tg
conn = tg.TigerGraphConnection(host = " https://SUBDOMAIN.i.tgcloud.io/ ", graphname = "GRAPHNAME") # Adjust based on graph. For example in README, the connection would be: conn = tg.TigerGraphConnection(host = " https://replit-template.i.tgcloud.io/ ", graphname = "MyGraph")
print(conn.echo()) # Hello GSQL
conn.apiToken = conn.getToken(conn.createSecret()) # Creates a token
print(conn.gsql('''LS''')) # First GSQL interaction!
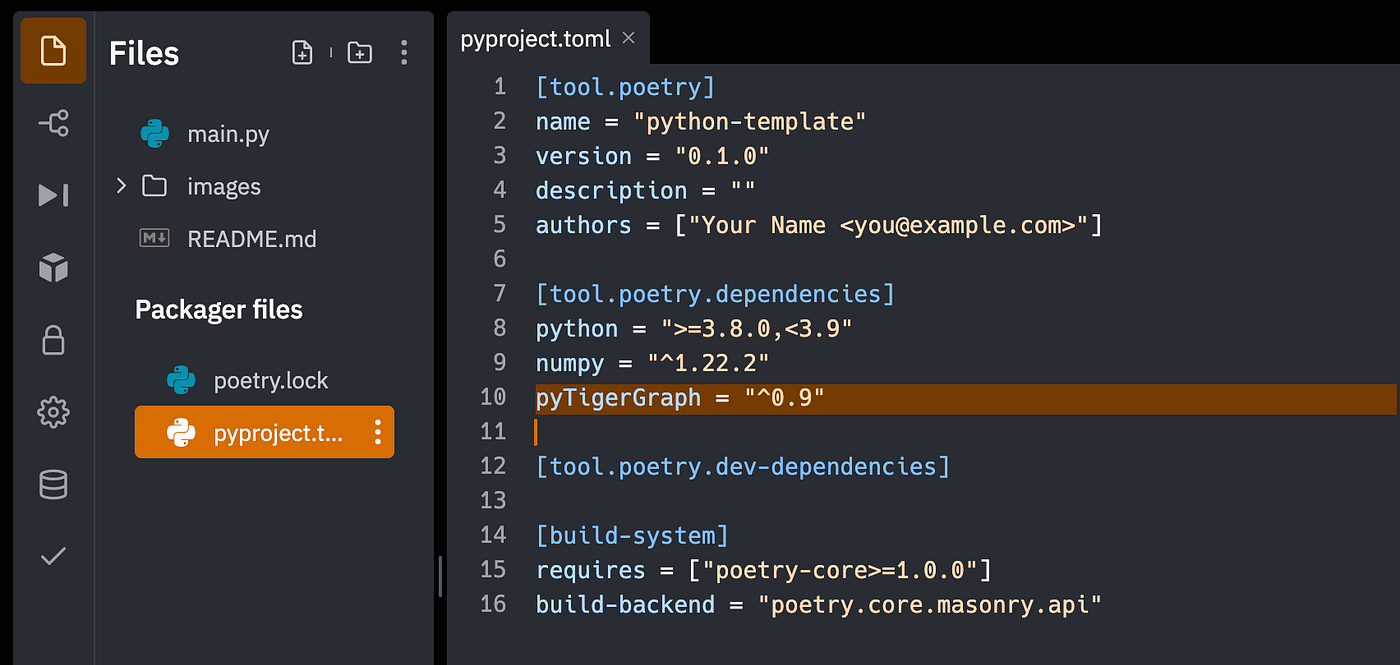
Note that I did have to import pyTigerGraph. To ensure the library is automatically uploaded for the user, add it to the pyproject.toml file.
 Add pyTigerGraph as a Dependency
Publish!
When you are content with the entire Repl, press the name of the Repl. This will bring a box with information about the Repl. Add a description if you have not already. When you are satisfied with everything, press the “Publish” button.
 Add a Description and Press “Publish”
You will next have to go through several steps to finalise your Repl. The first tab is just the name and description, so you shouldn’t have to change anything. Press “Next.”
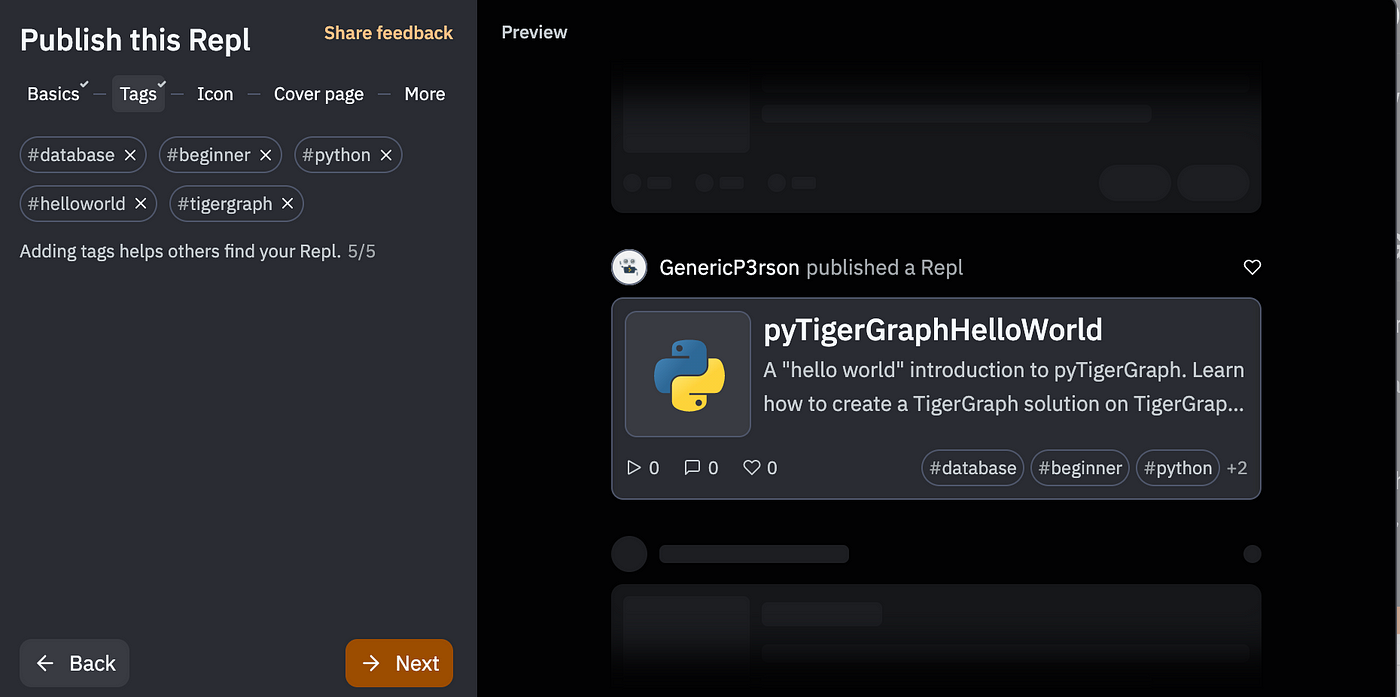
On the second tab, create tags to help users find your Repl. If none of the tags match your needs, you can create a new one!
 Add tags!
On the icon tab, upload an image.
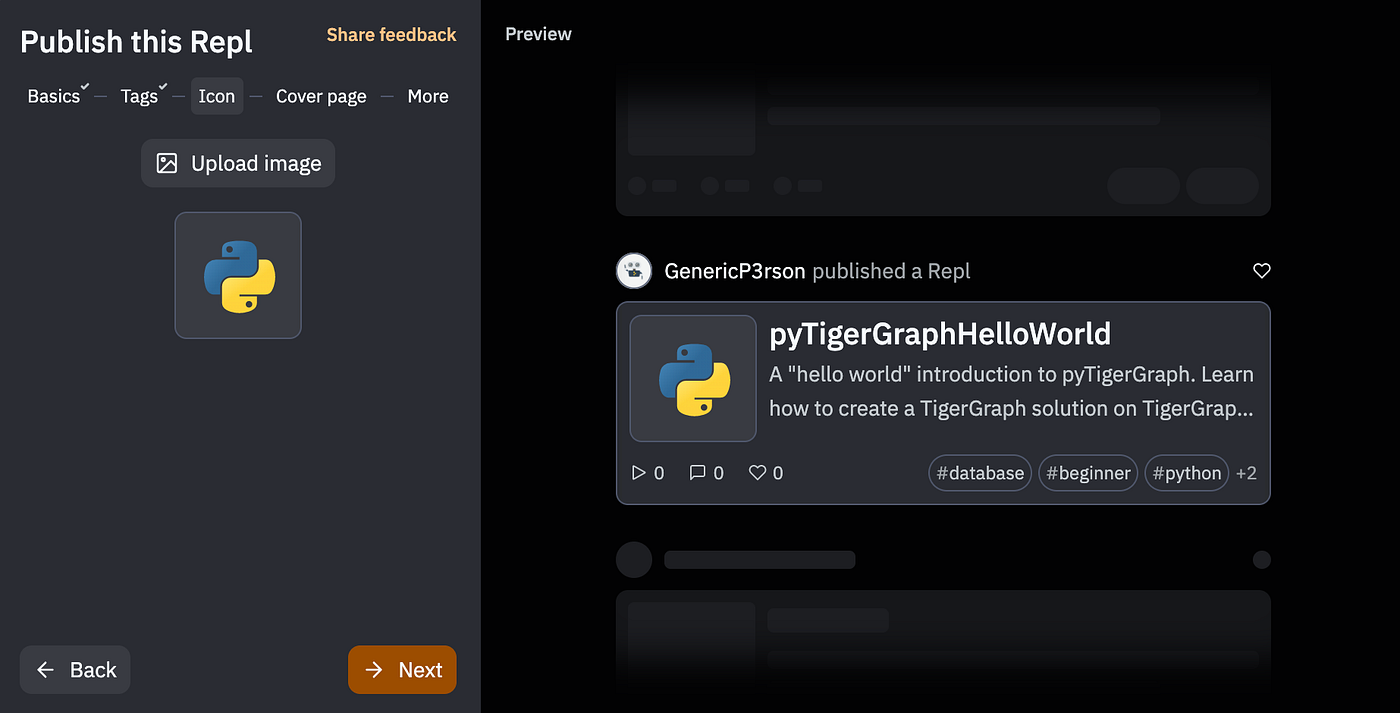 Upload an icon image
The cover page will be the landing page for your Repl. Either add a photo or select a file.
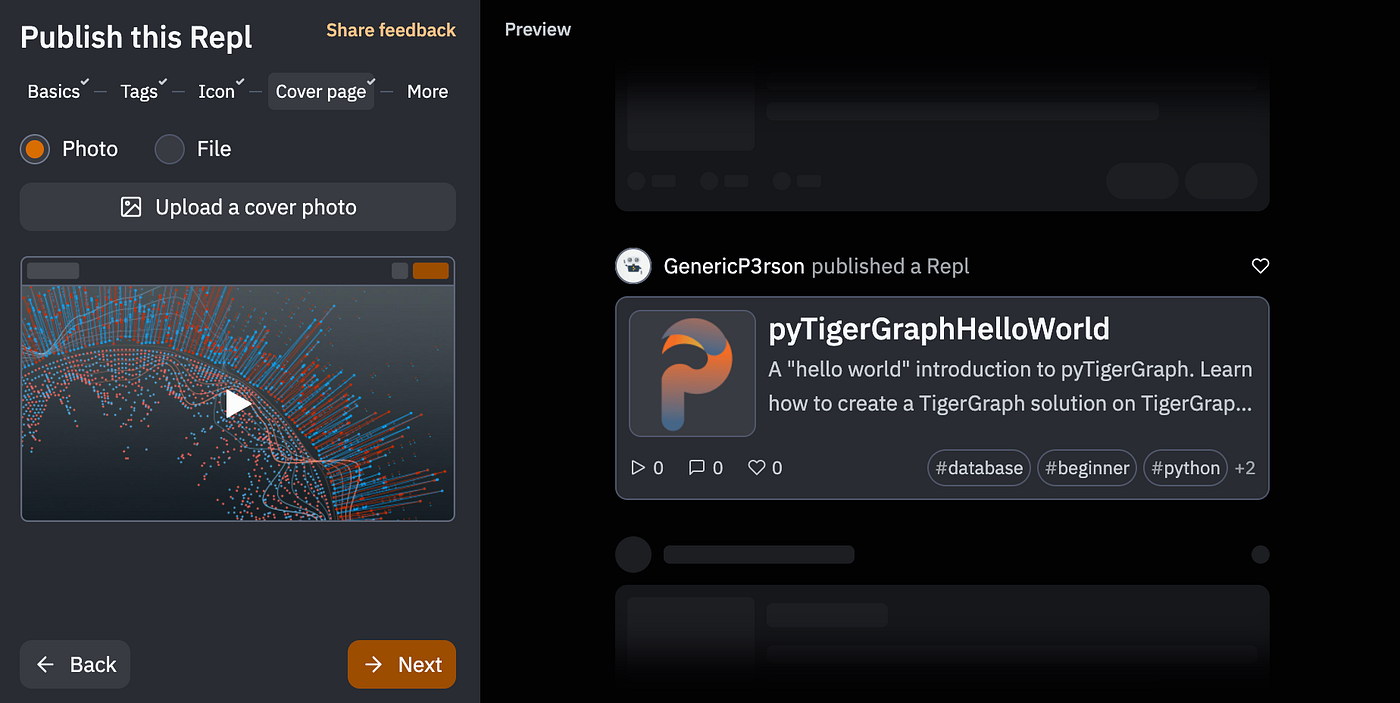 Add a cover photo or choose a file
Finally, on the last page, check the option to publish your Repl as a template.
 Publish the file as a template!
Finally, press the “Publish to Community” button, and with that, you are complete! Congrats on creating your first Repl template!
Conclusions
Overall, the process of publishing Repl code to become templates was fairly straightforward and relatively simple. I am generally elated that anyone can create templates, and it’s awesome to be able to give back to the Repl community.
One final note is Repl has officially launched a template jam to encourage everyone to create templates. Repl has also recently released Nix, allowing templates to configure with any language. If you enjoyed this blog on creating templates, I would recommend trying out their template challenge!


![Toni Kroos là ai? [ sự thật về tiểu sử đầy đủ Toni Kroos ]](https://evbn.org/wp-content/uploads/New-Project-6635-1671934592.jpg)


